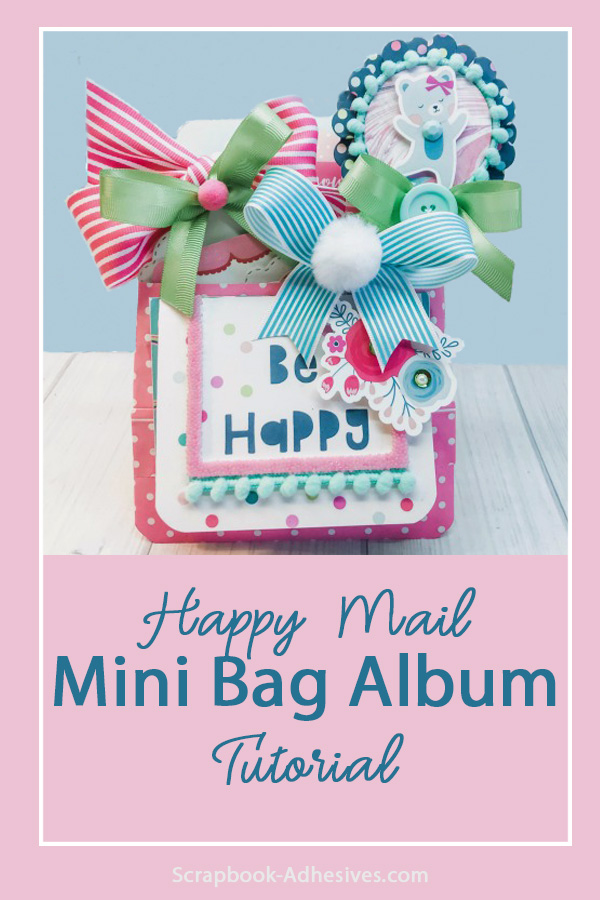
Happy Mail Greetings! Shellye McDaniel here today with a sweet happy mail mini bag album to give or keep stuff full of adorable items!
Mini Bag Album Basics
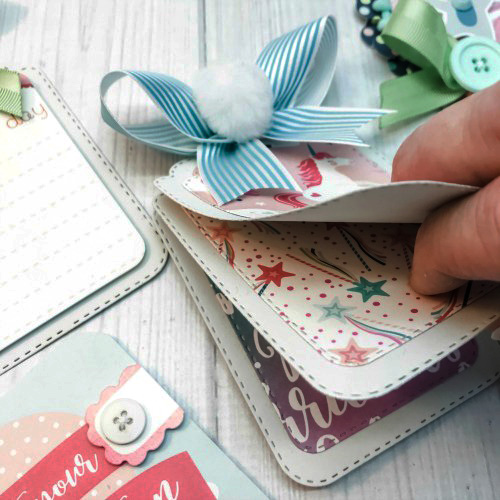
To begin, selected two flat bags that measure 5 X 6.25-inch. For the first bag, fold it up from the bottom about 3-inches. Next, make an easel from the second bag; below is a photo of how to make the folds:
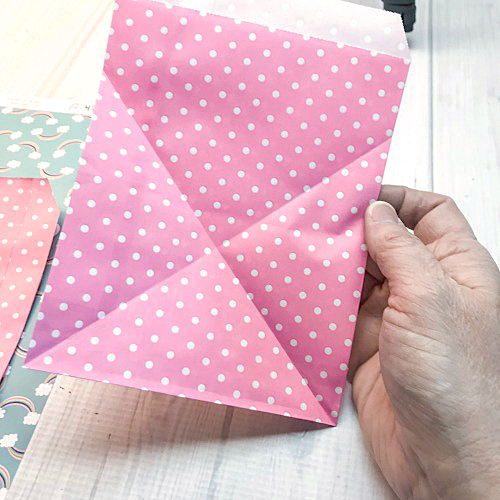

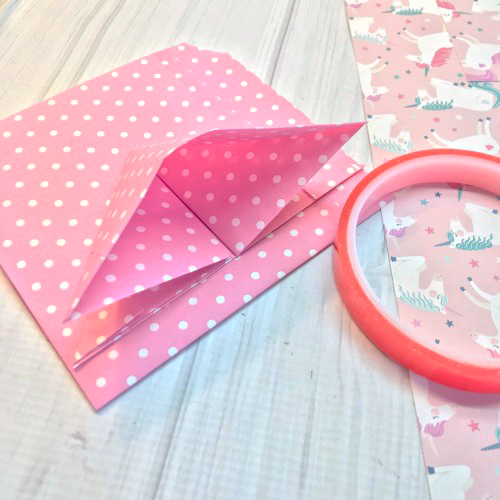
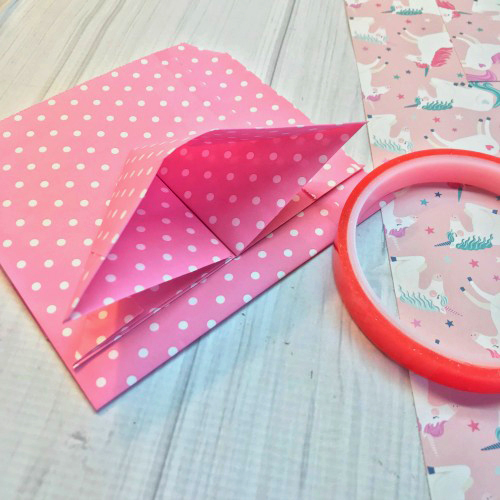
After folding, attach it to the bottom back of the second bag as shown above.
Album Decorating Details
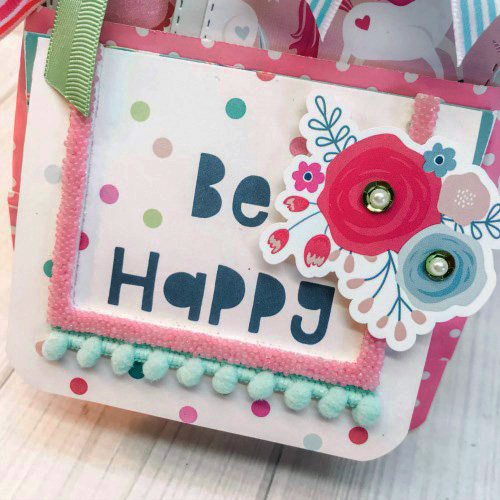
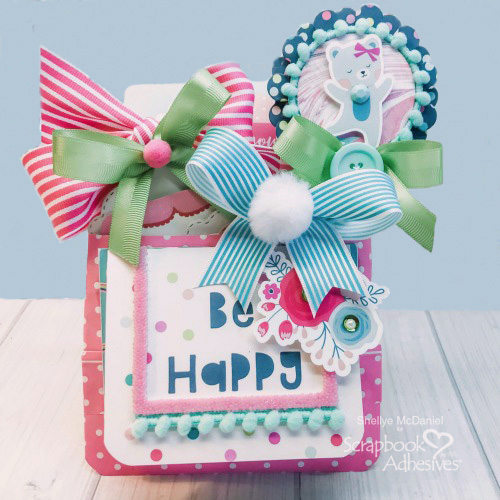
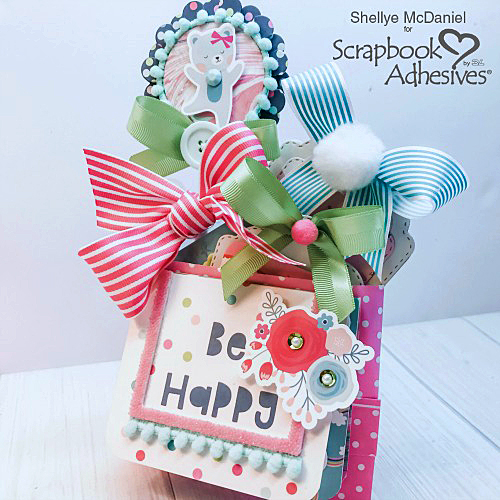
Onto the decorating! For the cover, use a journal card embellished with one of the 3D Foam Frames. Sprinkle some micro pony beads and glitter onto the adhesive surface.
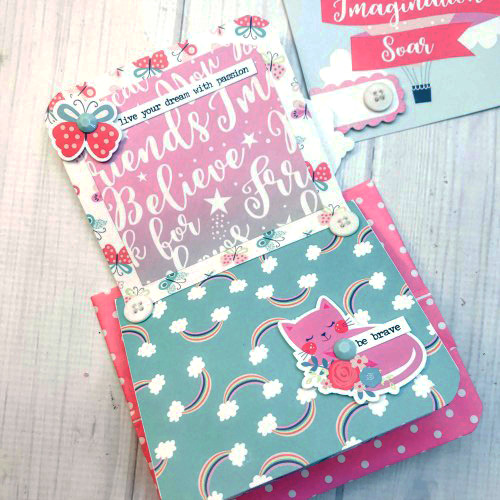
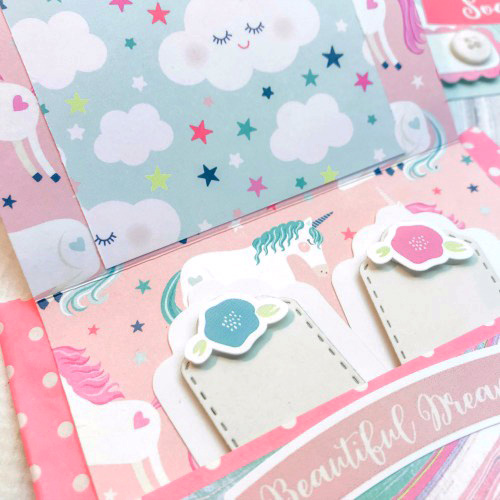
Next, attach an additional patterned paper and made it flip up like the cover. The papers and pocket are 3D embellished with stickers and die-cuts using 3D Foam Squares White Mix. You could tuck a gift card along with the tags!
Filling the Mini Bag Album
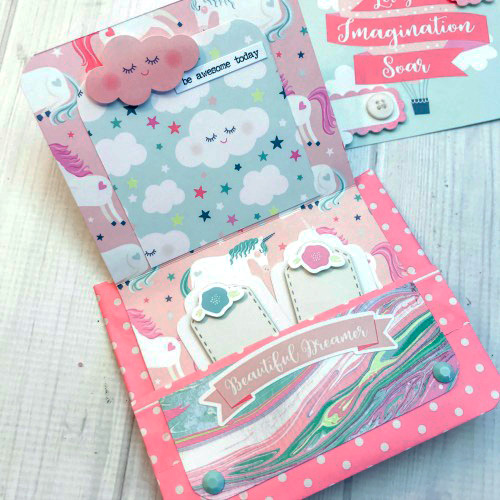
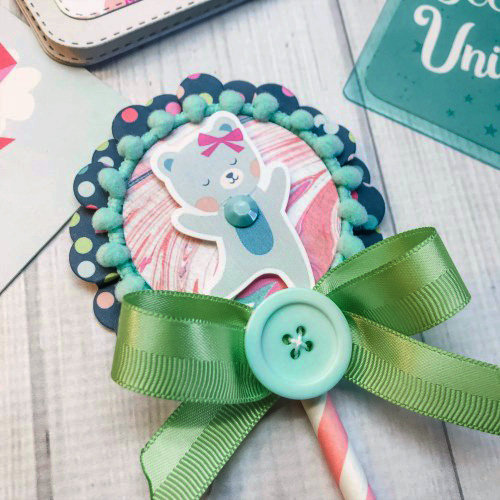
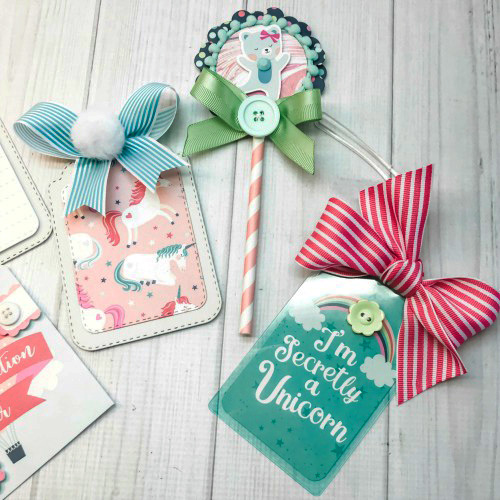
Finally, fill the opening of the bag with lots of handmade goodies. I included a bag tag created with the Self-Laminating Tags with Loops. To the inside of the tag, I added a trimmed down journal card. I think these would be so cute personalized on the other side with initials or a name.
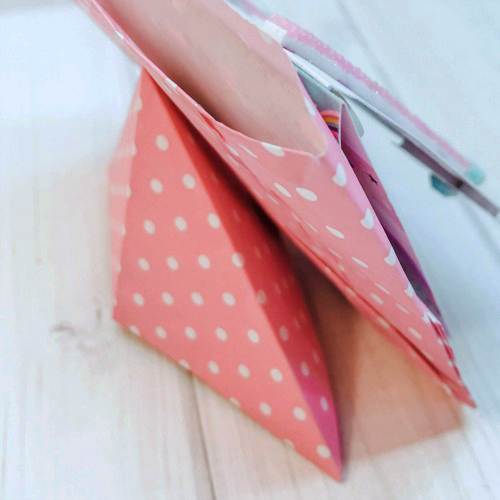
Lastly, I’m sharing a peek at how the easel on the back works. The bag has the ability to lie flat or stand up on a tabletop!
Thank you for joining us today!

Creative Time: 1-2 Hours
Skill Level: Intermediate
Materials Needed
Scrapbook Adhesives by 3L®
E-Z Runner® Micro Refillable Dispenser
Adhesive Dots 3D
Adhesive Dots Large
3D Foam Squares White Mix
3D Foam Frames
HomeHobby by 3L®
Self-Laminating Tags with Loops
Dual Tip Glue Pen
Extreme Double-Sided Tape 1/2in
Other
Echo Park Paper: patterned papers, stickers, and journal cards; May Arts Ribbon; Offray Trim; Darice Pom Pom Trim
Pin It!