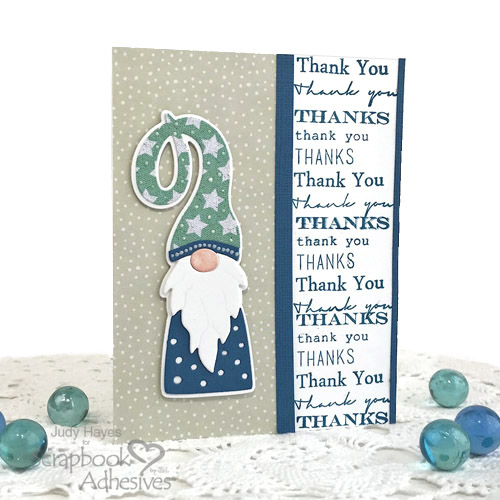
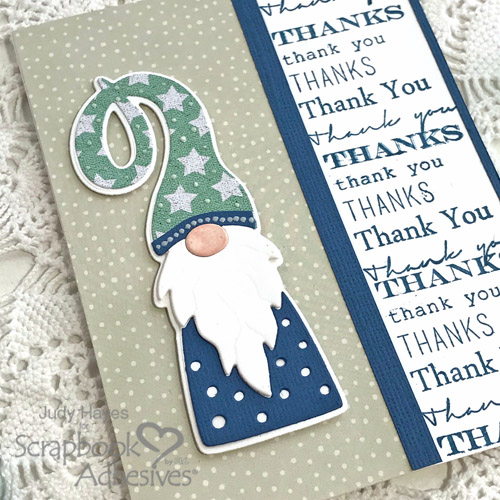
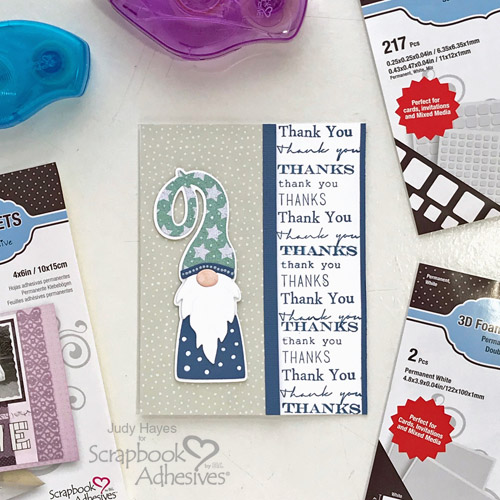
Hello everyone! Judy here today with a quick Gnome Thank You card. I never got a chance to use this cute gnome die before the holidays, so I decided to use it to make a cute thank you card!

Gnome Thank Card Instructions
Using Adhesive Sheets 4 x 6 inch applied to the back of papers before die cutting makes assembling the gnome so easy! Just peel the adhesive liner and put the pieces in place!
The hat and blue body pieces are cut from papers with Adhesive Sheets 4 x 6 inch on the back. For the beard and nose, I die cut white card stock on white 3D Foam Creative Sheets. The 3D Foam Creative Sheet gives added dimension plus it’s permanent adhesive on both sides. The nose piece is colored with pink ink before putting it in place.
To add a band of blue to the hat, I use a scrap of blue paper with Adhesive Sheets on the back and die cut at the bottom of the hat die. Next trim it to the desired height and place over the patterned hat. I added tiny dots of white glitter accents to it and the hat.

For the “thank you” band, stamp several different thank you stamps with blue ink. I’m using E-Z Runner® Petite Permanent Dots Refillable Dispenser to adhere the band and green paper to the card front. To attach the narrow blue strips, I use E-Z Runner® Micro Refillable Dispenser, it’s perfect for narrow pieces like this!

Thanks for Visiting!
Judy
Creative Time: 20 minutes
Skill Level: Beginner
Materials Needed
Scrapbook Adhesives by 3L®
- Adhesive Sheets 4 x 6 inch
- E-Z Runner® Petite Permanent Dots Refillable Dispenser
- E-Z Runner® Micro Refillable Dispenser
- Thin 3D Foam Squares White Mix
- 3D Creative Sheets
Other:
Etched Dies: Simon Says Gnome; Cardstock White & Blue, Patterned Paper: Polkadoodles Gnome for Christmas Pad, Echo Park A Cozy Christmas Paper Pad; Nuvo Crystal Drops Simply White; Stamps: Altenew Many Thanks Set; Ink: Tsukineko Memento Nautical Blue, Ranger Ink Distress Tattered Rose
Save it to Pinterest!

Visit our Website and Blog!
Sign up for our Newsletter so you never miss a contest or giveaway!


