
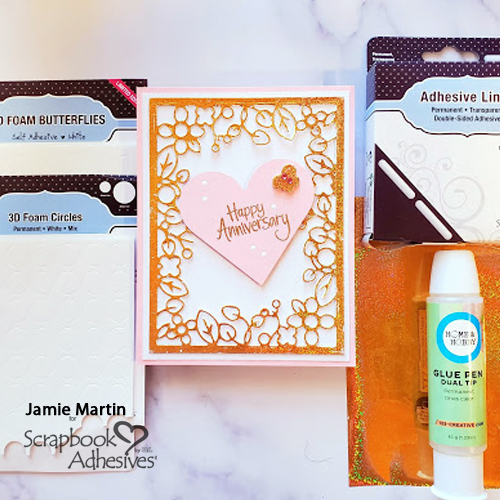
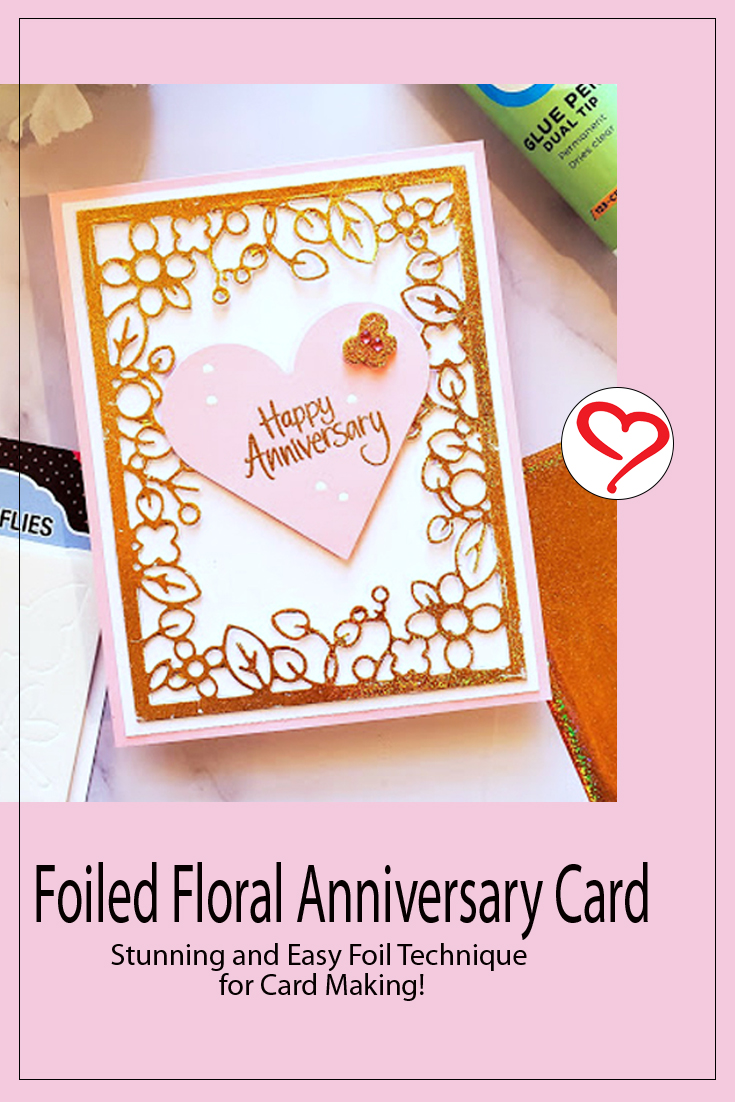
Hi, Jamie here with a Foiled Floral Anniversary card to share! Isn’t it stunning?! I show how to create this look without a foiling machine. Use this technique on any of your card creations and WoW your friends with a foiled handmade card!
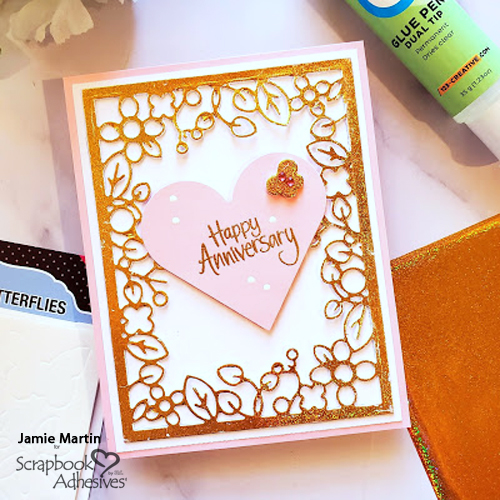
Foiled Floral Anniversary Card Cover
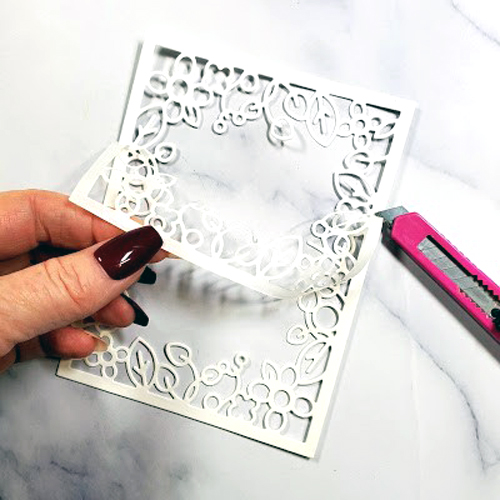
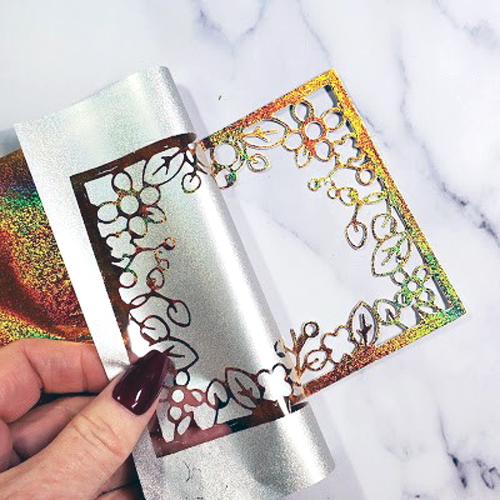
Place an Adhesive Sheet on the back of white cardstock and die-cut with the floral card cover die. Remove the Adhesive Sheet liner and place the Metallic Transfer Foil Sheet on the top color side UP. With your fingertips, gently rub the foil to transfer the color to the die cut. Then peel off to reveal the shimmery metallic color! Yes, it’s that easy! If you see missed areas, simply reapply the foil.
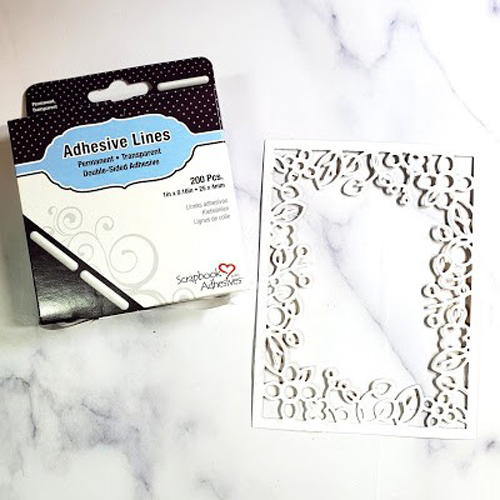
Adhesive Lines were thin enough to be placed around the edge of the die-cut frame and were perfect to adhere to a textured decorative paper panel!
Embellish the Heart
After die-cutting a heart from pink cardstock, stamp a sentiment and emboss it with Champagne Embossing Powder. Pop up the heart with 3D Foam Circles onto the card. Apply Metallic Transfer Foil on the super cute butterfly from the 3D Foam Butterflies using the same step as the frame. Next, adhere to the heart and add two pink rhinestones to its body.
The Dual Tip Glue Pen was used to glue this panel onto a pink card, the glue gives you time to move the panel around to make sure that’s it’s straight and it doesn’t warp your paper or have an odor. That’s it!
Creative Time: 30 minutes
Skill Level: Intermediate
Materials Needed:
Scrapbook Adhesives by 3L®
Metallic Transfer Foil Sheets Holographic Colors
Adhesive Sheets 12 x 12 in.
3D Foam Butterflies
Adhesive Lines
3D Foam Circles White Mix
HomeHobby™ by 3L
Dual Tip Glue Pen
Other
Craft Dies: Rubbernecker Stamps (Floral Frame Die) and Spellbinders® Paper Arts (Classic Heart Etched Dies), Stamp and Embossing Powder: Stampendous (Sentiment from Leafy Frame Set and PEARLustre Champagne Embossing Powder)
Save It to Pinterest!
Visit our Website and Blog!
Sign up for our Newsletter so you never miss a contest or giveaway!


