
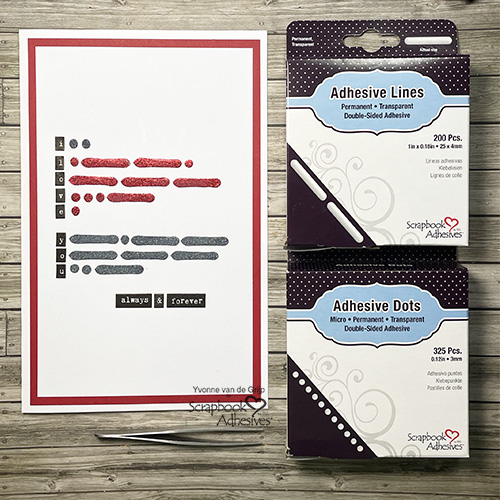
Hi everyone! Yvonne van de Grijp here with a fun and unique way to make a greeting in this Morse Code Message card. For the card front, I chose to add words with the code to read them easier, but you can create a secret message and let them figure it out. Isn’t this a fun idea? Using Adhesive Lines and Adhesive Dots Micro makes the code with ease!
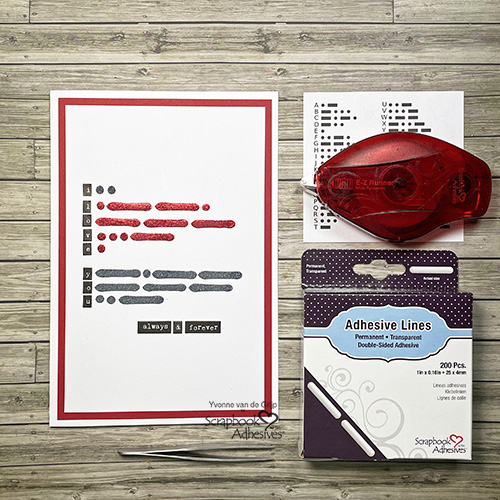
Let me show you how to step it up a notch with a technique called Wear Your Adhesive on the Outside for extra sparkle! This card is super easy to make, perfect for beginning card makers so let’s get started!
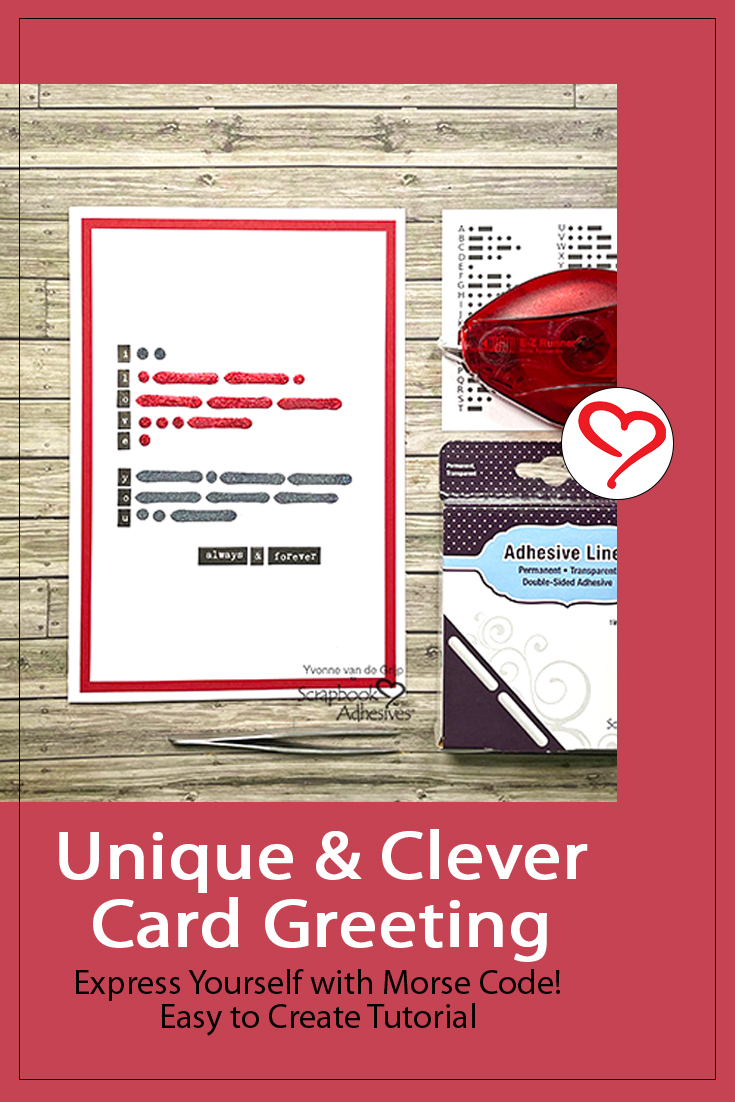
A Glittered Morse Code Message
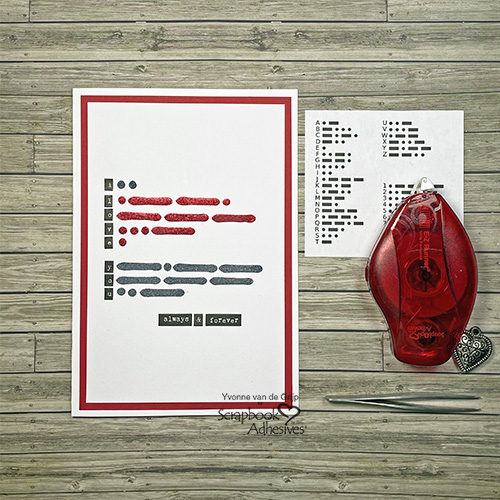
Start by finding the Morse Code alphabet on the internet and write down the code for the text you want to add to your card. I chose the text “I love you”.
Then trim a piece of white cardstock to a rectangular size for a card panel. Adhering two Adhesive Dots Micro (representing the letter “I”) onto the white card panel.
Remove the liners and sprinkle black glitter upon the dots. Rub the glitter with your finger into the dot to secure and tap off excess. This technique, making your adhesive into embellishments is called Wear Your Adhesive on the Outside.
Now adhere in Morse Code the word “love” onto the card panel using a combination of Adhesive Dots Micro and Adhesive Lines. Repeat the Wear Your Adhesive on the Outside technique but this time with red glitter.
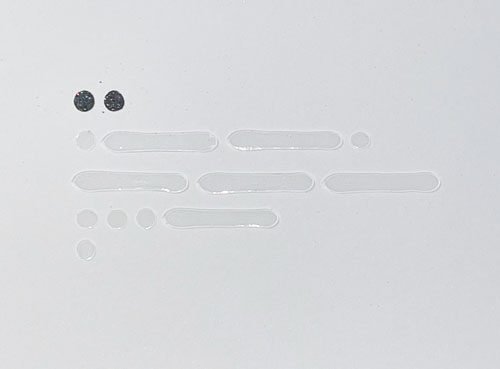
Continue until you completed your greeting in Morse Code.
Making the card base
Adhere the glittered morse code card panel onto a red card panel mat using the E-Z Runner® Permanent Strips Refillable Dispenser.
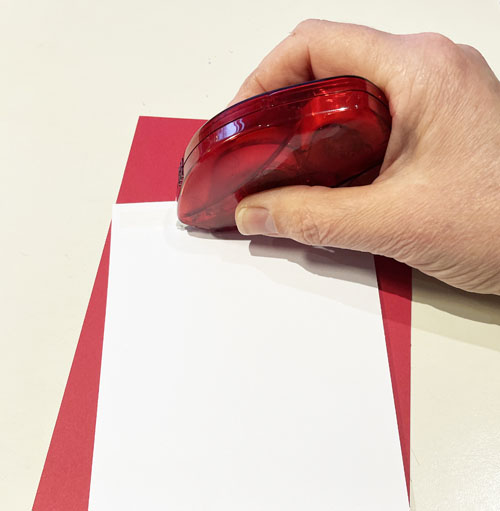
Finally, adhere on a white card base, using the E-Z Runner® Permanent Strips Refillable Dispenser.
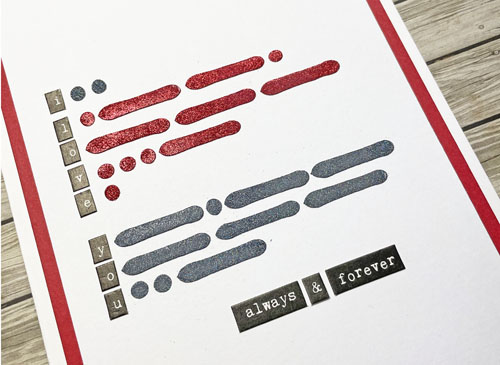
Adding Words
For a finishing touch, I used tiny letters and word stickers. To “translate” the Morse code into words I first adhere the letters in front of the corresponding morse letters. Then finished the card by adding the words “always & forever.”
Voilá! Your Morse Code Message Card is ready. It is a unique presentation and I hope you enjoyed this easy tutorial. Give it a try!
Wishing you happy crafting!
Yvonne van de Grijp

Creative Time: 30 minutes
Skill Level: Beginner
Materials needed:
Scrapbook Adhesives by 3L®
E-Z Runner® Permanent Strips Refillable Dispenser
Adhesive Lines
Adhesive Dots Micro
Other
Cardstock (White, Red); Glitter (Red, Black); Alphabet stickers; Paper Trimmer; Tweezers
Save to Pinterest!
Visit our Website and Blog!
Sign up for our Newsletter so you never miss a contest or giveaway!


