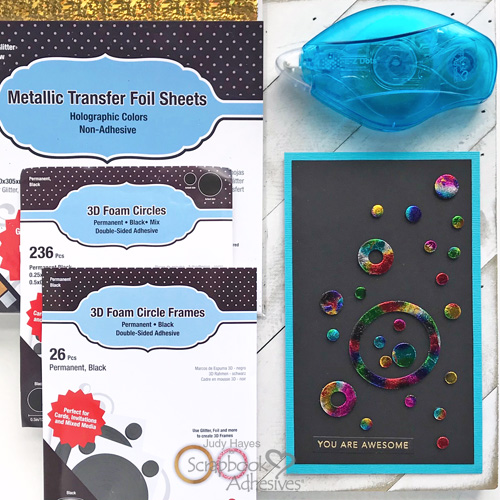
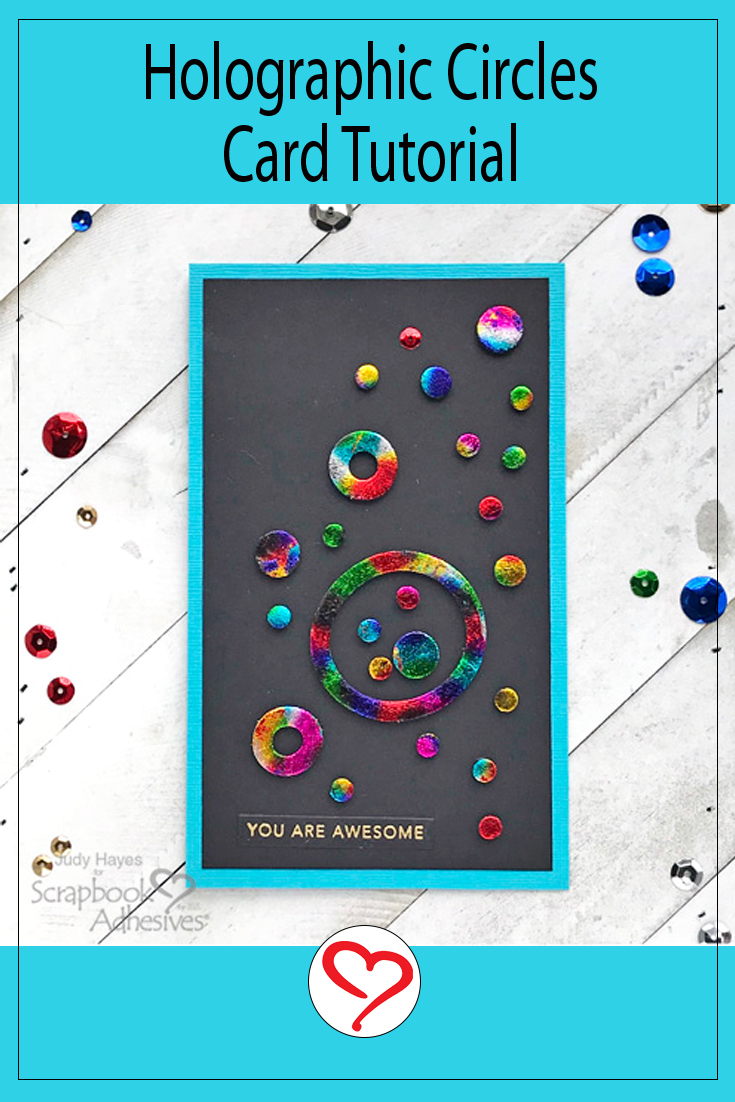
Hello crafty friends! Today I’m sharing a fun Holographic Circles card! So easy to make with 3D Foam Circle Frames Black, 3D Foam Circles Black Mix and Metallic Transfer Foil Sheets Holographic Colors! I used a stamped, embossed and die cut verse from my stash.
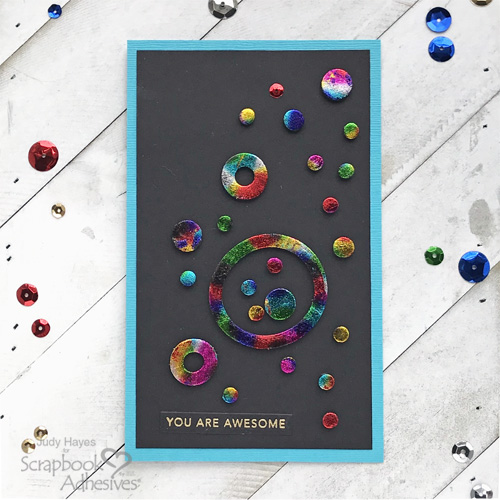
Make Holographic Circles
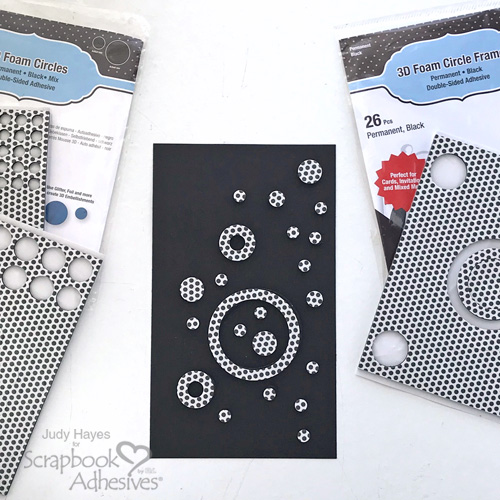
Cut black cardstock to 3.625 x 6.125 inches.
Place assorted circles from 3D Foam Circle Frames Black and 3D Foam Circles Black Mix to black cardstock. Press firmly in place.
Remove a few liners form 3D Foam Circles and 3D Foam Circle Frames.
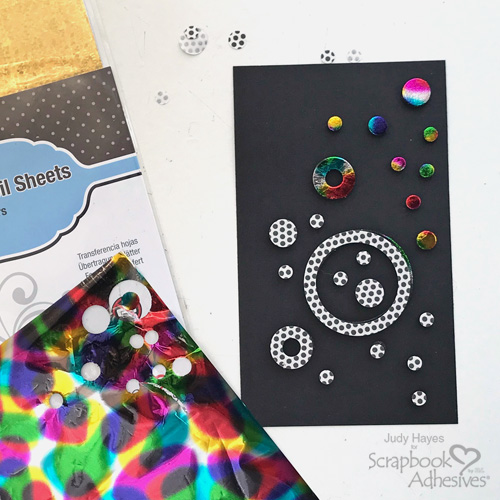
Cover bright multi-colored foil from Metallic Transfer Foil Sheets Holographic Colors over foam circles (color side UP), rub with fingertips, and peel off.
Continue to remove liners and apply foil to cover all circles and circle frames.
Reapply foil to any missed spots.
Assemble the Card
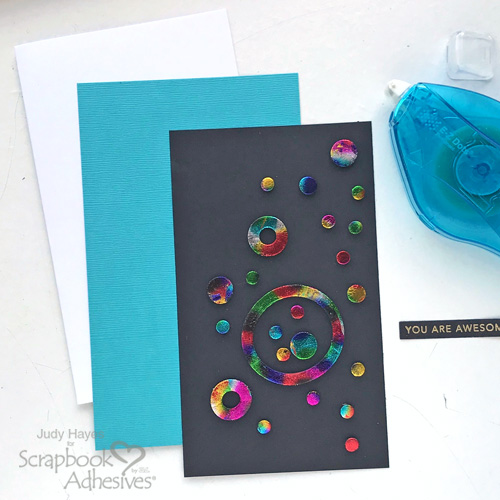
Form a 4 x 6.5 inch card base from white cardstock.
Cut turquoise mat to 4 x 6.5 inches. Use E-Z Dots® Permanent Refillable Dispenser to apply adhesive to it and fasten to the card front.
Also use E-Z Dots® Permanent Refillable Dispenser to fasten holographic circles piece over turquoise mat. Applying adhesive to card front rather than back of holographic circles piece may be easier.
Add Verse
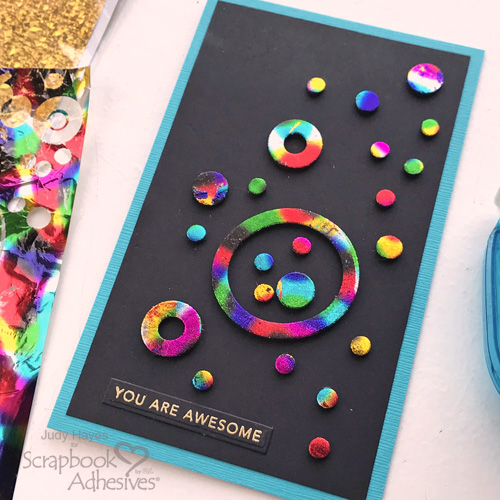
Apply pre-stamped and embossed verse near bottom of card with E-Z Dots® Permanent Refillable Dispenser
Thanks for Visiting!
Judy Hayes
Creative Time: 20 Minutes
Skill Level: Beginner
Materials Needed
Scrapbook Adhesives by 3L®
- 3D Foam Circle Frames Black
- 3D Foam Circles Black Mix
- Metallic Transfer Foil Sheets Holographic Colors
- E-Z Dots® Permanent Refillable Dispenser
Other
Card Stock (Black, Turquoise, White); Ranger Gold Embossing Powder; Taylored Expressions (Mini Strips – Life Saver Stamp, Mini Strips Die) Tsukineko Versamark Ink
Save It to Pinterest!
Visit our Website and Blog!
Sign up for our Newsletter so you never miss a contest or giveaway!


