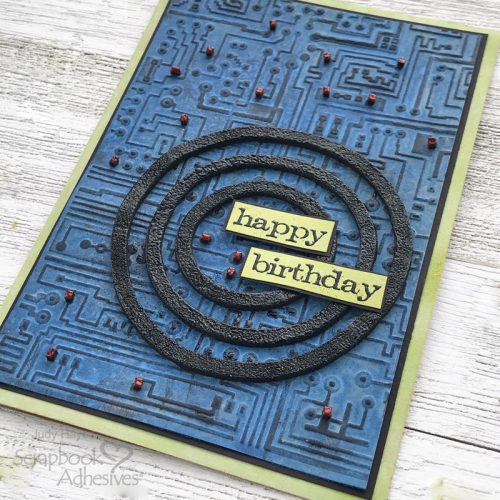
Hello friends! I put together a Cool Techno Card today with 3D Foam Circle Frames with a circuit board background to inspire me to create a unique birthday card. See the 3D Foam Micro Squares? Heat emboss those in red to form little “diodes”. What a fun card!
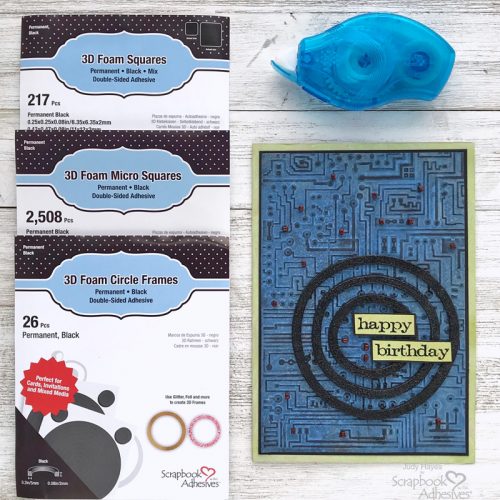
Cool Techno Card Panel
Cut a piece of Kraft cardstock to fit the embossing folder. Use die-cutting machine and embossing sandwich to emboss circuit pattern on cardstock.
Mist with Distress Oxide Prize Ribbon Spray. Mist lightly with water. Use a heat tool to dry completely.
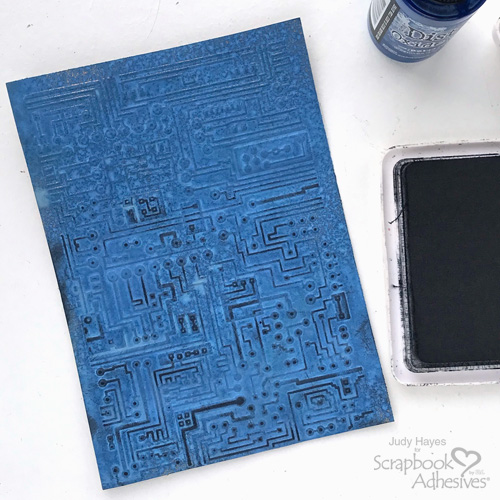
Rub Distress Archival Black Soot ink pad directly over the embossed piece to apply ink to raised design. Keep ink pad flat and use light pressure continuing to apply ink until all details are inked. Heat set the ink and trim to 4.125 x 6 inches.
Add Circle Frames
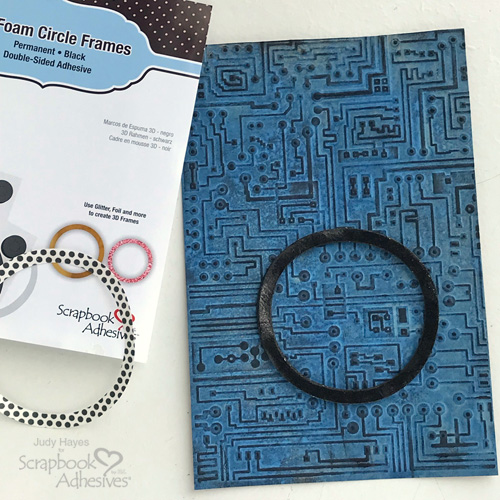
Place 2.5-inch circle frame from 3D Foam Circle Frames Black over the circuit background. Press in place. Remove the liner and apply black embossing powder. Heat set with a heat tool. Add a larger 3D circle frame (about 3.25 inches wide) around the first circle. Place a smaller circle frame (about 1.75 inches wide) in the center. Press firmly in place.
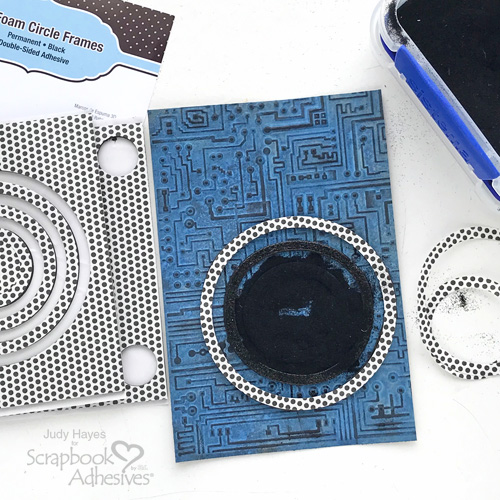
Remove liner from small 3D foam circle frame, cover with black embossing powder, remove excess, and heat set. Designer’s Tip: A dry paintbrush can be used to brush away stray embossing powder before heat setting. Repeat for a large 3D foam circle frame.
Attach Micro Squares
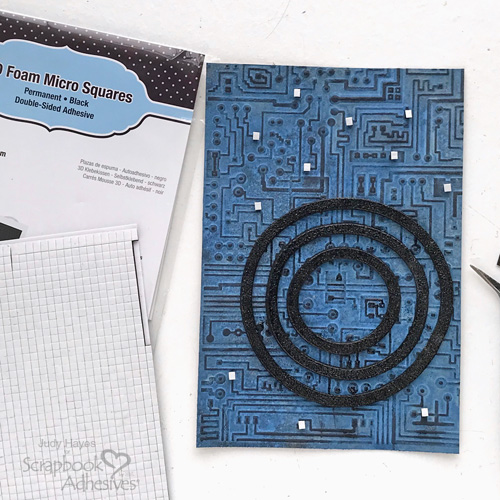
Place 3D Foam Squares Micro Black on embossed circuit background. Use a tweezer if needed to place Micro Squares. Press firmly in place.
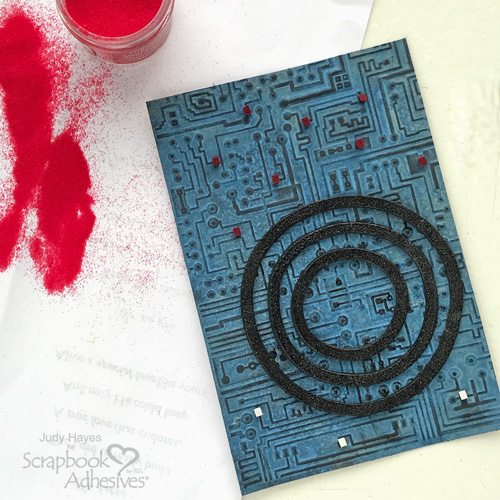
Remove liners from Micro Squares, cover with red embossing powder and heat emboss using a heat tool. Repeat as needed.
Assemble Card Base
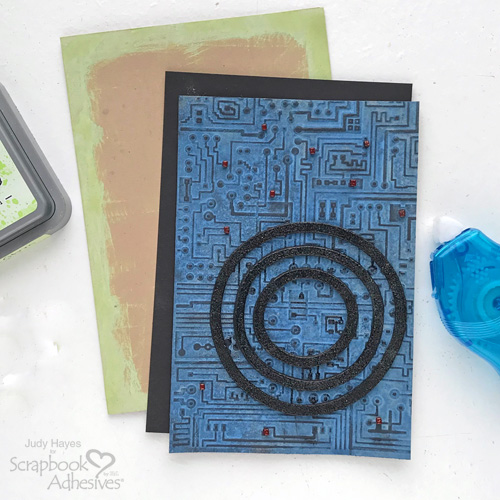
Form 4.5 x 6.5-inch card from Kraft cardstock. Apply Twisted Citron ink along edges of the card front. Dry with a heat tool. From black cardstock, cut a mat that’s slightly larger than the embossed circuit piece. Secure the card layers together using E-Z Runner® Petite Permanent Dots Refillable Dispenser.
Stamp Greeting
Apply Twisted Citron ink directly from pad to scrap of Kraft cardstock. Dry completely with a heat tool.
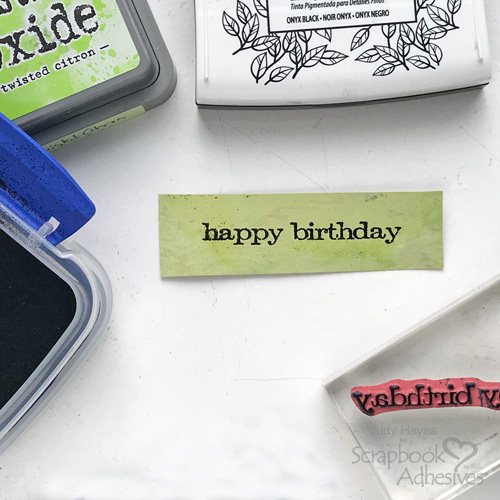
Use a stamping duster over the inked paper to keep embossing powder from sticking in unwanted areas. Stamp greeting with Versafine Black Onyx ink. Cover with black embossing powder, remove excess and heat emboss with a heat tool.
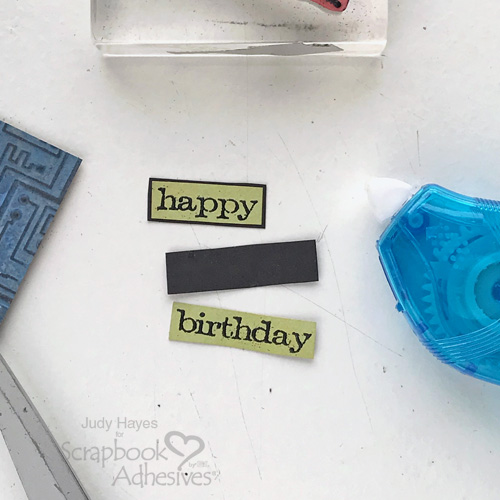
Cut greeting apart and trim around each word. Cut black cardstock mat for each word. Fasten each word to the black mat using E-Z Runner® Petite Permanent Dots Refillable Dispenser to apply adhesive.
Fasten Greeting to Card
Position greeting on the card to determine placement.
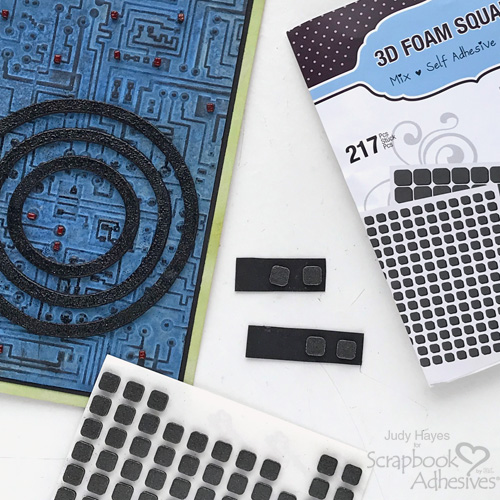
Apply small squares from 3D Foam Squares Black to the back of greeting pieces on ends that fasten on the embossed background. Apply adhesive with E-Z Runner® Petite Permanent Dots Refillable Dispenser to ends that lap over circle frames. Remove liners and attach the greeting to the card front.
Place more 3D Foam Squares Micro Black near greeting. Apply embossing powder and heat emboss as previously directed.
Thanks for Visiting!
Judy Hayes
Creative Time: 35 Minutes
Skill Level: Intermediate
Materials Needed
Scrapbook Adhesives by 3L®
- 3D Foam Circle Frames Black
- 3D Foam Squares Micro Black
- E-Z Runner® Petite Permanent Dots Refillable Dispenser
- 3D Foam Squares Black Mix
Other Supplies: Imagine Crafts/Tsukineko Versafine Onyx Black Ink; Ranger Ink (Distress Archival Ink Black Soot, Distress Oxide Spray Prize Ribbon, Distress Ink Twisted Citron, Black Embossing Powder); Sizzix Tim Holtz Circuit Texture Fade Embossing Folder; Stampers Anonymous Tim Holtz Simple Sayings Stamp; Cardstock (Black, Kraft); Red Embossing Powder
Save it to Pinterest!
Visit our Website and Blog!
Sign up for our Newsletter so you never miss a contest or giveaway!


