
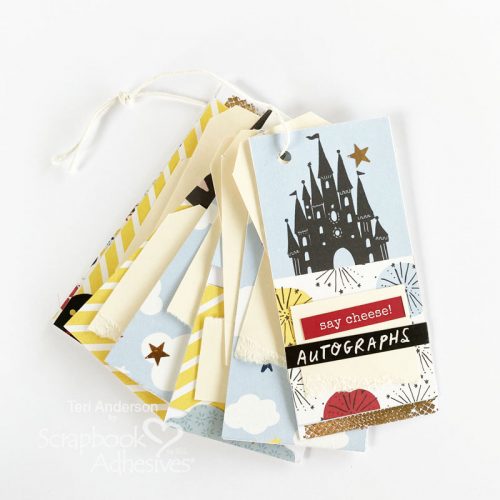
Hi, friends! Planning an adventure at your favorite amusement park? Teri here to show you how to make an autograph book to take with you and collect signatures of all your favorite characters!
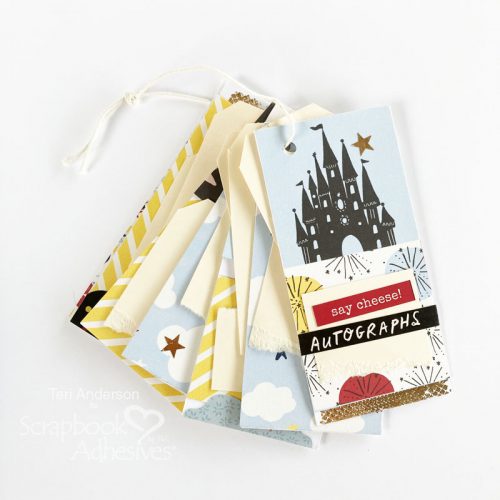
This book is easy to make and comes together quickly! Whether you are planning to visit next week or in six months, this project will be a great way to record your adventure!
Autograph Book Base Pages
Start by cutting some pages from cardstock. Each page should be about 2″ wide. The pages can be as long as you want them to be!
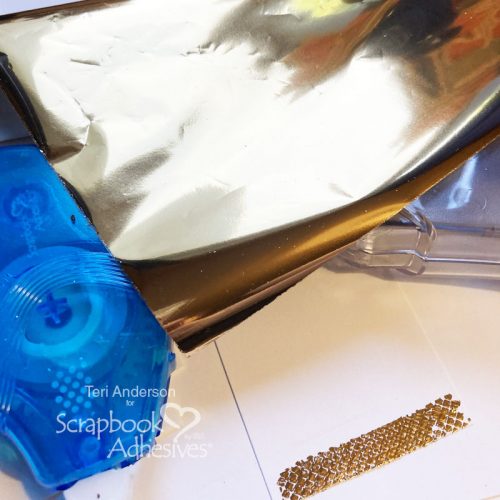
Randomly apply a line of dots from the E-Z Runner® Petite Permanent Dots Refillable to some of the pages. Set a bronze sheet from the Metallic Transfer Foil Sheets in Nature Colors on top with the shiny side facing up. Burnish the foil onto the dots.
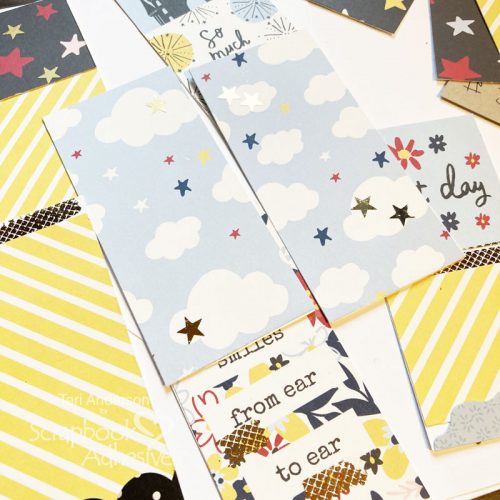
Continue to decorate your pages by adding pieces of patterned paper and stickers to them. Give your pages a little glitz by applying some stars from the E-Z Runner® Stars and E-Z Runner® Petite Permanent Dots Refillable to them and adding foil on top.
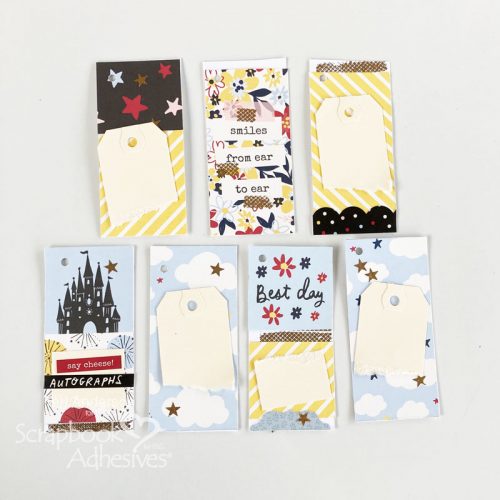

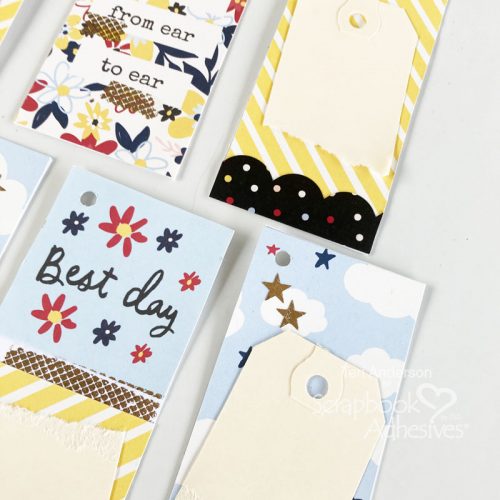
Take some small tags and tear them up. Add pieces of the tags to your pages with the E-Z Runner® Grand Ultra Strong Refillable Dispenser so you can have amusement park characters sign them in the future. Also, use a hole punch to add holes to the top of each page.
Flat Embellishment Ideas
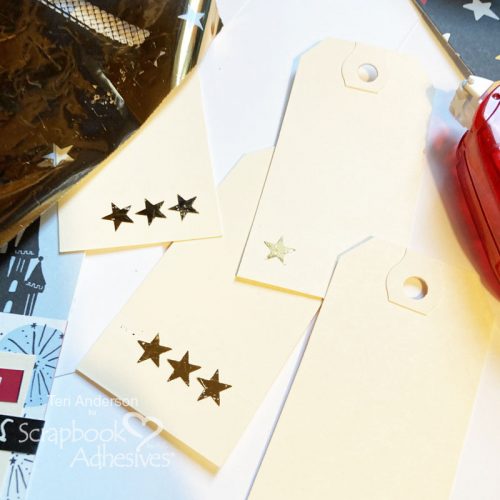
Set your pages aside and get out some more small tags. Apply E-Z Runner® Stars and foil them onto the tags.
Designer’s Tip: I wanted my book to be flat so I choose to use “flat” adhesives for this step. Want your book to have a little bulk? Use 3D Creative Foam Shapes instead. There are a lot of shapes available and they look amazing when paired with metallic transfer foil.
Assemble the Autograph Book Pages Together
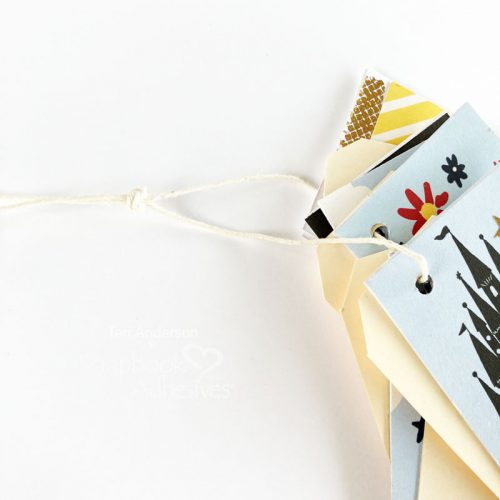
Now, you are going to assemble the book! Take a piece of twine (or recycle some string from one of your tags) and bring it through all the pages and tags. Try mixing things up by placing a page before a tag and a page after each tag!

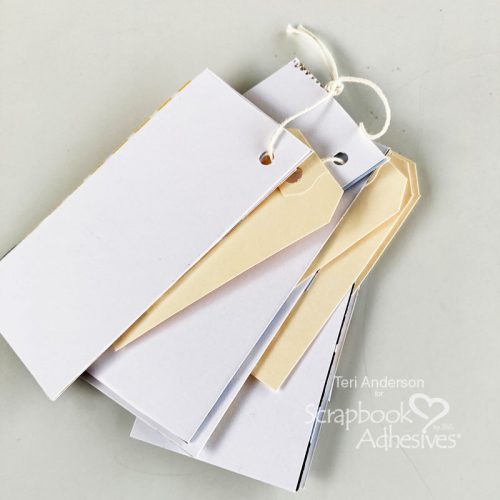
When finished, you’ll have a cute little book to pack in your backpack when you hit the park!
Have the characters sign your pages during your visit! Worried you won’t have enough space for all the characters to sign your book? Leave the back of your pages blank so they can sign them as well!
Thank you for stopping by today and taking a look at my Amusement Park Autograph Book Tutorial!
Happy creating!
Creative Time: 60 Minutes
Skill Level: Beginner
Materials Needed
Scrapbook Adhesives by 3L®
- Metallic Transfer Foil Sheets Nature Colors
- E-Z Runner® Petite Permanent Dots Refillable Dispenser, E-Z Runner® Grand Ultra Strong Refillable Dispenser, and E-Z Runner® Stars Refillable Dispenser
Other
White Cardstock: Neenah Paper; Patterned Paper and Stickers: Simple Stories (Say Cheese Main Street Collection); Tags: The Paper Company; Hole Punch; Twine
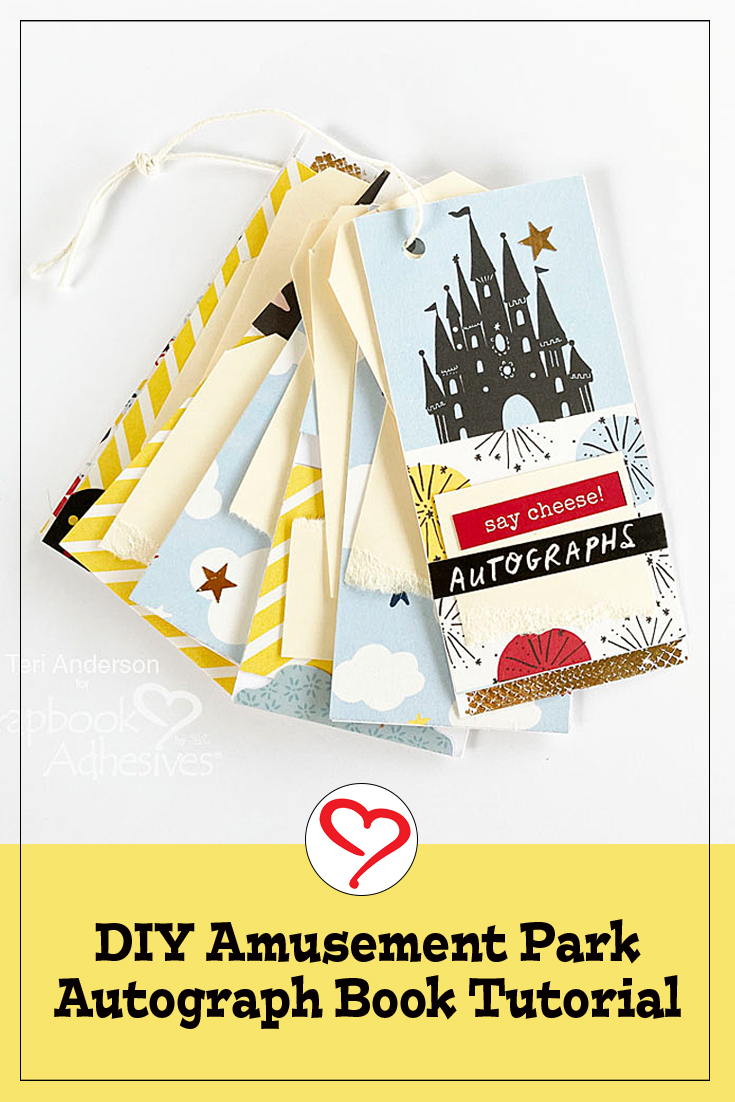
Save to Pinterest!
Visit our Website and Blog!
Sign up for our Newsletter so you never miss a contest or giveaway!


