
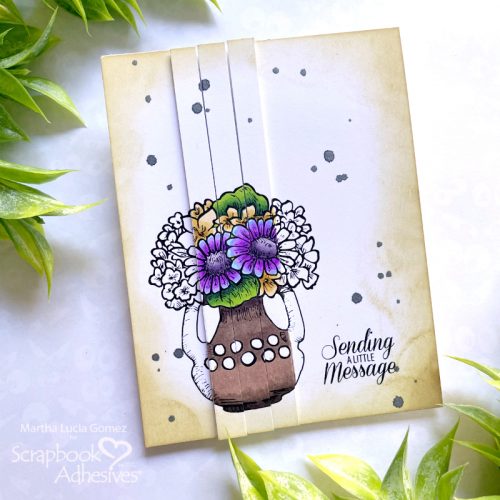
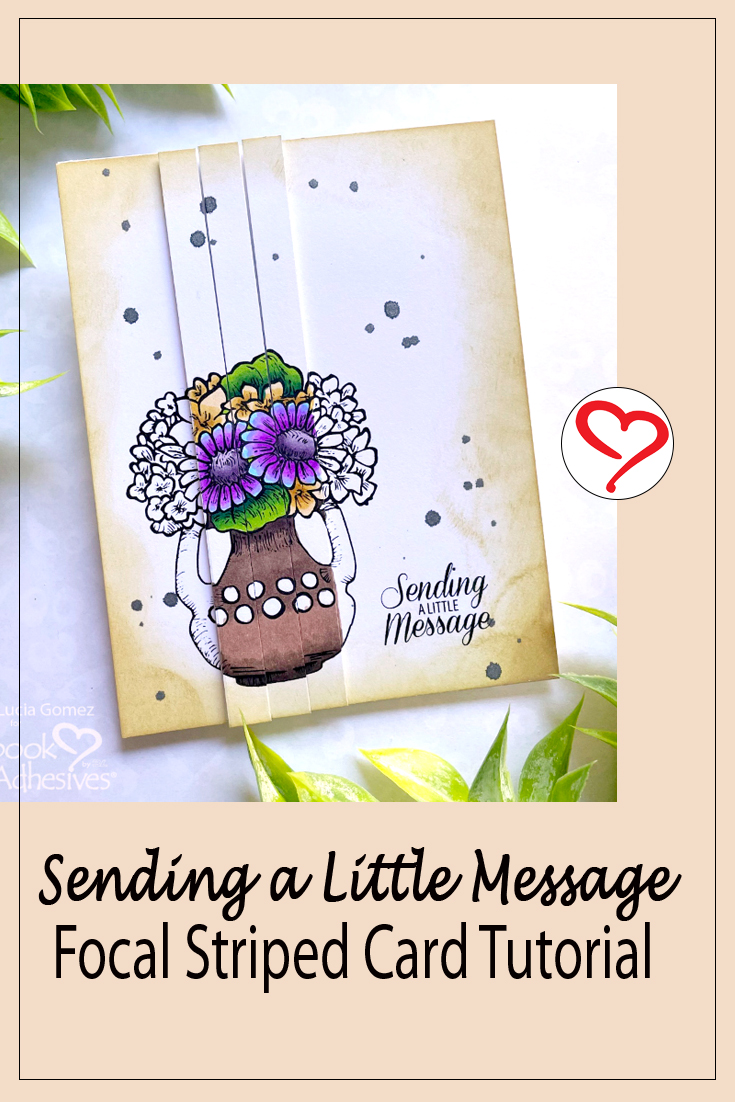
Hello crafty friends, Martha Lucia here. Today, I am sending a little message with this sweet Focal Striped Card featuring 3D Foam Strips in Large. What a fun and unique way to enhance a card design. Let me show you how!
Start with the Focal Stamp Image
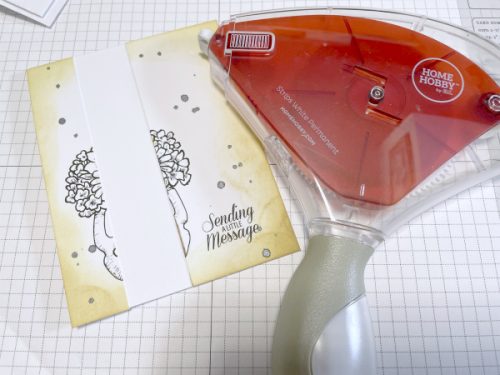
I started printing two images of the digital stamp set Sending a Little Message onto white smooth cardstock. Then, I resized the layer to 5.5″ x 4.25″.
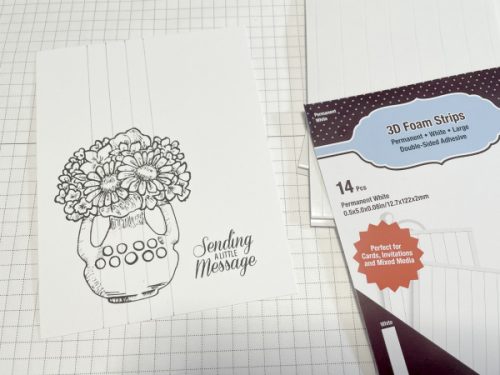
I first traced three vertical lines over the center of the stamped image of 3/8″ wide to cover the major part of the flower base. I used a pencil to then can erase the lines inside of the image and colored it with Alcohol Markers.
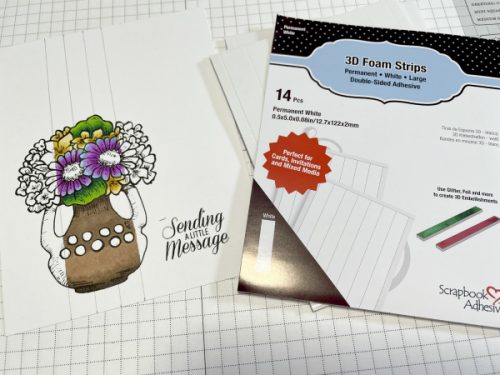
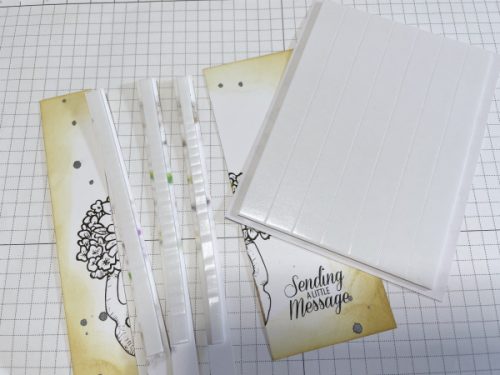
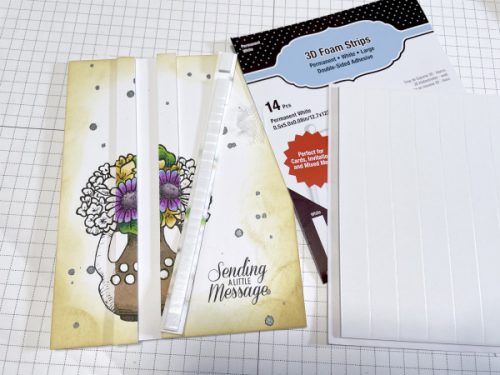
When I was satisfied with the coloring, I inked the borders of the printed layer and splattered them with Fireworks to add more interest to the layer. Additionally, I cut with the paper trimmer the traced lines and pasted the 3D Foam Strips in Large over each piece.
The traced strips were less wide than the strips included on the 3D Foam Strips Adhesive Package. I made it with the intention to use the strips included on both sides of the package that are less wide than the others.
Assembling the Card
To assemble the card, I created a white smooth card base and pasted the lateral sides of the decorated layer directly on top. For it, I used the E-Z Runner Grand Permanent Strips.
Then, I pasted the colored strips in the corresponding place. Like the adhesive strips were less tall than the cardstock strips, I completed it with a tiny piece of Crafty Foam Tape White 108 ft.
Voila, my focal Striped card is finished!

I hope you are inspired by this easy and fun technique. With this Focal Striped Card, you add a different look to your colored images and make your cards look wonderful.
Happy creating!
Martha Lucia
Creative Time: 45 Minutes
Skill Level: Beginner
Materials Needed:
Scrapbook Adhesives by 3L®
Other
Stamps: Joy Clair Designs (Sending a Little Message Digital Stamp); White Smooth Cardstock, Spectrum Noir Alcohol Markers
Save to Pinterest!
Visit our Website and Blog!
Sign up for our Newsletter so you never miss a contest or giveaway!


