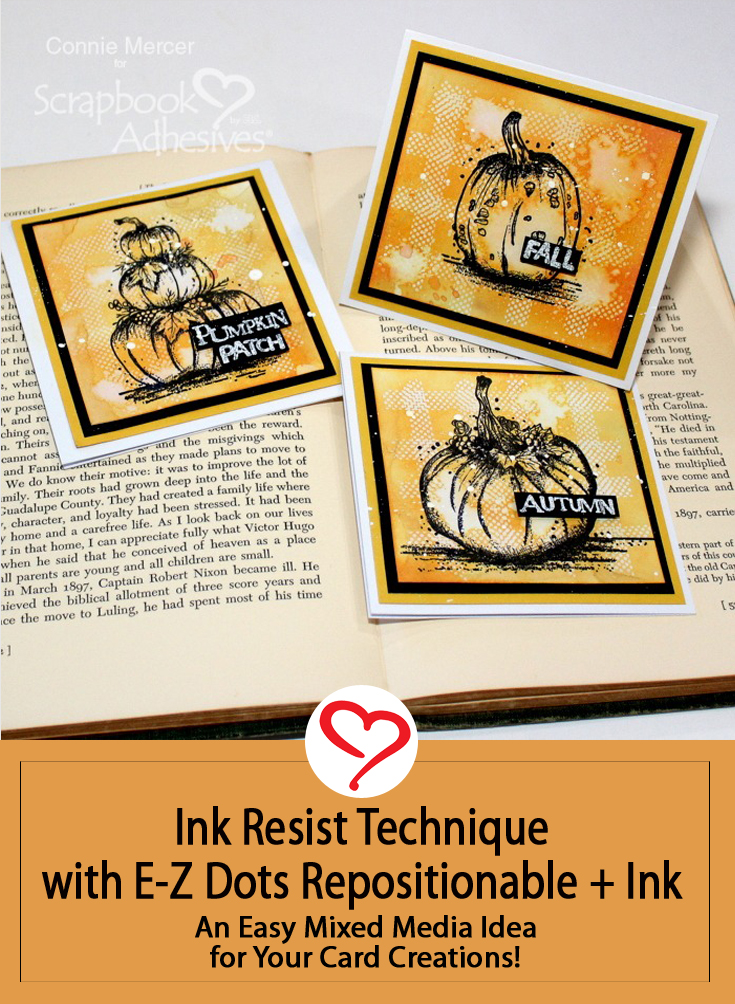
Hi, Connie here with an easy and fun way to make a plaid background using the E-Z Runner Grand Repositionable Dots Refillable Dispenser and Distress Oxide Ink. I’m using pumpkin stamps to bring on the fall weather in this Pumpkin Square Card Set! Hoping anyway!
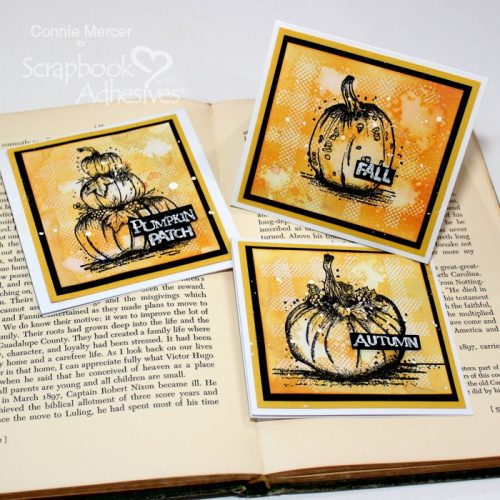
These Pumpkin Squares Cards are about 4″, so you will need to cut your card base, card mats, and card front accordingly. For my card front, I’m using a piece of white cardstock with some ink stains (in my stash). Now I’m all ready to go!
Plaid Background for the Pumpkin Square Card
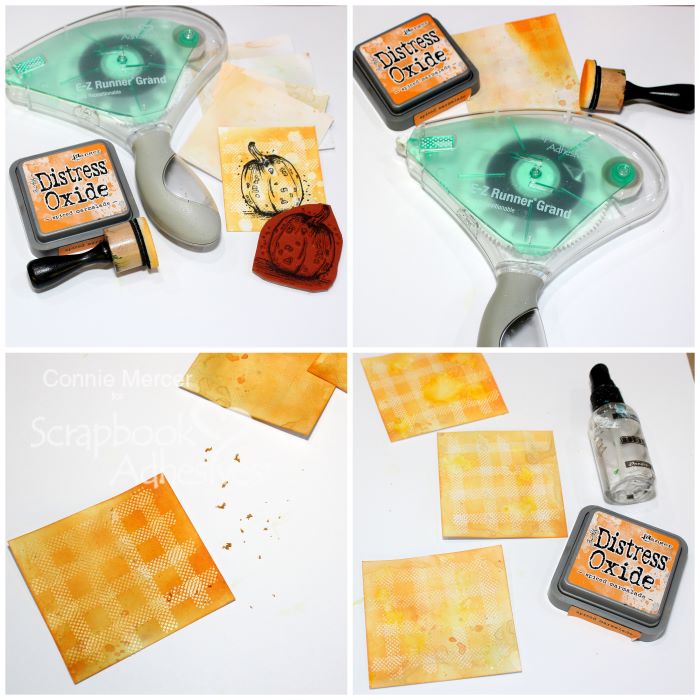
- 1. Gather the supplies. You will need E-Z Runner Grand Repositionable Dots Refillable Dispenser, Distress Oxide Ink in Spiced Marmalade, and seasonal-themed stamps.
2. Starting from top to bottom, apply the Repositionable Dots Adhesive. Turn the cardstock and go horizontally with the adhesive. Apply the Distress Oxide Ink to the card front using a foam applicator.
3. Using your finger rub off the repositionable adhesive. The plaid design will start to show.
4. When all the adhesive is removed, spray the card front with water and then dab off. This will give you a distressed look.
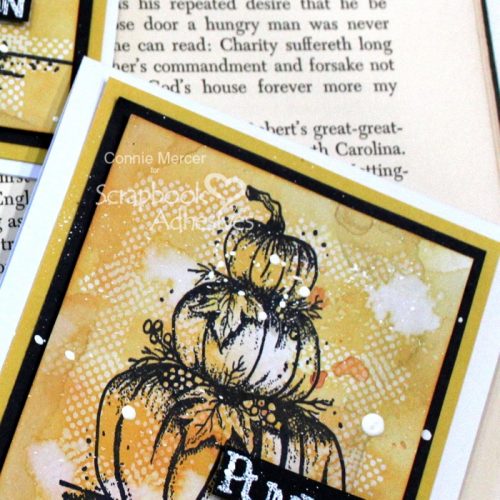
Stamping and Embossing the Pumpkin Square Card
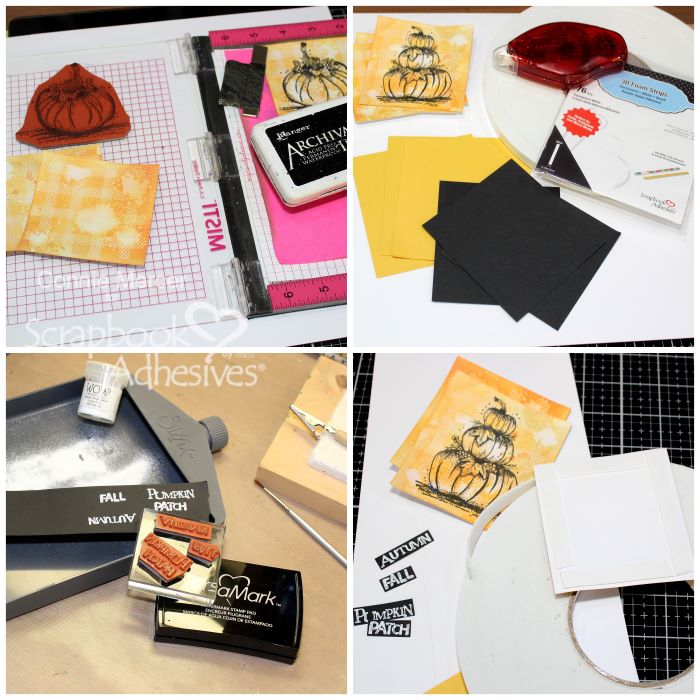
- 1. Using a stamping platform, stamp the image onto the card front. Re-stamp if necessary.
2. To put the card together, you will need the E-Z Runner Permanent Strips Refillable Dispenser, the Crafty Foam Tape 108′, and 3D Foam Strips (for the words).
3. Emboss the stamped words, using white embossing powder, on black cardstock. Cut into a word strip.
4. Adhere the Crafty Foam Tape 108′ to the card front and then adhere to the black cardstock mat.
Last Finishing Steps
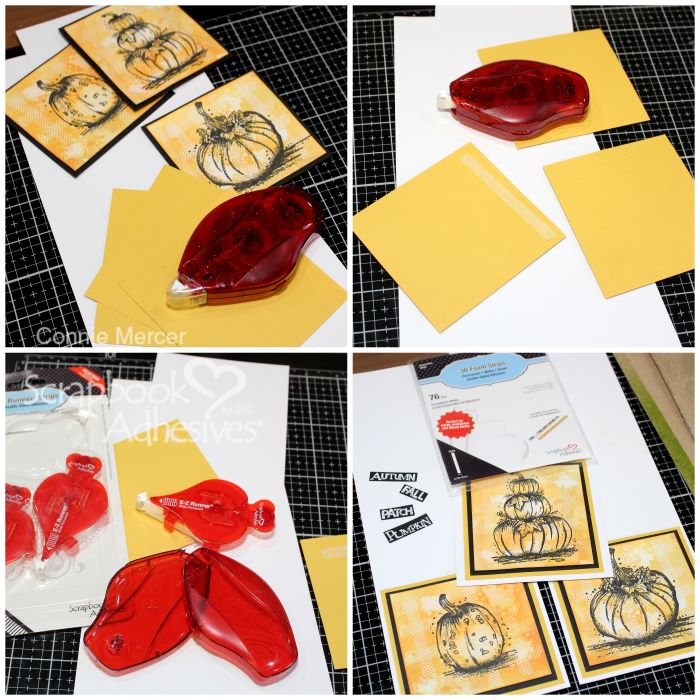
- 1. Adhere the black cardstock mat to the yellow mat using the E-Z Runner Permanent Strips Refillable Dispenser.
2. Then the yellow cardstock mat to the folded white cardstock base.
3. I ran out of adhesive in between this process so super easy just popped in a NEW E-Z Runner Strips Refill.
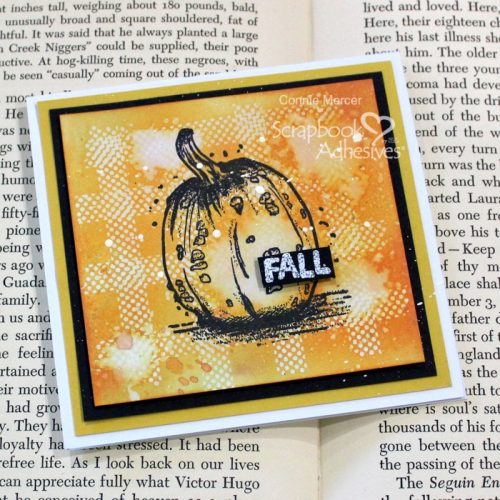
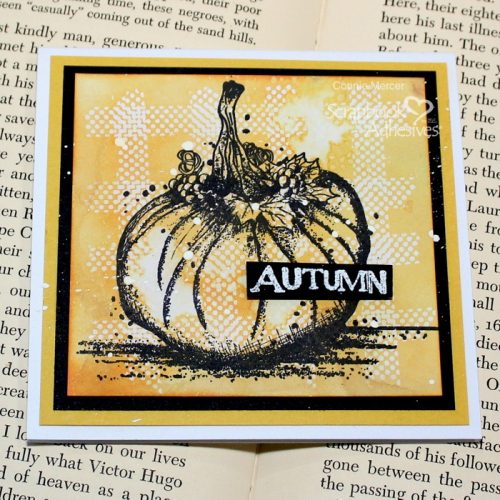
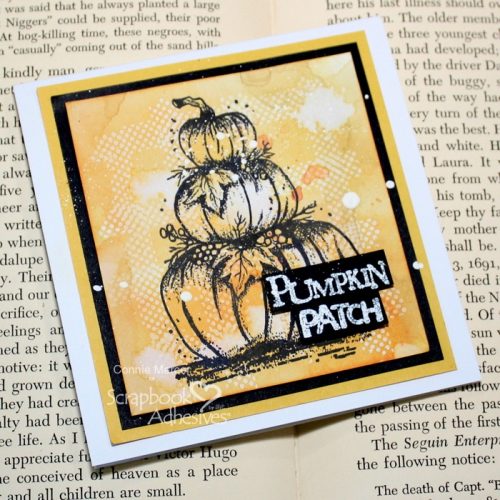
4. Add the 3D Foam Strips to the back of the embossed word strips and adhere to the card fronts. Speckle with white acrylic paint to finish the cards.
Thanks for stopping by !!
Connie Mercer
Creative Time: 50 minutes
Skill Level: Beginner
Materials Needed:
Scrapbook Adhesives by 3L®
E-Z Runner Permanent Strips Refillable Dispenser
E-Z Runner Grand Repositionable Dots Refillable Dispenser
3D Foam Strips
Crafty Foam Tape 108′
Other: Stamps: KatzelKraft (KTZ 278); Ink: Ranger Ink (Archival in Jet Black, and Distress Oxide Ink in Spiced Marmalade); Embossing Powder: Wow Embossing Power; Stamping Platform: Misti (My Sweet Petunia)
Save to Pinterest!
Visit our Website and Blog!
Sign up for our Newsletter so you never miss a contest or giveaway!


