
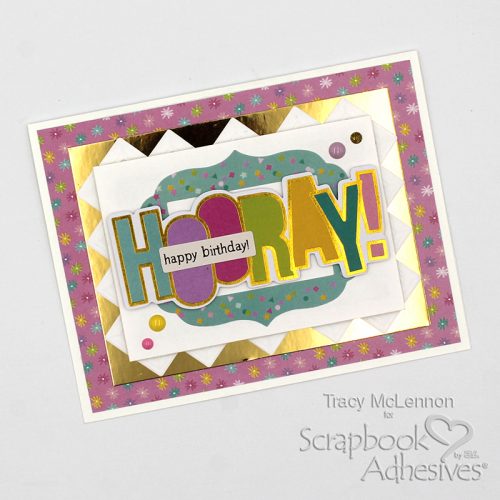
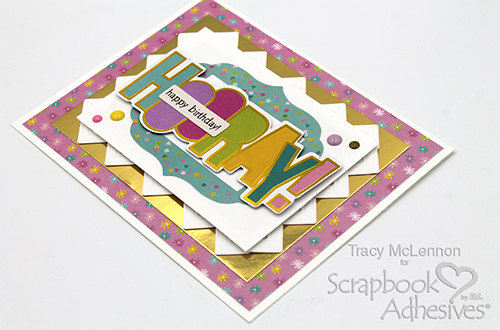
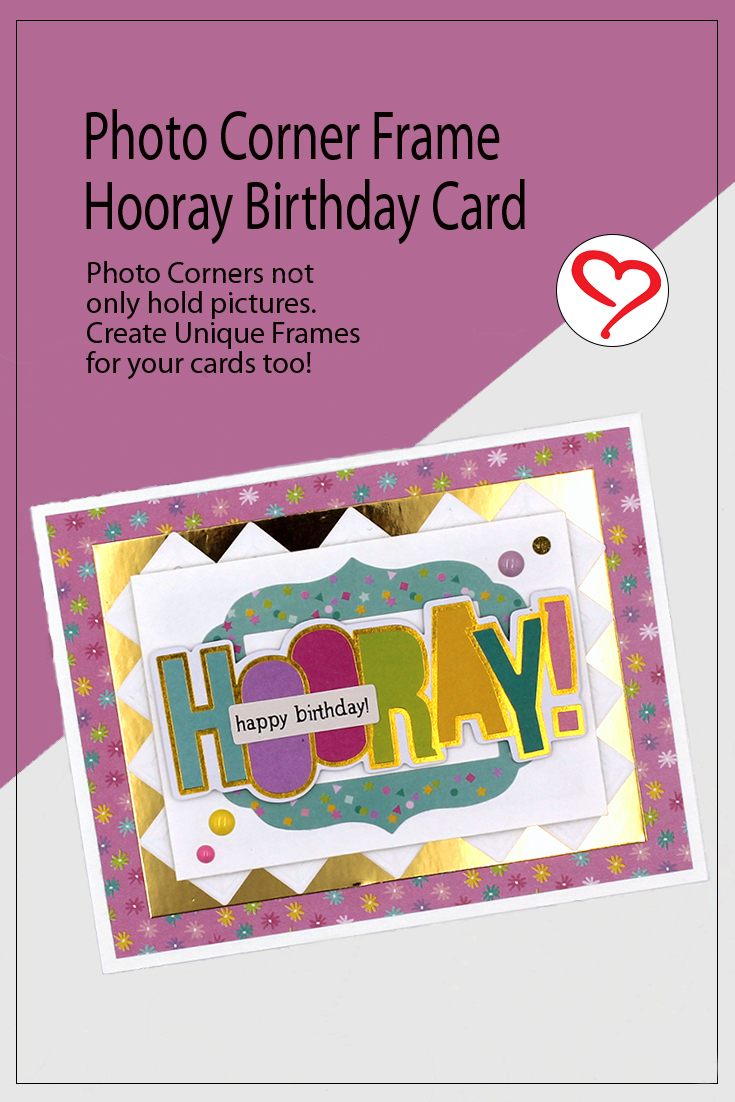
Hello crafty friends! Tracy here, and today I have a pretty little birthday card to share featuring a Creative Photo Corner Frame. With it being a new year, like lots of people, I have things I would love to do better at in 2023. This year, I would love to send more cards. This means I would like to make more and keep on top of events each month this year. Here are all the details on this first card of 2023.
Making the Photo Corner Frame
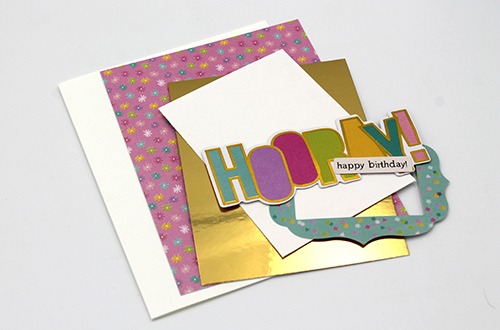
First I cut my cardstock and patterned paper layers according to the die cut pieces I wanted to use for my card, including the gold cardstock layer that will have the Creative Photo Corner Frame.
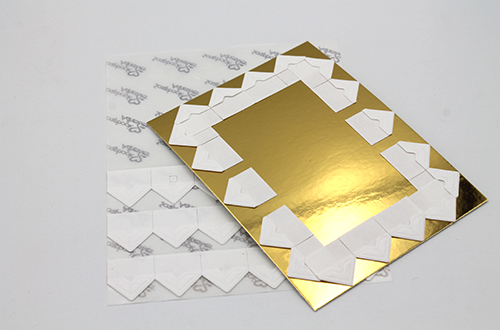
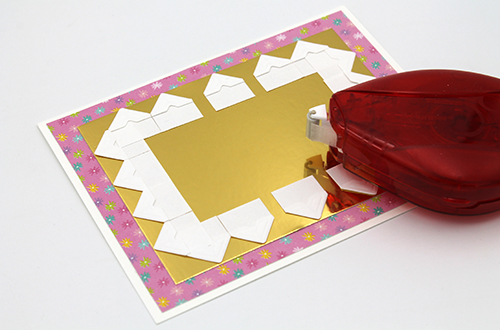
Using the small white cardstock layer as a guide, add the Creative Photo Corners White to the gold cardstock layer starting with the corners.
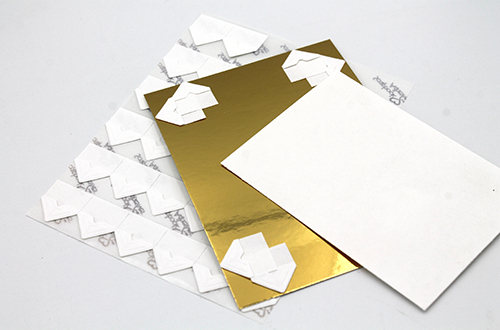
Next, fill in the sides of the Creative Photo Corner Frame with more Creative Photo Corners White.
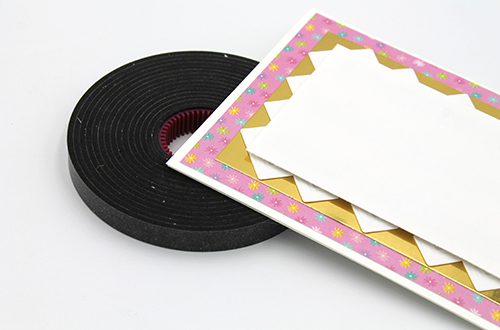
Adhere the first few layers of the Creative Photo Corner Frame card together using the E-Z Runner® Permanent Strips Refillable Dispenser.
I added the small white cardstock layer to the card using Crafty Foam Tape Black.
The die cut frame was added to the card front using the E-Z Runner® Micro Refillable Dispenser. I used the same adhesive to attached the sentiment die cuts together.
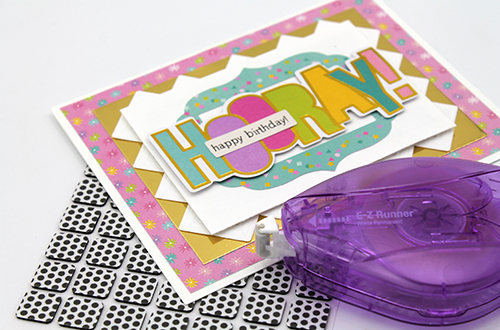
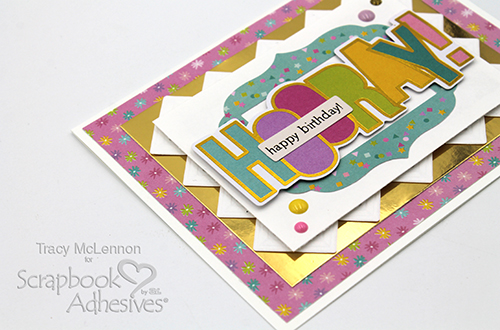
Attach the die cut sentiments to the Creative Photo Corner Frame birthday card using Thin 3D Foam Squares Black Mix. The final touch was to add a few coordinating enamel dots for a little bit of extra sparkle and shine.
Thanks so much for stopping by!
Tracy
Creative Time: 30 Minutes
Skill Level: Beginner
Materials Needed
Scrapbook Adhesives by 3L®
E-Z Runner® Permanent Strips Refillable Dispenser
Crafty Foam Tape Black
Creative Photo Corners White
E-Z Runner® Micro Refillable Dispenser
Thin 3D Foam Squares Black Mix
Other
Simple Stories- Magical Birthday Collection; White Cardstock
Save to Pinterest!
Visit our Website and Blog!
Sign up for our Newsletter so you never miss a contest or giveaway!


