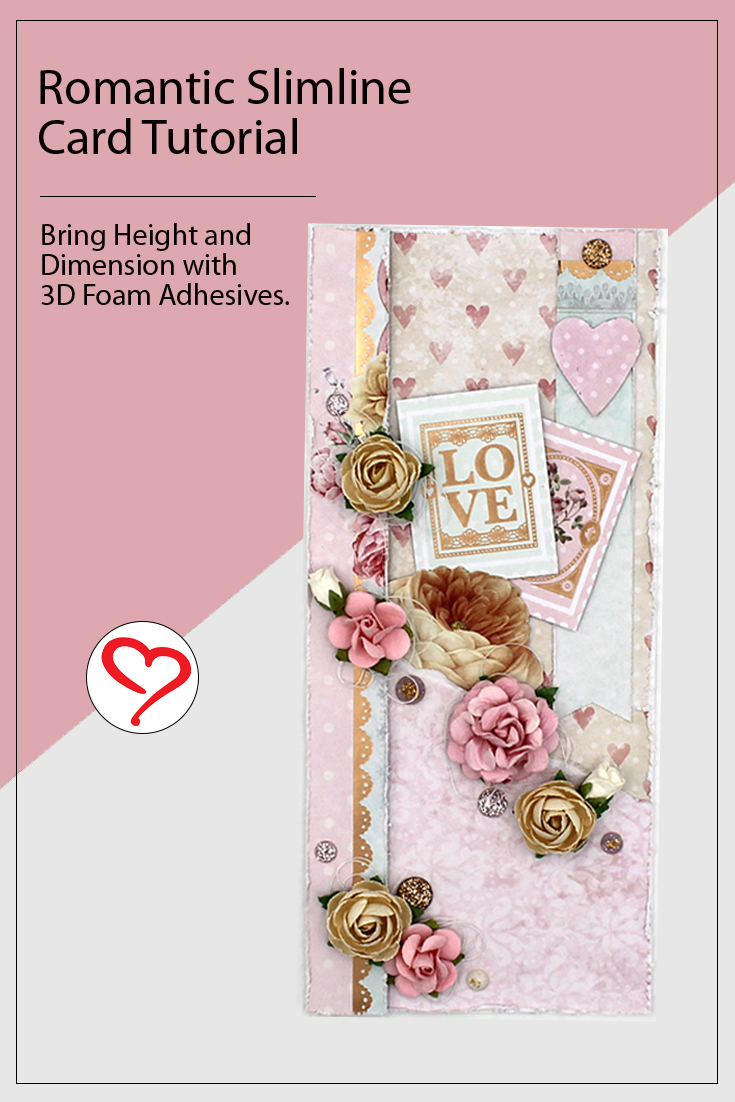
Hello crafty friends! Tracy here, and today I have a pretty and soft Romantic Slimline Card packed with dimension. See all the details on how I created this. Let me show you how!
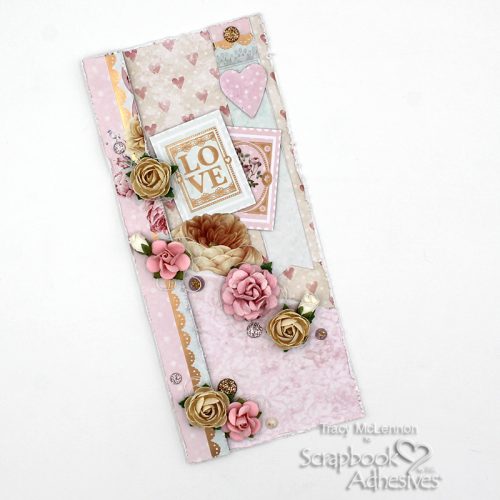
Let’s Get Crafty!
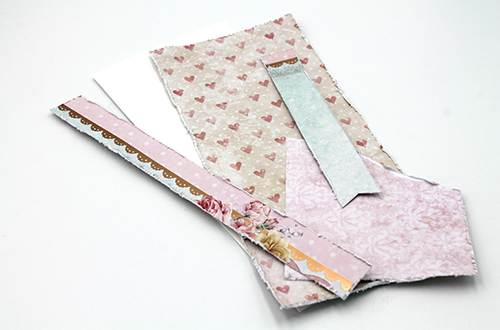
Cut all of my base patterned paper layers and create the card base for the Romantic Slimline Card. The base is white cardstock cut to 8.5 x 7.5 inches and folded in half. Cut the heart-patterned paper to 3.75 x 8.5 inches. This will cover the entire card front.
I added a patterned strip up the side, a little blue patterned banner, and a chunk of pink patterned paper for the bottom that has the top edge torn. All of these layers have the edges distressed.
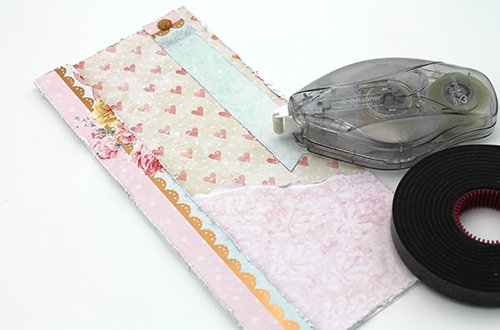
I used the E-Z Runner® Ultra Strong Refillable Dispenser to attach the hearts, pink, and blue patterned paper pieces to the white cardstock card base. Then I used the Crafty Foam Tape Black to adhere the patterned border up the side of the slimline card.
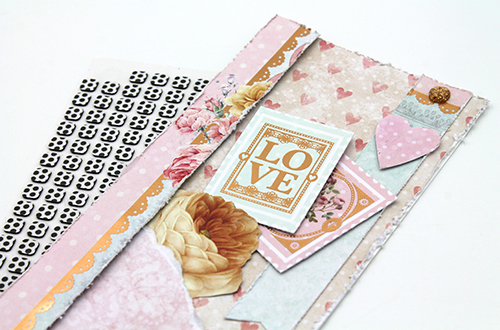
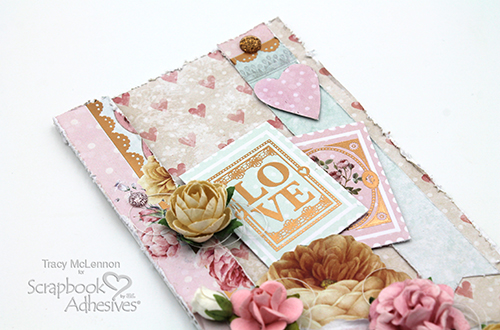
Fussy cut out bits and pieces from the patterned paper then add them to the card using Thin 3D Foam Squares Black Mix.
Nothing says dimension like beautiful flowers on a project. But they can be tricky to stick down. I love using Adhesive Dots Large Repositionable, and sometimes I even layer them for more gooey stickiness.
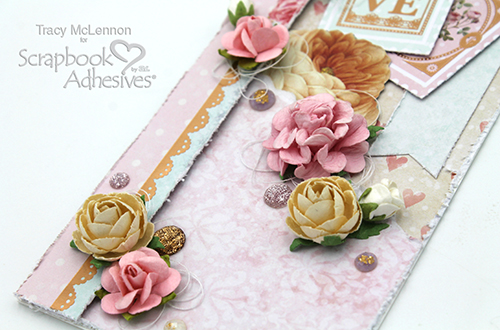
Create clumps of white thread, add the Adhesive Dots Large Repositionable to the larger flowers, and adhere them on top of the clusters of thread. Use the Adhesive Dots Micro for the smaller flowers.
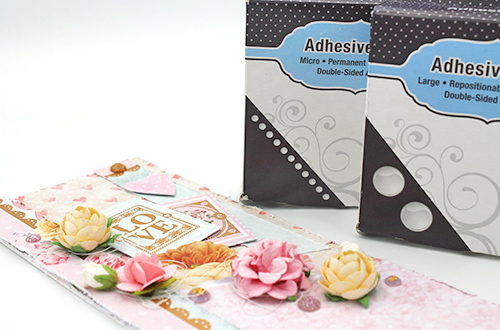
The final touch on this Romantic Slimline Card is to add some sparkly gems around the flower clusters.
Thanks so much for stopping by!
Tracy
Creative Time: 45 mins
Skill Level: Intermediate
Materials Needed:
Scrapbook Adhesives by 3L®
E-Z Runner® Ultra Strong Refillable Dispenser
Adhesive Dots Micro
Adhesive Dots Large Repositionable
Thin 3D Foam Squares Black Mix
Crafty Foam Tape Black
Other:
Prima Patterned Papers and Flowers; Cardstock- White; Gems; White Thread; Paper Distress Tool
Save to Pinterest!
Visit our Website and Blog!
Sign up for our Newsletter so you never miss a contest or giveaway!


