
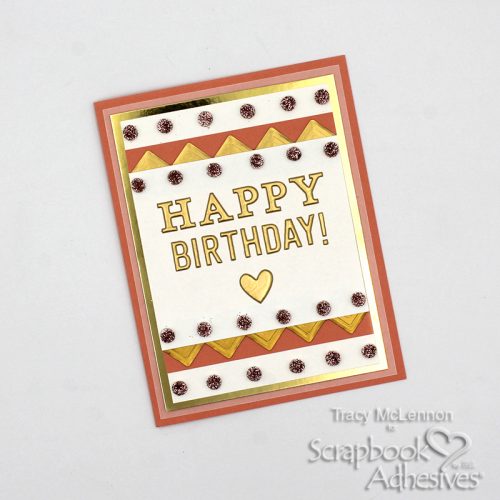
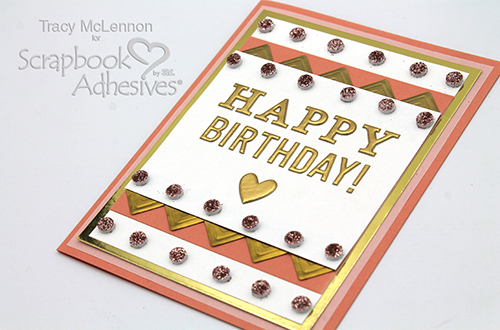
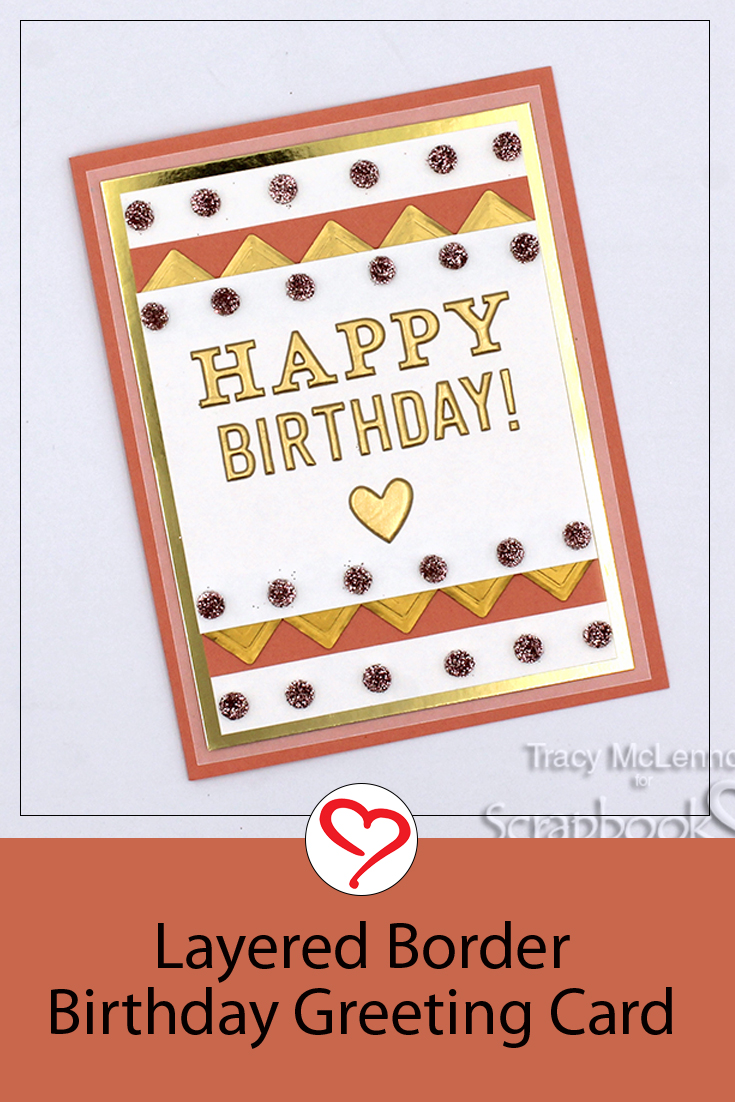
Hello crafty friends! Tracy here, and today I have a fun little project to share. Here are all of the details on how I created this Layered Border Birthday Greeting Card.
Card Base Layers for Layered Border Birthday Card
Start by cutting the card base layers for this card. The card base is pink cardstock, vellum layer (4×5.25), gold cardstock (3.75×5) and white cardstock (3.5×4.75).

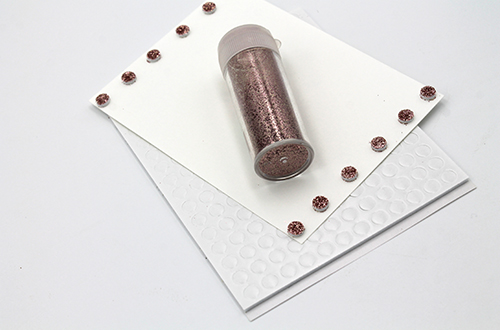
Add 3D Foam Circles White Mix to the top and bottom edges of the white cardstock layer. Using pink ultra-fine glitter, cover the 3D Foam Circles White Mix and brush off the excess glitter.
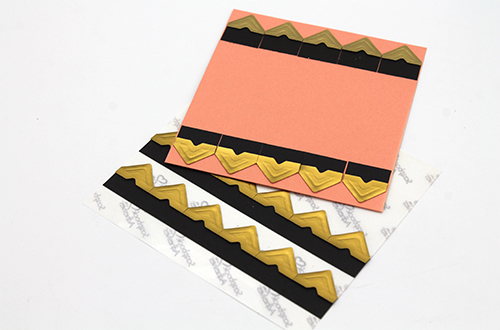
Cut a piece of pink cardstock the is 3.5″ wide that fits in between your glitter covered 3D Foam Circles White Mix. Adhere Creative Photo Corners Gold to the top and bottom of this pink cardstock layer.
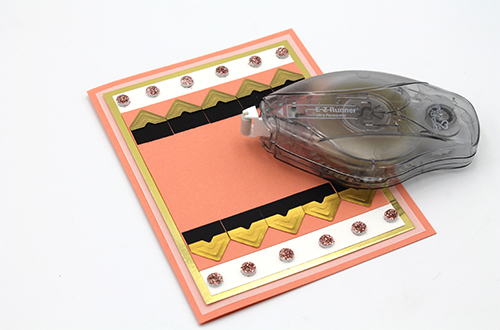
Adhere all of the layers so far together using the E-Z Runner® Ultra Strong Refillable Dispenser. The E-Z Runner® Ultra Strong Refillable Dispenser is perfect for all of the different paper textures I used for this Layered Border Greeting Card.
Cut a piece of white cardstock that is 3.5″ wide and long enough to cover the black background of the Creative Photo Corners Gold borders. Add rows of 3D Foam Circles White Mix to the top and bottom with more pink glitter. Then add this layer to the Layered Border Greeting Card front, again using the E-Z Runner® Ultra Strong Refillable Dispenser.

The final touch is to add the gold puffy sticker sentiment to the top white cardstock layer.
Thanks so much for stopping by!
Tracy
Creative Time: 45 minutes
Skill Level: Intermediate
Materials needed:
Scrapbook Adhesives by 3L®
3D Foam Circles White Mix
E-Z Runner® Ultra Strong Refillable Dispenser
Creative Photo Corners Gold
Other: Cardstock (White, Pink); Ultra-Fine Glitter; Gold Puffy Stickers; Vellum; Gold Cardstock
Save to Pinterest!
Visit our Website and Blog!
Sign up for our Newsletter so you never miss a contest or giveaway!


Visit our Website and Blog!
Sign up for our Newsletter so you never miss a contest or giveaway!