
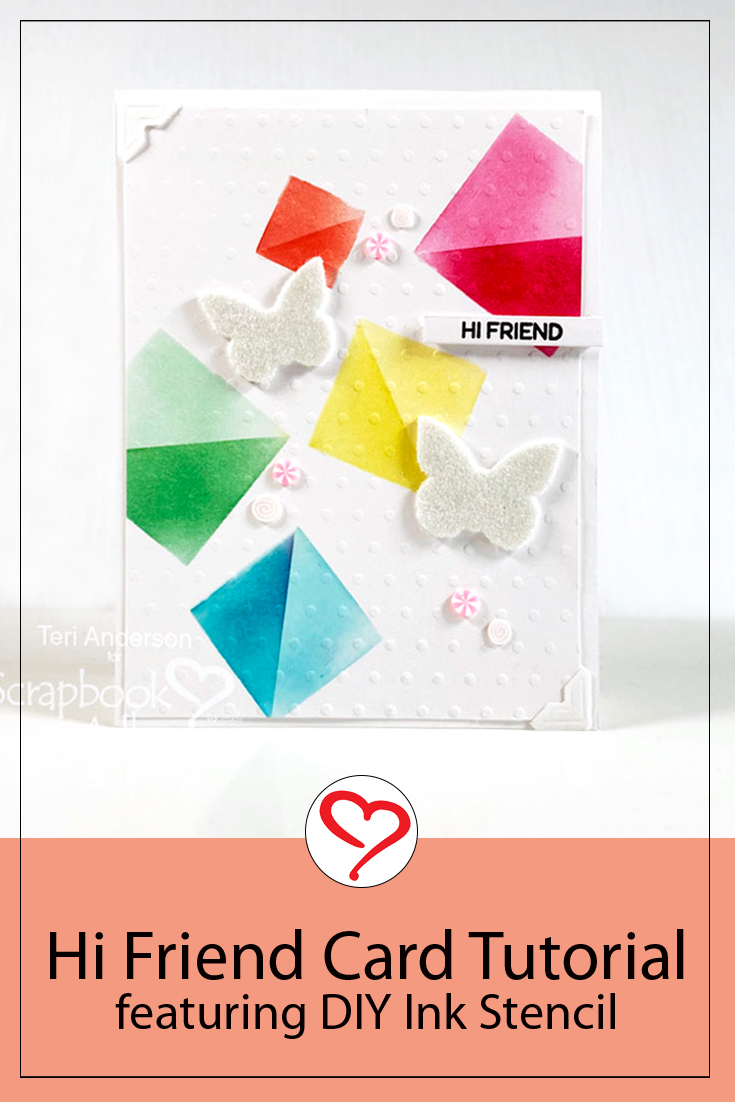
Hi, friends! Do you like to use stencils when you make handmade cards? Teri here to show you an easy way to make your DIY Stencil with cutting dies and Self-Laminating Pouches – Medium!
These stencils are easy to make and perfect to use again and again!
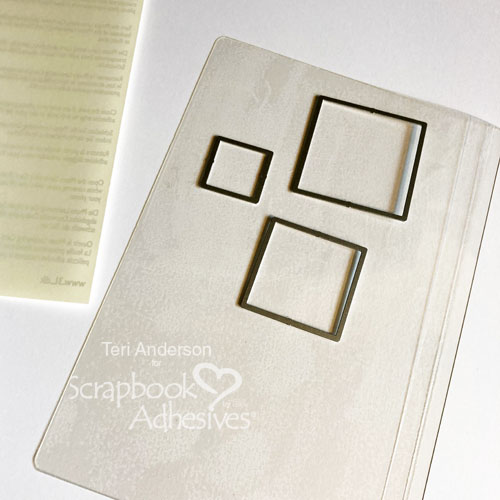
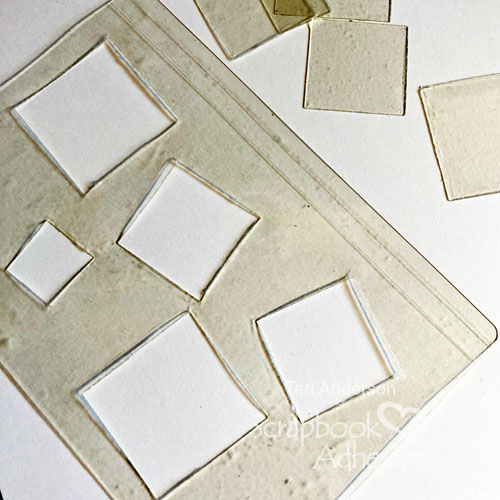
Create a DIY Stencil
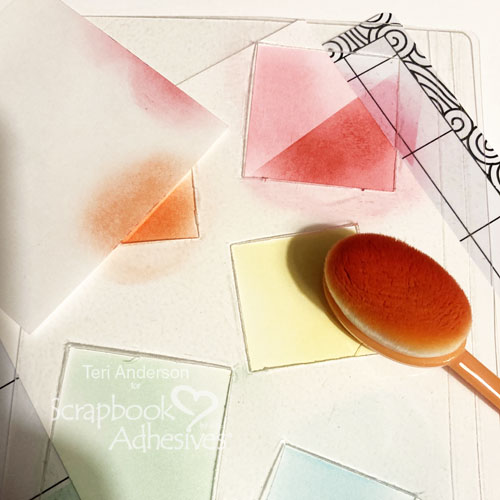
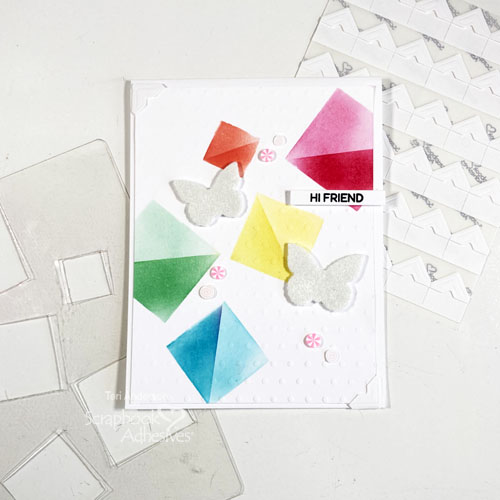
Start by sealing a Self-Laminating Pouch. Set a few cutting dies on it and run it through your die-cutting machine. I recommend using a basic shape that is broad and open. Secure your dies with washi tape in case you need to run the pouch through your machine multiple times, and to avoid shifting. Also, if your machine does not cut through the pouch completely, use scissors to complete the cuts.
Use with Inks
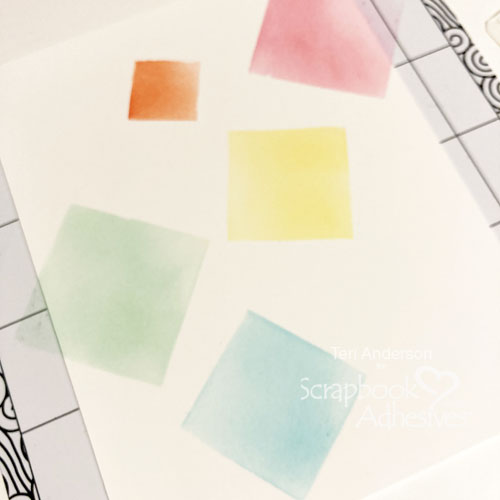
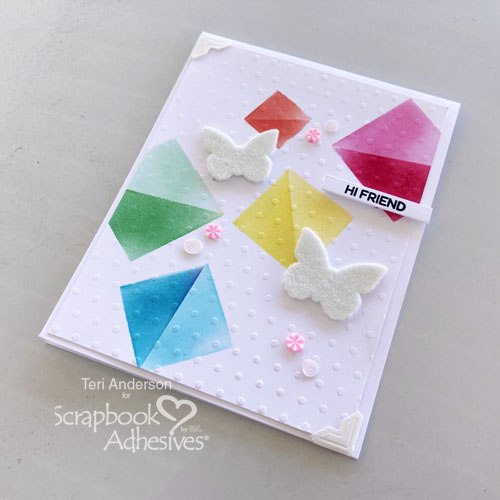
Set the stencil on a piece of cardstock. Use it to apply ink to the panel.
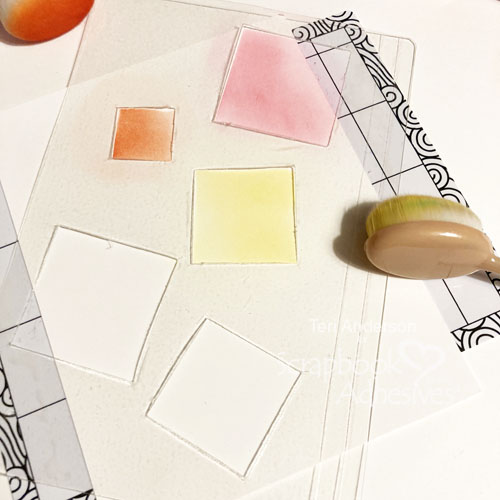
Kick up your inking by adding more ink. With a piece of scrap paper, apply the back with the E-Z Dots® Repositionable Dispenser. It will serve as a temporary mask. Partially cover your stencil opening, and apply another layer of ink. Then gently peel off the scrap paper, and you’ll end up with two shades of ink in each opening.
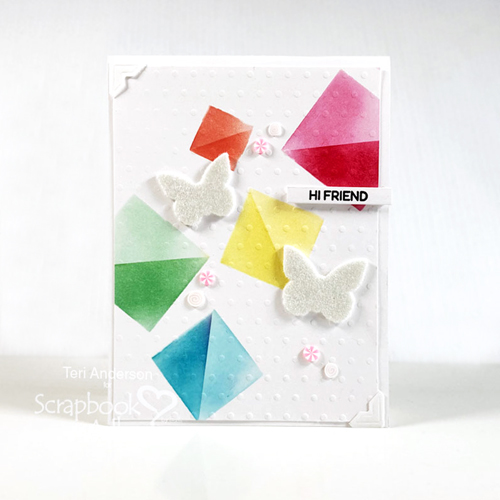
Embellish the Card Panel
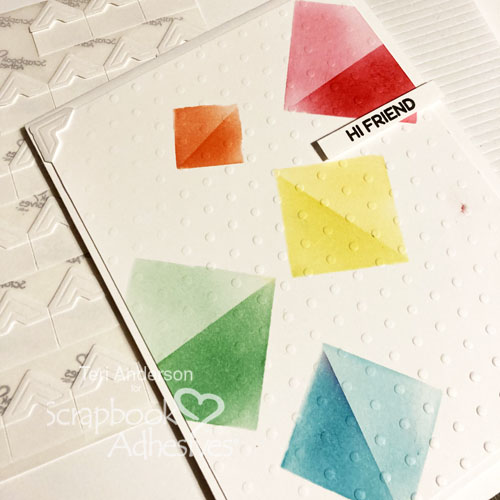
Give your panel a little texture by placing it in a dry embossing folder and running it through your die-cutting machine. Use what you have in your embossing folder stash, such as dots, stripes, and even flowers, for a different vibe!
Add a Creative Photo Corners White to each corner of the card panel. Then adhere the panel to a card base with the E-Z Runner® Permanent Strips Refillable Dispenser.
Finishing Touches to the Card
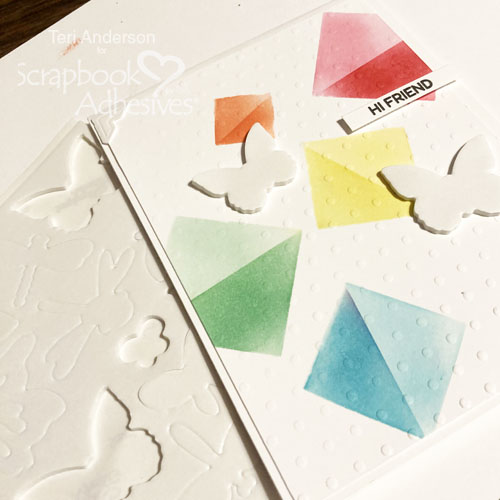
Stamp and die-cut a sentiment strip. Place it on your card with 3D Foam Strips which is perfect as it has a 1/8″ width. Randomly place some 3D Foam Butterflies on the panel, remove the top liner, and cover them with the flock. Make sure to completely cover the shapes, and press down into the adhesive to secure. Shake off the excess.
Complete your card by embellishing it with clay shapes, gems, or sequins using the Adhesive Dots Micro.
Remember to clean your homemade stencil by wiping any ink off of it with a baby wipe or water and drying it off. Be sure to set it aside so you can use it over and over again! I hope you’ll give this DIY Stencil Making technique a go!
Happy Creating!
Creative Time: 60 minutes
Skill Level: Intermediate
Materials Needed:
Scrapbook Adhesives by 3L®
3D Foam Butterflies and 3D Foam Strips
E-Z Runner® Permanent Strips Refillable Dispenser
E-Z Dots® Repositionable Refillable Dispenser
HomeHobby™ by 3L:
Self-Laminating Pouches – Cards Medium
Other: Cardstock: Neenah; Stamps: Hero Arts (Sentiment Strips – Everyday Stamp Set + Sentiment Strips Die); Cutting Dies: Hero Arts (Infinity Squares); Embossing Folder: Simon Say Stamp!; Ink: Ranger Ink (Black, Red, Pink, Orange, Green, Blue); Flock: Stampendous!; Embellishments: Buttons Galore & More (Cupcake Sprinkletz Embellishments); Scrap Printer Paper
Save to Pinterest!
Visit our Website and Blog!
Sign up for our Newsletter so you never miss a contest or giveaway!


