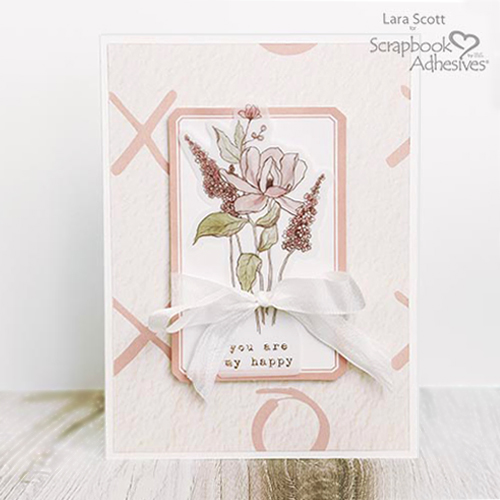
Hi, Lara here today! I usually try and stay away from making cards since they generally look like they were made by my 4-year-old niece (actually hers probably looks better than mine). But I finally created a You are My Happy Greeting Card that I liked (big surprise)! It is a pretty simple card to create but I really liked how it turned out

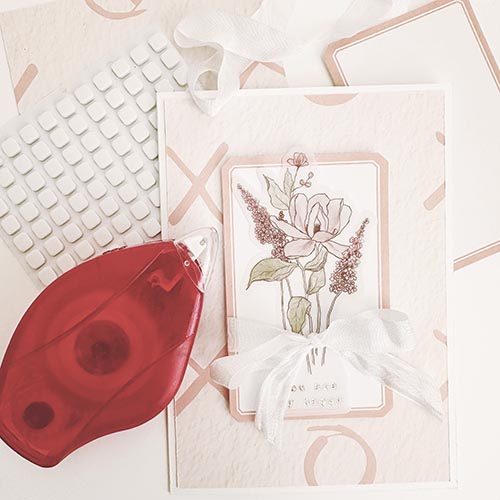
My Happy Greeting Card Elements
Here is a picture of all the elements I used to create this card.

Card Base Prep
Create the card base with a piece of 6.25 x 9″ white cardstock and fold it in half to make a 4.5 x 6.25″ card (an A6 size). Cut a piece of patterned paper about 1/4″ smaller than the card base and adhere with the E-Z Runner® Permanent Strips Refillable Dispenser.
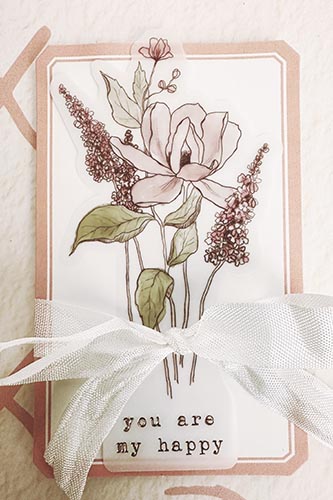
My Happy Greeting Card Front
On the card front, I added a tag element. The flower image is vellum so I used just a tiny bit of E-Z Runner® Permanent Strips Refillable Dispenser to secure it.

Wrap the seam binding ribbon around the tag and tie a bow. Then place the 3D Foam Squares White Small on the back of the tag and add it to the card for extra dimension. Now I have a great little greeting card to send and to cheer up someone’s day.
Have a Great Day or as they say in Texas “Have a Blessed Day” and Happy Creating!
Thanks for Stopping By!
Lara Scott
Creative Time: 30 mins
Skill Level: Beginner
Materials Needed:
Scrapbook Adhesives by 3L®
E-Z Runner® Permanent Strips Refillable Dispenser
Other: Seam Binding; White Cardstock
Click Preferred Retailers List
Save to Pinterest!

Visit our Website and Blog!
Sign up for our Newsletter so you never miss a contest or giveaway!


