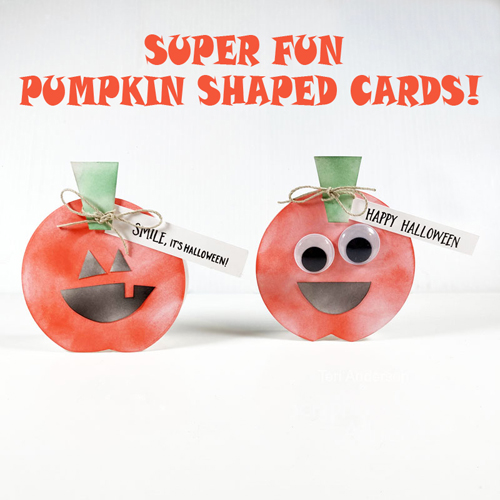
Hi, everyone! Getting ready for Halloween? Teri here to show you to make some super cute and easy shaped pumpkin cards!
Pumpkin Shaped Card Base
Start by cutting two large circles from white cardstock. Take one of the circles and fold it a little way down from the top. Place temporary adhesive above the fold line.
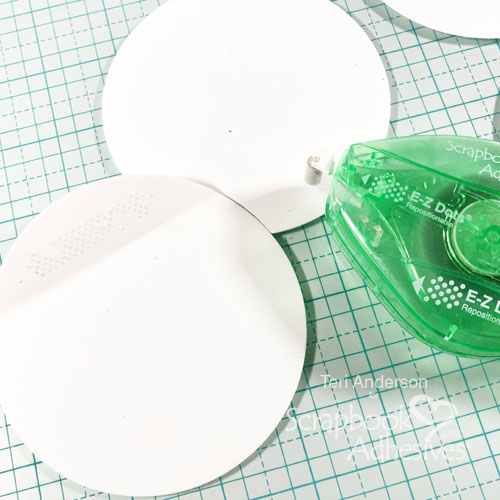
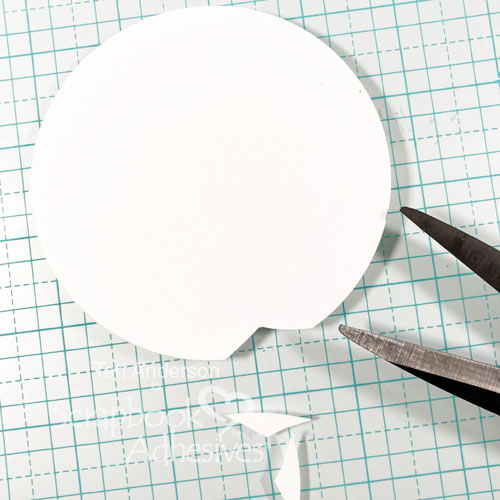
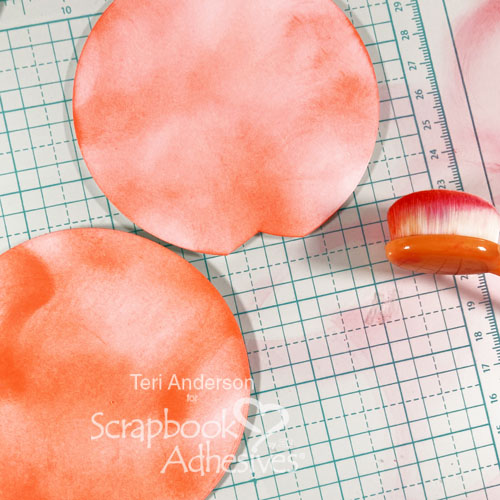
Set the two circles on top of each other. Use your scissors to cut a little off the bottom of the card. Remove the back circle. Rub off the temporary adhesive with your finger. Take the top circle and blend orange ink onto it. Once you do this, turn your circles into your card base by placing permanent adhesive above the score line on the second circle and mounting it to the orange circle.
Embellish the Front
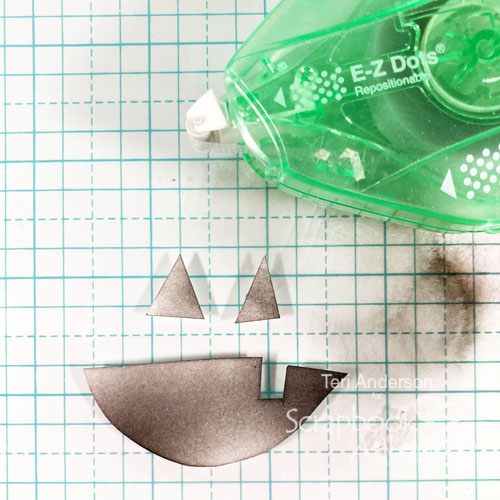
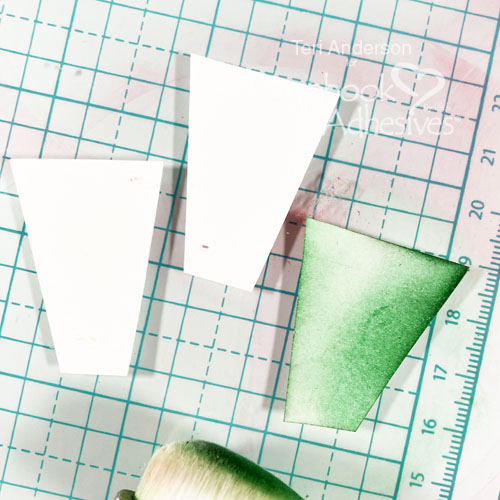
Cut a mouth, triangle eyes, and a stem from cardstock. They don’t have to be perfect. In fact, the more imperfect they are, the more whimsical your final card will be.
Blend black ink onto the pumpkin’s eyes and mouth. If the small pieces shift, use a little temporary adhesive underneath them such as the E-Z Dots® Repositionable Refillable Dispenser. After you’re done inking, just rub the adhesive off – so easy and no damage to your surface. Lastly, blend green ink onto your stem.
Detailing the Pumpkin Shaped Card
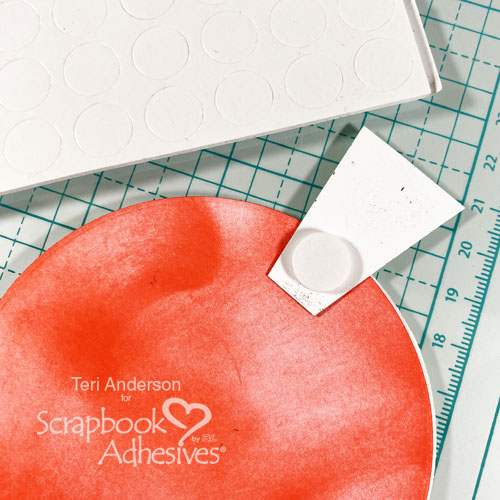
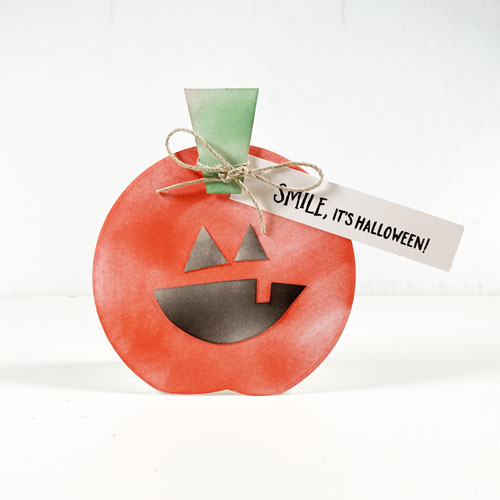
Adhere the face elements onto your pumpkin. Use a small circle from the 3D Foam Circle White Mix (or even a 3D Foam Squares White Regular) to place the stem at the top of your card. Be sure to let part of the stem hang off the card.
Stamp a sentiment on a strip of white cardstock. Adhere it to your card. Tie jute around the stem, using an Adhesive Dots Micro to hold the bow in place.
Change It Up a Little
You can create all kinds of shaped pumpkin cards with different sentiments. You can also use wiggle eyes instead of ones made from cardstock.
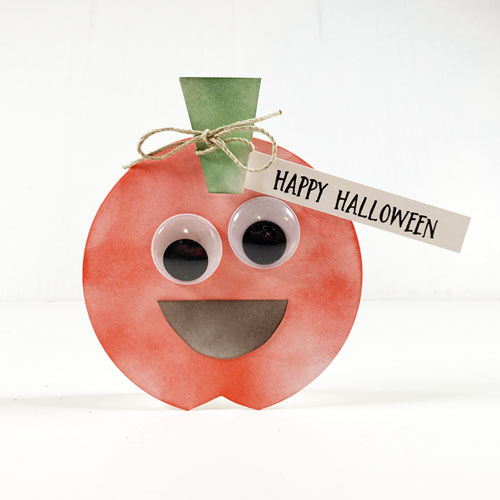
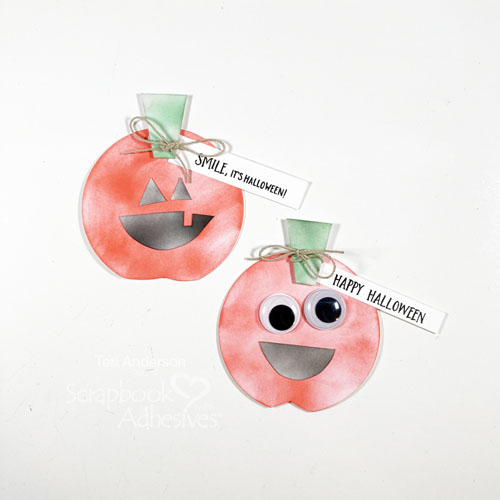
I hope my tutorial inspired you today. So let’s make some Pumpkin Shaped Cards!
Thanks so much for stopping by today!
Happy Creating!
Creative Time: 45 minutes
Skill Level: Beginner
Materials needed:
Scrapbook Adhesives by 3L®
E-Z Runner® Permanent Strips Refillable Dispenser, E-Z Runner® Petite Dots Refillable Dispenser, and E-Z Dots® Repositionable Refillable Dispenser
Other: Cardstock: Neenah; Stamps: Lawn Fawn (Pick of the Patch Stamp Set); Dies: Waffle Flower (Circles); Inks: Ranger Ink (Black), Catherine Pooler (Orange, Green); Wiggle Eyes: Darice; Jute: Lawn Fawn
Save to Pinterest!
Visit our Website and Blog!
Sign up for our Newsletter so you never miss a contest or giveaway!


