
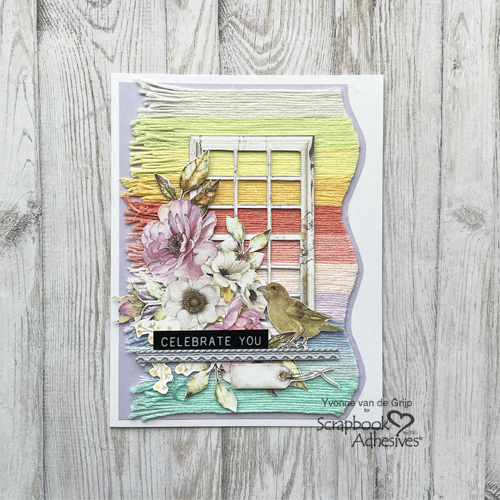
Hello everyone, Yvonne here. Today is World Cardmaking. We have such a wonderful hobby bringing smiles to many who receive our creative work. Not only did I make this Textured Celebrate You Card for YOU but also consider it as a virtual hug!
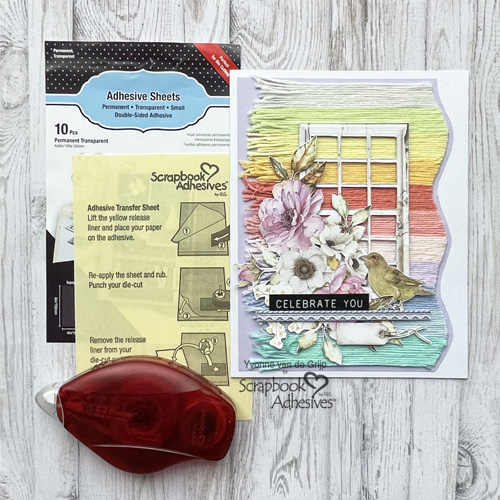
I would love to share how I made the card, wanna join me?
Celebrate You Card Panel
First, apply an Adhesive Sheet 4×6 inch on the back of a white card panel. My cardstock was slightly larger and as a result, I added an extra piece of Adhesive Sheets 4×6 inch to cover the missed area. Designer’s Note: use the edge of a bone folder to rub the adhesive sheet for extra security to the cardstock.
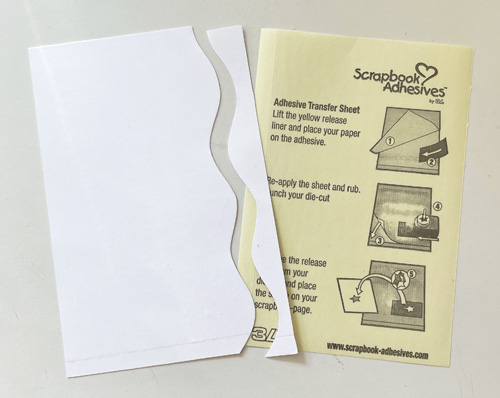
Cut a wavy border using a pair of scissors on the right side of the panel.
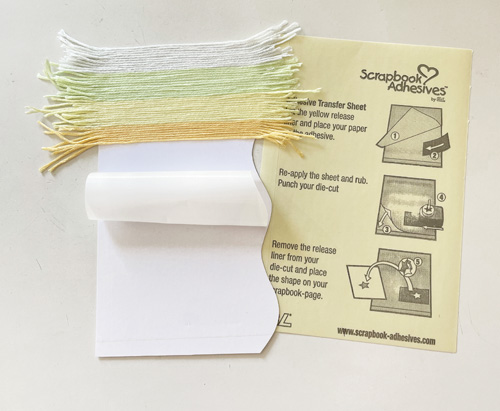
Carefully pull the white liner down about an inch and place strands of embroidery floss horizontally over the sticky area as pictured. Repeat until the panel is covered and cut off the excess embroidery floss on the wavy side.
Card Layers
To create the card base for the Celebrate You Card, mat both the card panel and a lilac card layer using the E-Z Runner® Permanent Strips Refillable Dispenser. Then adhere the layered panel onto a white card base.
Embellishing
For dimension, I adhered a window shape to the card front using Crafty Foam Tape 108ft which I cut into small strips to hide behind the shape. If I had the 3D Foam Strips in Black which are 1/8″ in width, then I would use them.
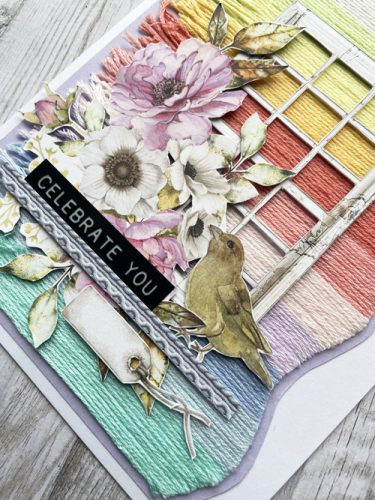
Voilá, the Textured Celebrate You Card is ready! Wishing you happy crafting and don’t forget to celebrate your cardmaking talent today!
Creative Time: 60 minutes
Skill Level: Intermediate
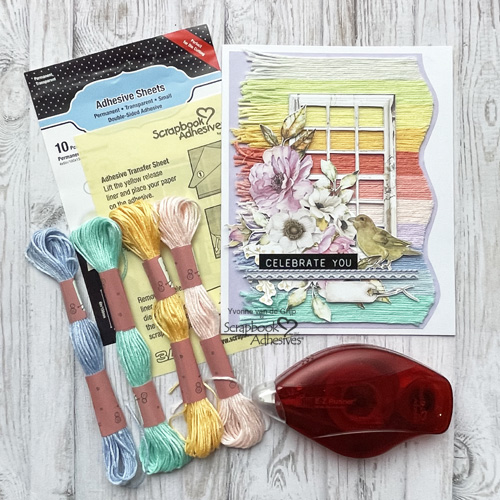
Materials needed:
Scrapbook Adhesives by 3L®:
E-Z Runner® Permanent Strips Refillable Dispenser
Other: Patterned Paper: Mintay Papers (Dreamer Collection); Sticker: Tim Holtz® idea-ology® (Label Stickers); White and Lilac Cardstock; Embroidery Floss; Paper Trimmer; Scissors
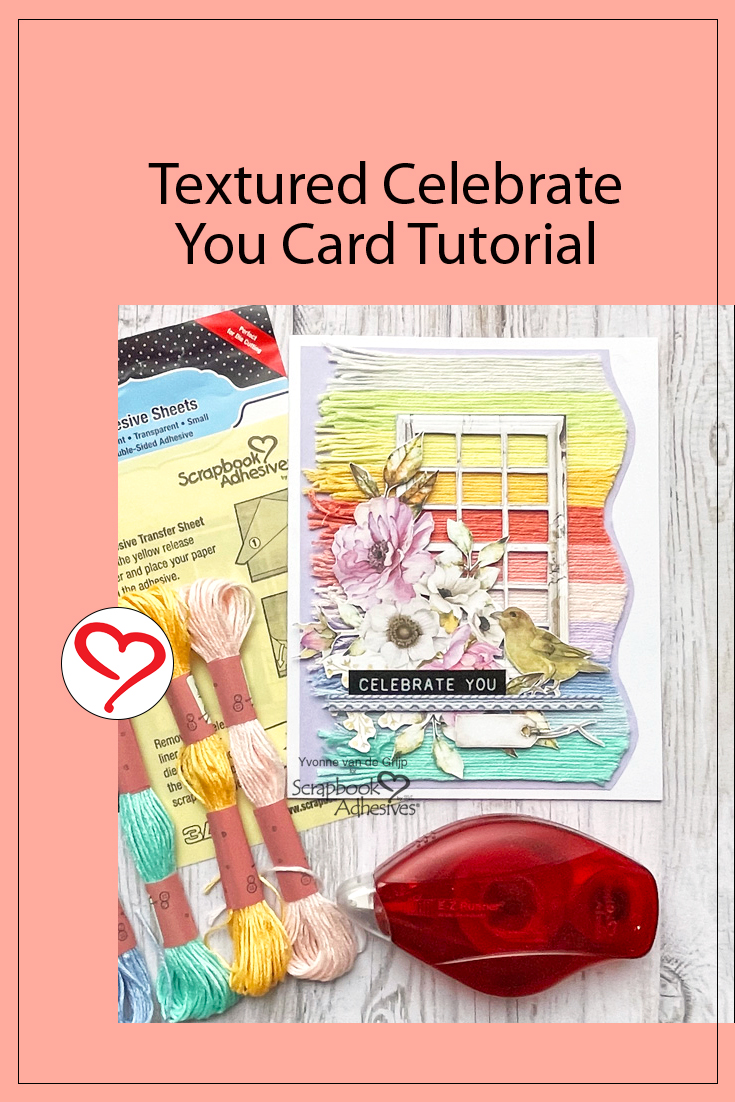
Save to Pinterest!
Visit our Website and Blog!
Sign up for our Newsletter so you never miss a contest or giveaway!


