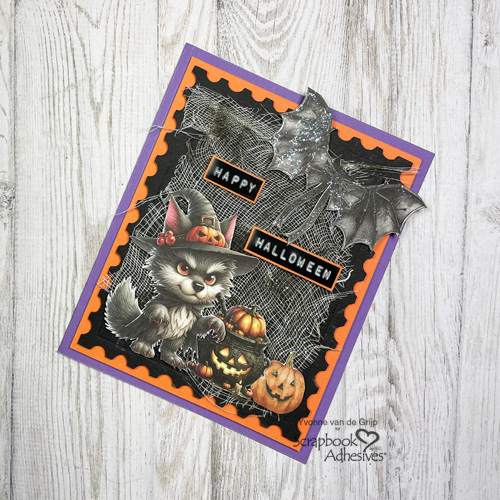
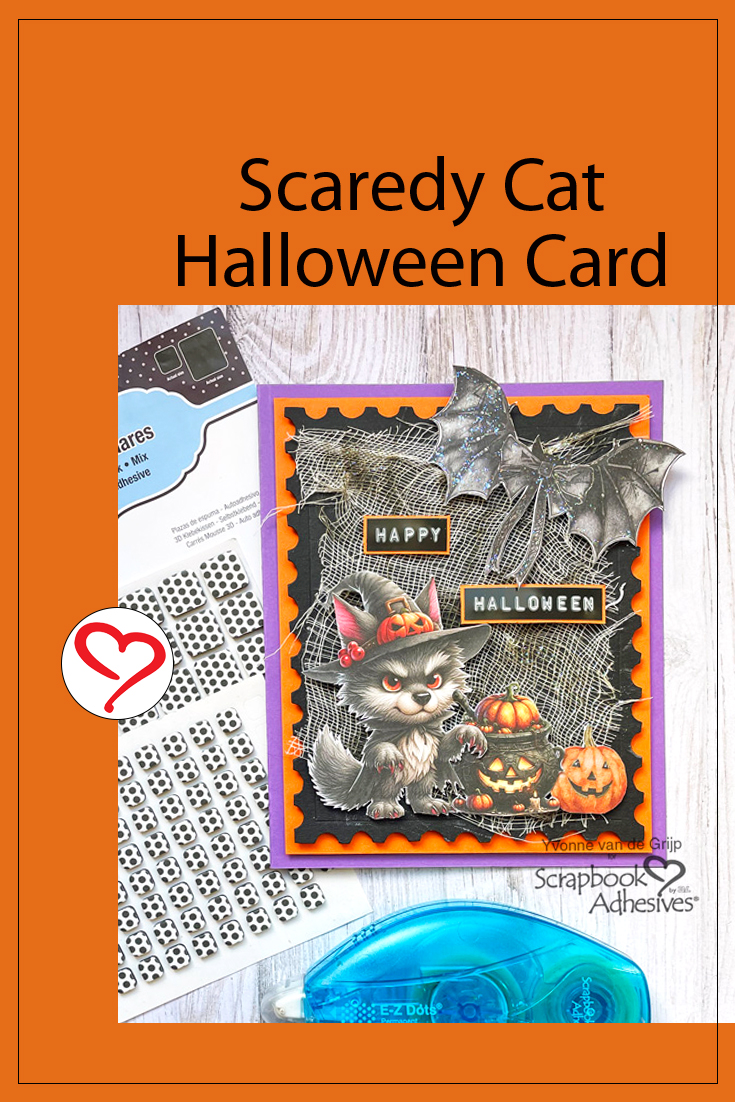
Hi everyone, Yvonne here! With Halloween coming up, I made a cute Scaredy Cat Halloween Card that is fairly easy to create and is also suitable for beginner cardmakers.
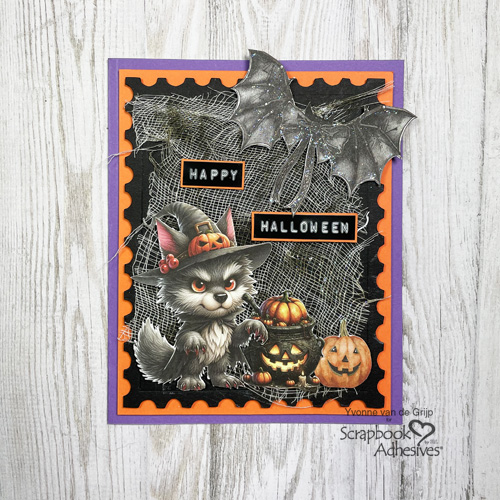
Will you join me in creating this cute Halloween card? Let’s get started!
Scaredy Cat Halloween Card Base
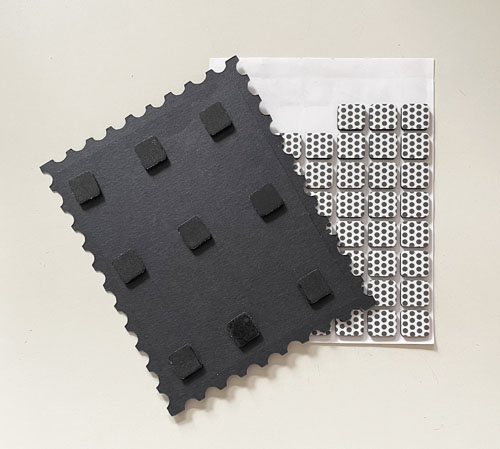
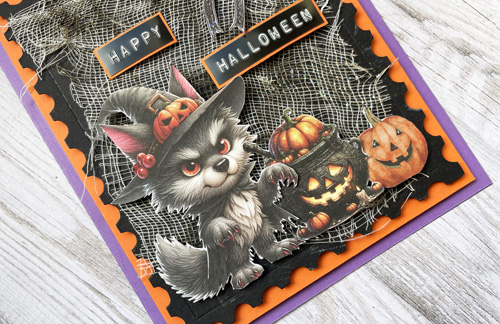
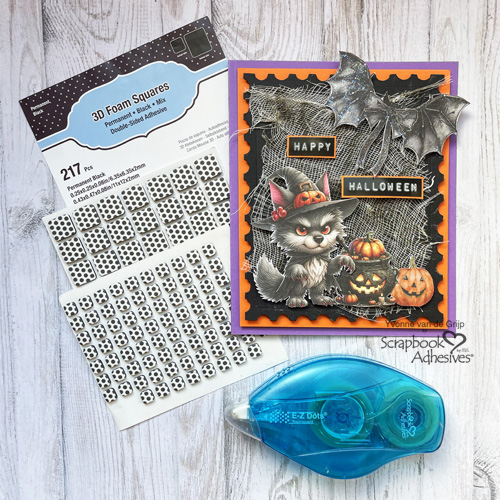
Start by die-cutting a Postage frame from black cardstock. Then place it on an orange card panel. Lastly, add the layered panel to a purple card base. I used 3D Foam Squares Black Mix to adhere the layers for extra dimension.
Adding Texture
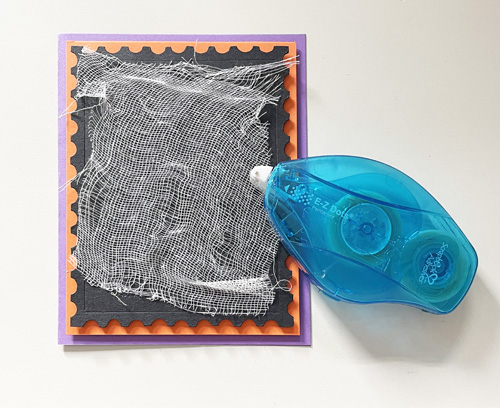
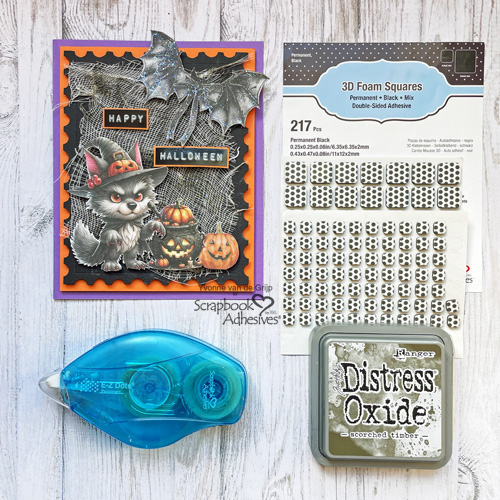
To add a scary look to the Scaredy Cat Halloween Card, I used a piece of gauze material which I distressed a little by pulling the edges. Then I secured it to the card base with the E-Z Dots® Permanent Refillable Dispenser. The adhesive hits the fibers and makes the adhesive disappear!
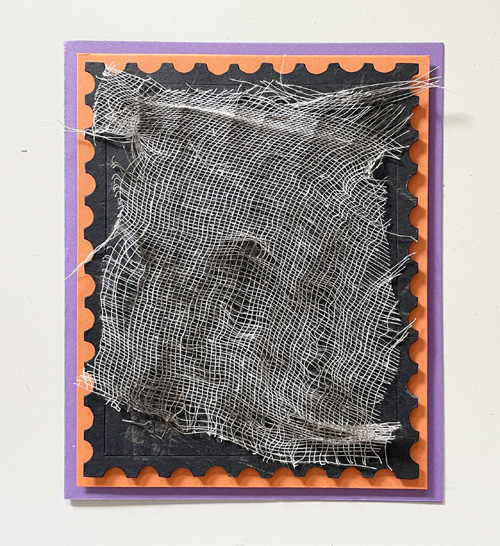
Apply a dark brown ink pad to the material to give it a worn and vintage look.
Adding Halloween Cute Elements
Fussy cut Halloween images and adhere them on the card base using 3D Foam Squares Black Mix for added dimension and interest to the card. For the sentiment, I used my Dymo label system and adhered it to a piece of orange cardstock with 3D Foam Squares Black Mix. Voilá your Happy Halloween card is ready!
I hope you enjoyed this simple tutorial and wish you Happy Halloween crafting!
Creative Time: 40 minutes
Skill Level: Beginner
Materials needed:
Scrapbook Adhesives by 3L®:
E-Z Dots® Permanent Refillable Dispenser
Other: Halloween Images: Alchemy of Art (Trick or Treat Happy Halloween Elements); Craft Dies: Sizzix® (Tim Holtz Alterations/Movers & Shapers™: Postage Stamp Frame); Die-Cutting Machine: Spellbinders Paper Arts® (Platinum 6 Machine); Label Maker: Dymo; Ink Pad: Ranger Ink (Distress® Oxide® in Scorched Timber); Black, Orange, and Purple Cardstock; Gauze; Paper Trimmer; Scissors
Save to Pinterest!
Visit our Website and Blog!
Sign up for our Newsletter so you never miss a contest or giveaway!


