
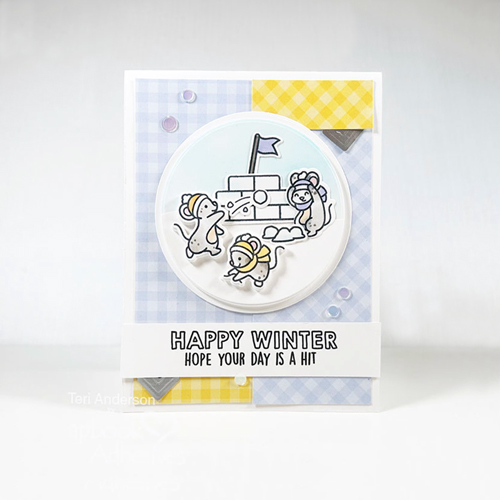
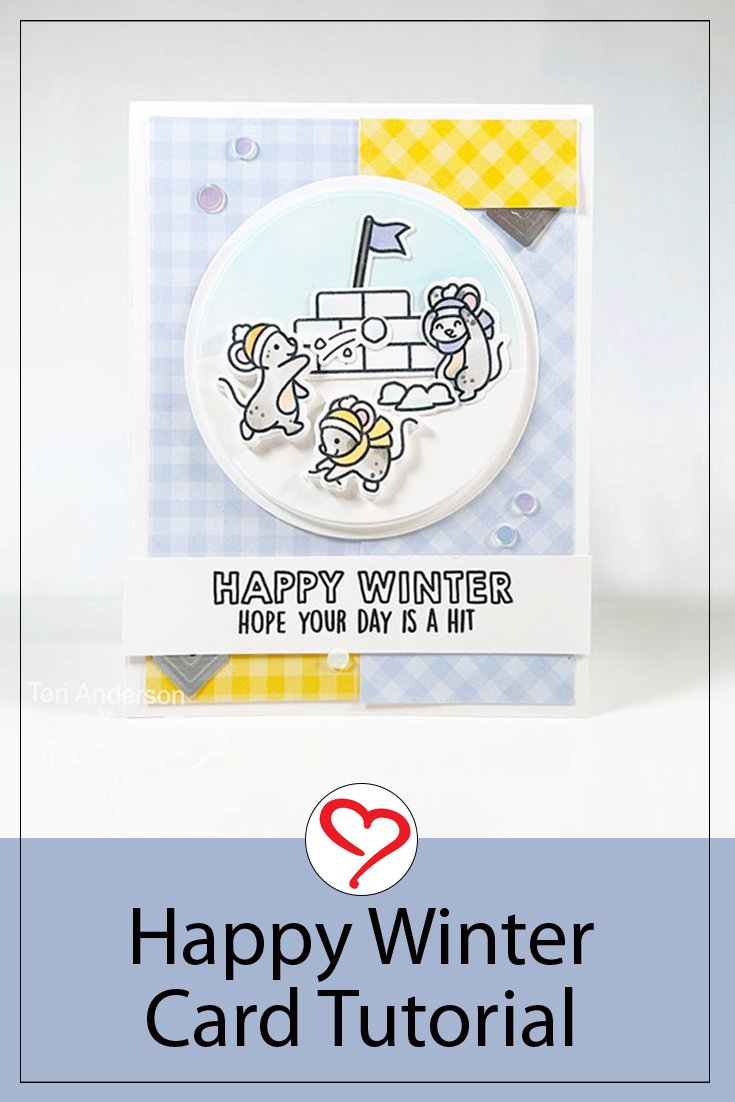
Hi, all! Ready for freezin’ season? Teri here with a winter-themed card, Happy Winter Card, with some “snow much fun” ways to use adhesives when you create!
Make the Happy Winter Card Base and Front
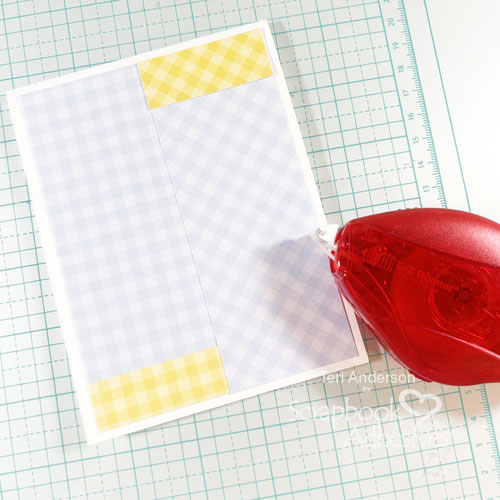
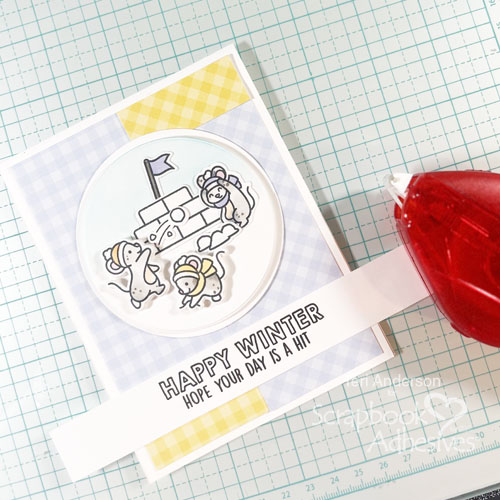
Start by creating your card base from a piece of white cardstock. Cover it with strips of patterned paper with the E-Z Runner® Permanent Refillable Dispenser. Designer’s Tip: Make it interesting by using a couple of different colors in your patterned papers rather than one. Piece them together to make one big panel.
Make a Scene
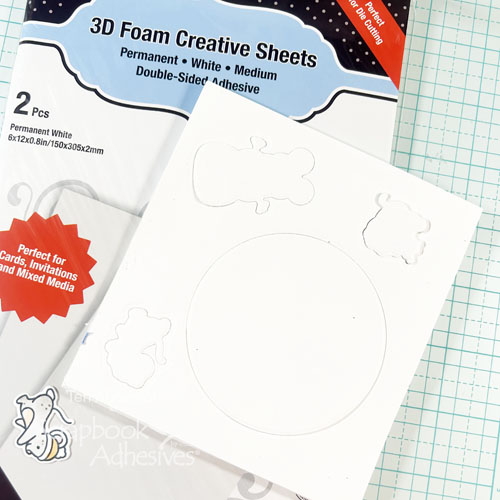
Mount a piece of white cardstock to a sheet from the 3D Foam Creative Sheets. Die-cut a circle on it to create the focal point for your Happy Winter card. Designer’s Tip: If you are using element stamps with matching dies, save yourself time by cutting them as well.
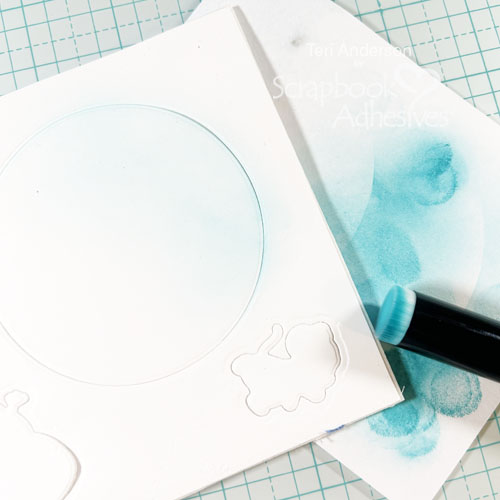
Apply a light layer of ink to your circle. Don’t worry if you go over the lines. Die-cut a larger circle and mount the foam mounted circle it.
Die-cut a second small circle and cut it in half, making a wiggly line with your scissors as you go. Place half of the circle on your foam-mounted circle for a hill.
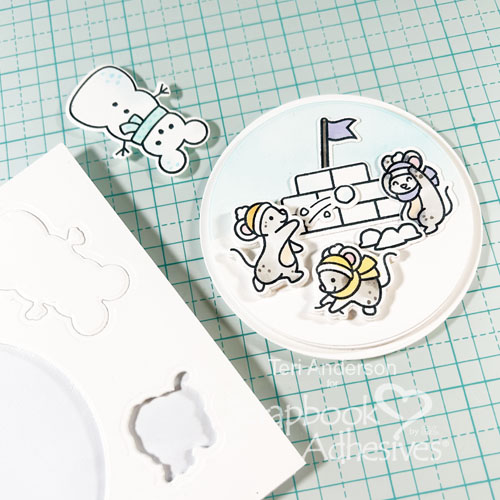
Create a snowy scene by adding winter images to it. Adhere some of the images to the foam-mounted mats you cut earlier to give the scene extra dimension.
Embellish Your Card
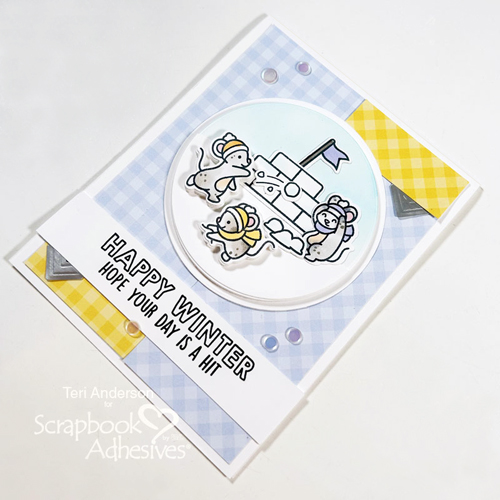
Affix your circle, along with a sentiment stamped on a strip of cardstock, onto your card. Use Adhesive Dots to add sequins to your card. I find it works best to place the dots on my card first.
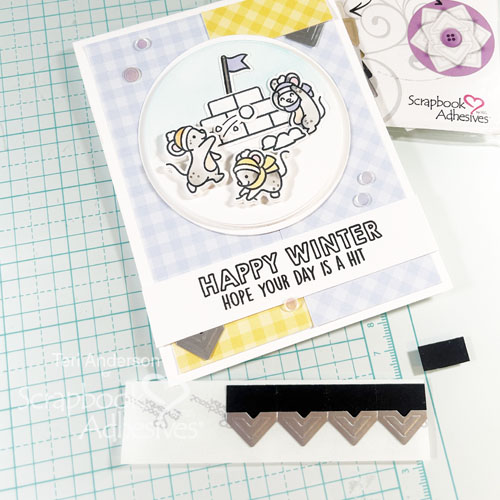
Give your card a little extra sparkle by randomly adding two Creative Photo Corners in a metallic color. Designer’s Tip: Photo corners not only keep your photos in place but you can use them like embellishments on cards.
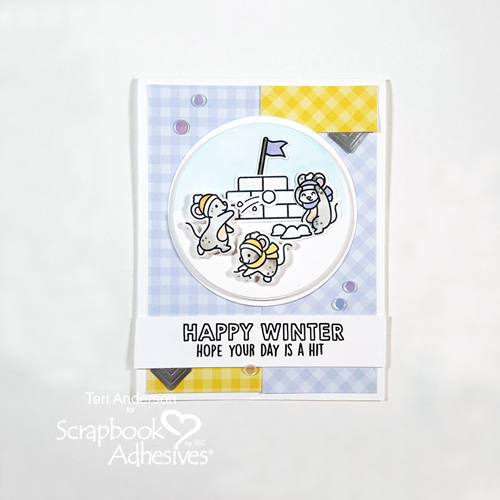
I hope you enjoyed today’s Happy Winter Card Tutorial! Let me what you think about it!
Happy Creating!
Creative Time: 45 mins
Skill Level: Intermediate
Materials Needed:
Scrapbook Adhesives by 3L®
E-Z Dots® Permanent Refillable Dispenser and E-Z Runner® Permanent Refillable Dispenser
3D Foam Creative Sheets Medium White
Creative Photo Corners Mix Pack
Other: Cardstock: Neenah; Patterned Paper: My Favorite Things; Stamps and Cutting Dies: Lawn Fawn (Snowball Fight Stamp Set and Dies); Waffle Flower (Circle Dies); Ink: Ranger Ink (Black); Markers: Copic; Confetti Sequins: This Calls for Confetti
Save to Pinterest!
Visit our Website and Blog!
Sign up for our Newsletter so you never miss a contest or giveaway!


