
Hello crafty friends! Tracy here, and today I have such a sweet and simple Little Boy Layout to share. Here are all of the crafty details on how I created it.
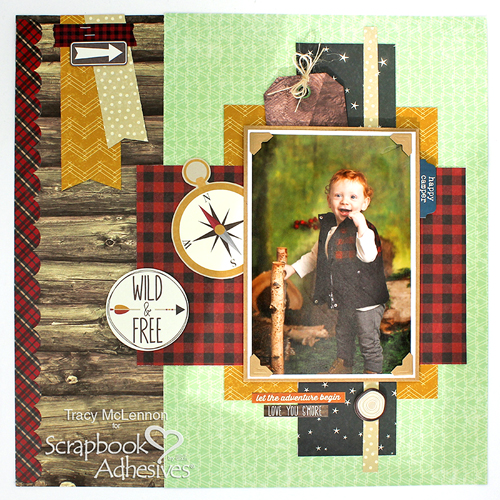
Little Boy Layers
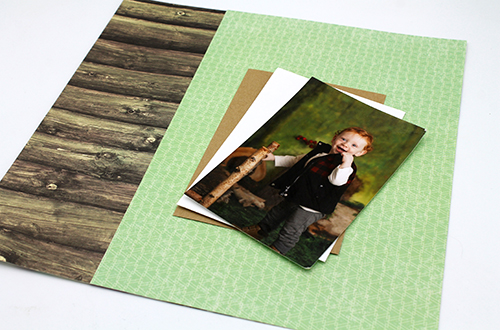
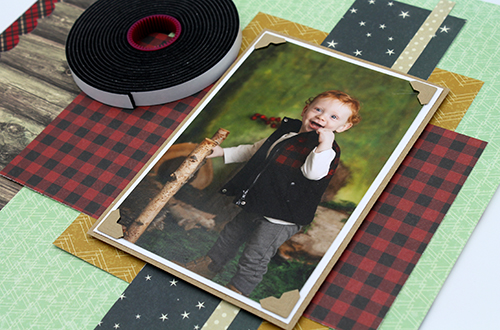
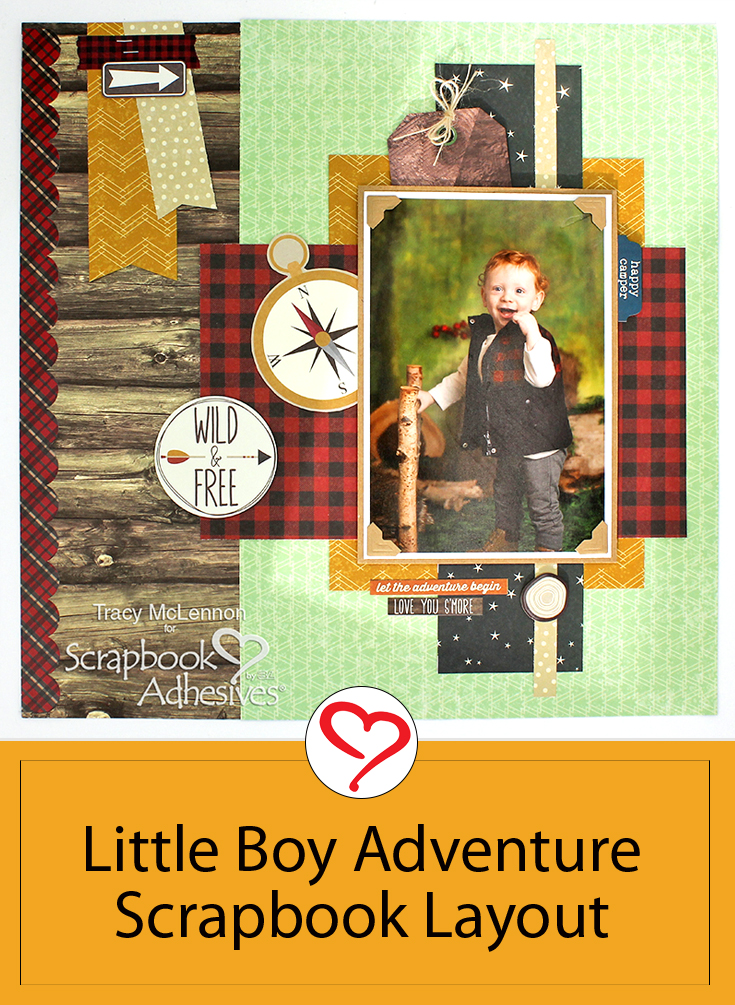
Cut the two background patterned paper pieces and the cardstock mats for the 4×6 photo.
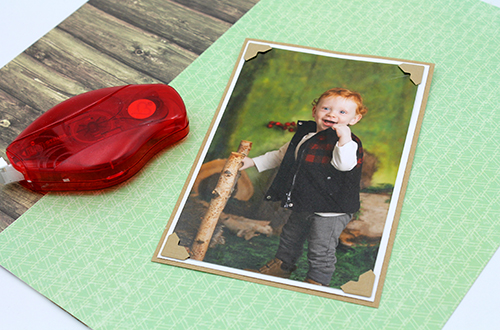
Adhere the mats and photo together using the E-Z Runner® Permanent Strips Refillable Dispenser and Creative Photo Corners Kraft for the photo layer.
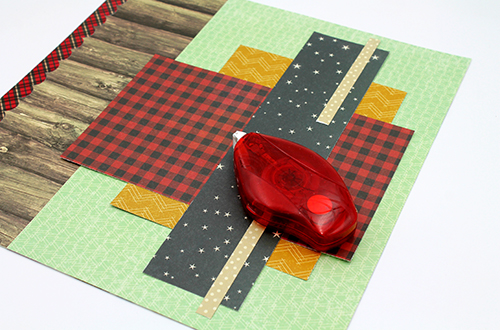
Once again using the E-Z Runner® Permanent Strips Refillable Dispenser, add the individual background layers to the layout base. I also added a cardstock sticker border to the left edge of the little boy layout.
Design Layers
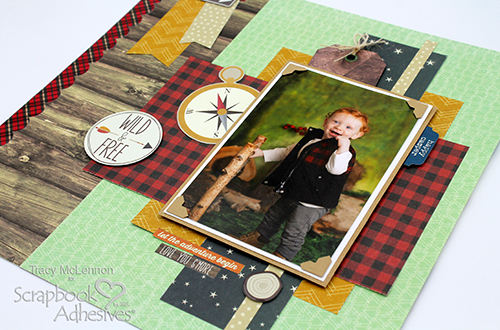
Add the matted photo to the layout using Crafty Foam Tape Black. I love that pop of dimension to this little boy layout.
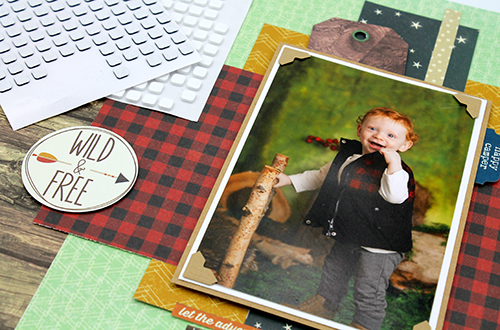
Add die-cut embellishments around the matted photo using a combination of 3D Foam Squares White Small Size and Thin 3D Foam Squares Black Mix. This creates more dimension between layers without adding too much thickness.
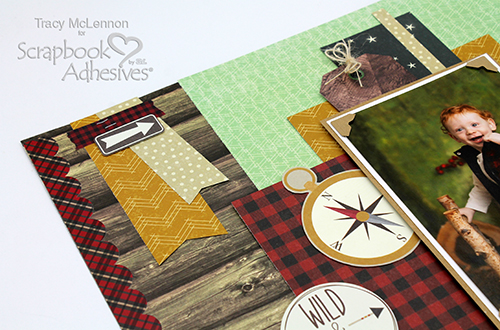
The final touches are a few more embellishments and a burlap string bow to the top of the tag. All of these things create the sweetest little boy layout.
Thanks so much for stopping by!
Tracy
Creative Time: 45 mins
Skill Level: Beginner
Materials Needed:
Scrapbook Adhesives by 3L®
Crafty Foam Tape Black
Thin 3D Foam Squares Black Mix
Creative Photo Corners Kraft
3D Foam Squares White Small Size
E-Z Runner® Permanent Strips Refillable Dispenser
Other: Patterned Papers, Stickers, and Elements: Simple Stories Collection; Kraft and White Cardstock; Burlap String
Save to Pinterest!
Visit our Website and Blog!
Sign up for our Newsletter so you never miss a contest or giveaway!


