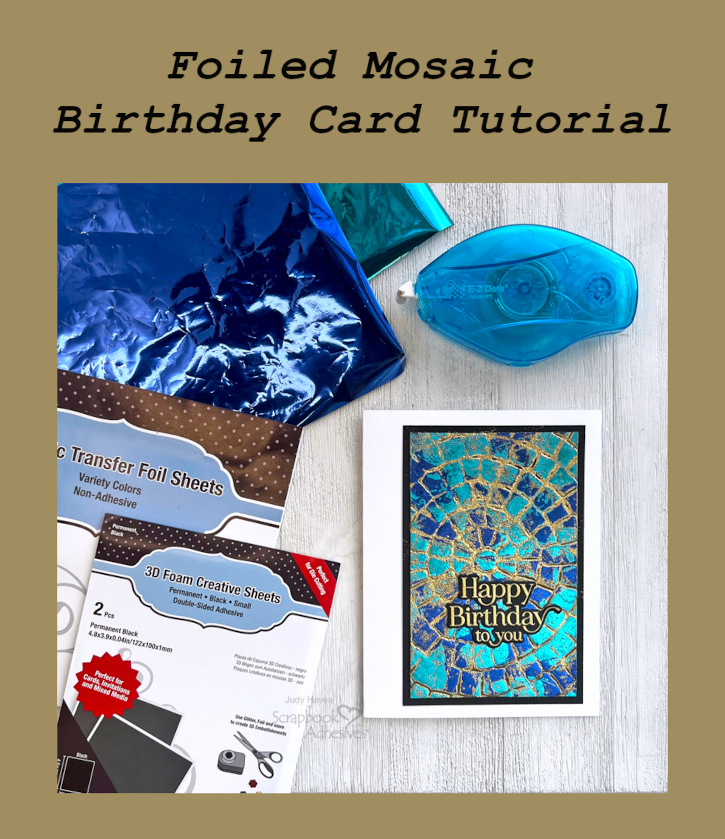
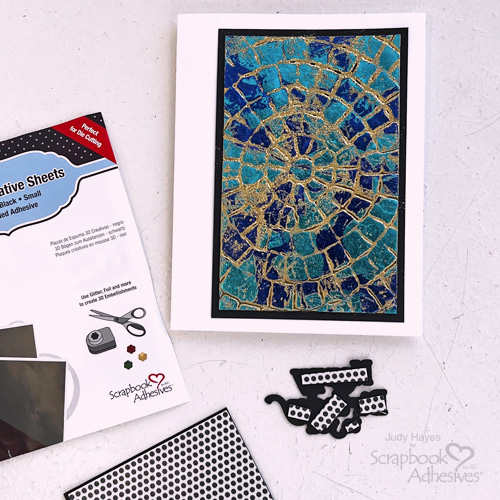
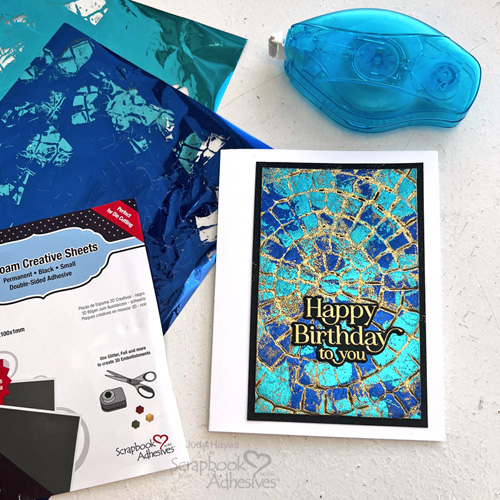
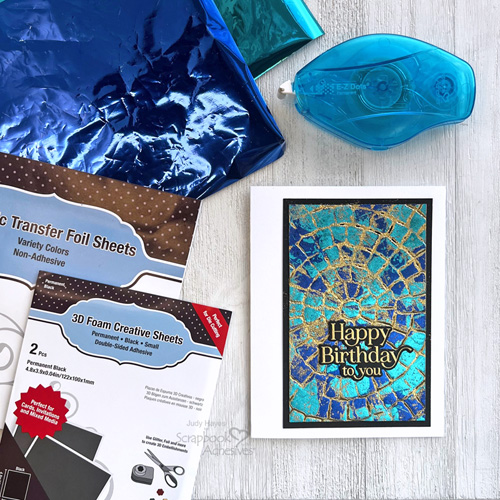
Hi, Judy here today! I tried a new technique to make this Foil Mosaic Birthday Card. The foiled background is a piece of 3D Foam Creative Sheets Small Black that has a design embossed into it by using open embossing folder pressed into it with die-cutting machine. If you try this technique, you’ll need to experiment to get die-cutting sandwich that will work with open embossing folder. This technique allows foil to be applied onto raised areas but not in grooves. I used gold embossing powder to fill grooves and heat embossed all of it. Heat embossing dulls the foil slightly and gives it texture, a look that I really like!
Mosaic Birthday Card Layers
Make card base from 5.5 x 8.5 inches white cardstock. Score and fold to form 4.25 x 5.5 inch card.
Cut black cardstock 3.25 x 5 inches.
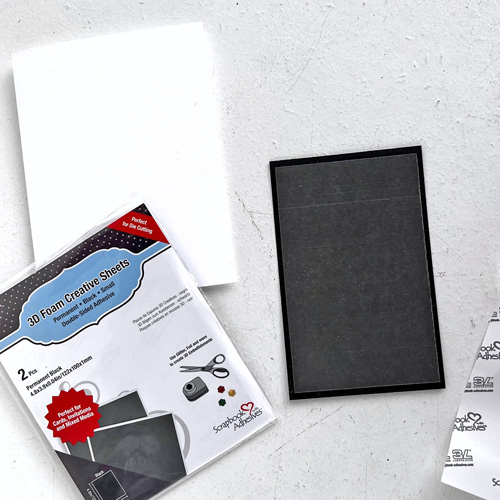
From a sheet of 3D Foam Creative Sheets Small Black cut 3 inches wide piece lengthwise (3 x 4.8 inches). Peel white liner about half way, align it on black cardstock and press to adhere. Then peel liner completely away and press 3D Foam Creative Sheet onto black cardstock.
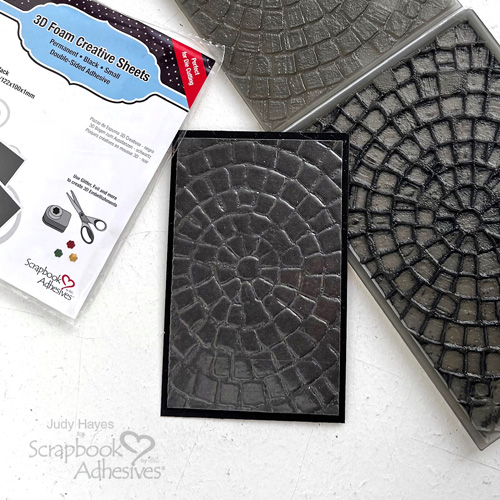
Press Design
Place cardstock with 3D Foam Creative Sheet attached face down on raised side of embossing folder. It’s important to have 3D Foam Creative Sheet against folder side that will impress grooves into 3D Foam. Use removable tape to keep in place. Turn over so embossing folder is on top and place on base plate of die cutting machine with embossing folder open. Use cutting plate on top for sandwich that will go through die cutting machine easily yet press pattern into 3D Foam Sheet. Pass through die cutting machine.
Apply Metallic Foil
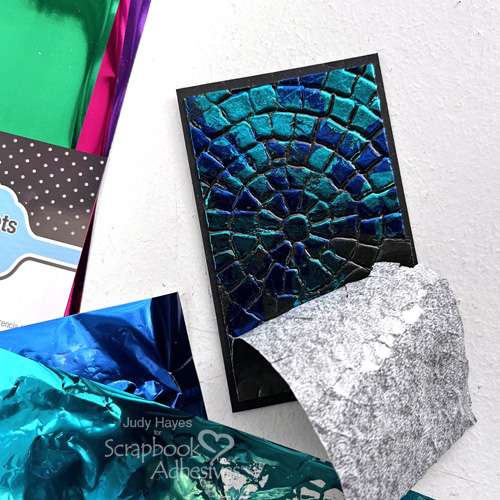
Peel back liner at one end and randomly apply blue and turquoise foils from Metallic Transfer Foil Sheets Variety Colors. For this technique, do not press hard. Simply lay the foil on adhesive and lightly rub a small area. Continue to peel liner and apply foil until it’s entirely covered. Reapply foil in areas that may have been missed.
Add Embossing Powder
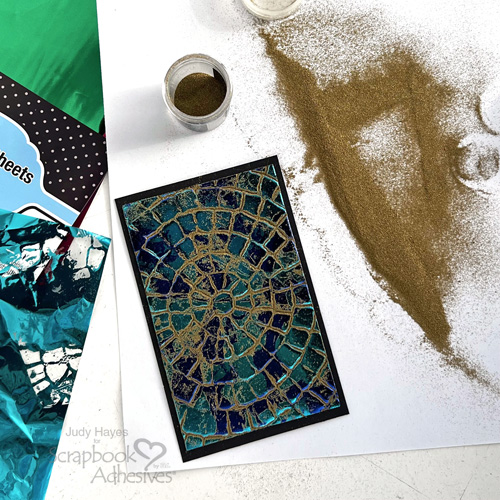
Lay foiled piece on scrap paper, cover with gold embossing powder and remove excess. Use fingers or dry paper towel to lightly brush away excess amounts of embossing powder that clings to foil, small flecks here and there are okay. Use heat tool to melt embossing powder by keeping it about 3-4 inches away and constantly moving it. Foil will get a texture. Too much heat will cause 3D Foam Sheet to curl and shrink.
Fasten to Card
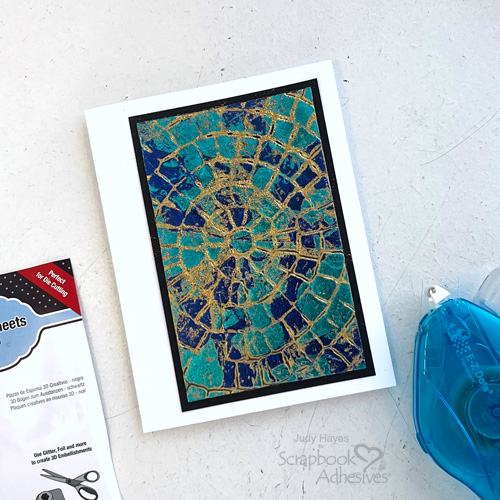
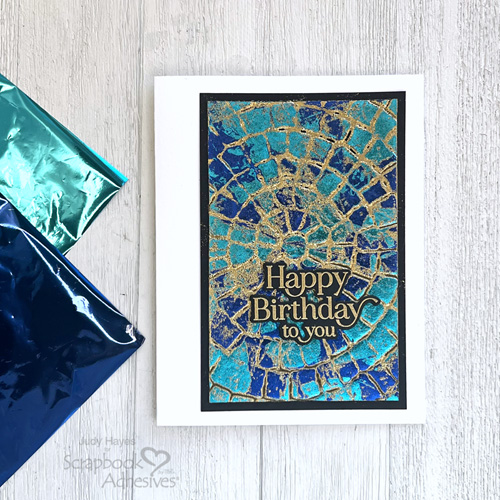
Apply adhesive to back of foiled mosaic piece with E-Z Dots® Permanent Refillable Dispenser and fasten to card front.
Greeting
Stamp greeting on black cardstock with Versamark ink, cover with gold embossing powder, remove excess and heat emboss. Use coordinating die and die-cutting machine to cut out greeting.
Cut small pieces of 3D Foam Creative Sheets Small Black and place on back of greeting. Peel away liners and fasten greeting on card.
Thanks for visiting!
Judy Hayes
Creative Time: 25 mins
Skill Level: Intermediate
Materials Needed:
Scrapbook Adhesives by 3L®
E-Z Dots® Permanent Refillable Dispenser
3D Foam Creative Sheets Small Black
Metallic Transfer Foil Sheets Variety Colors
Other: Stamp: Gina K Designs (Grateful Greetings Stamp And Die Bundle); Ink: Tsukineko (Versamark); Embossing Folder: Sizzix (Tim Holtz Mosaic); Embossing Powder: Wow! Embossing Powder(Metallic Gold Rich); Craft Dies: Gina K Designs (Grateful Greetings (Stamps and DIes)); Black, White Cardstock
Click Preferred Retailers List
Save to Pinterest!