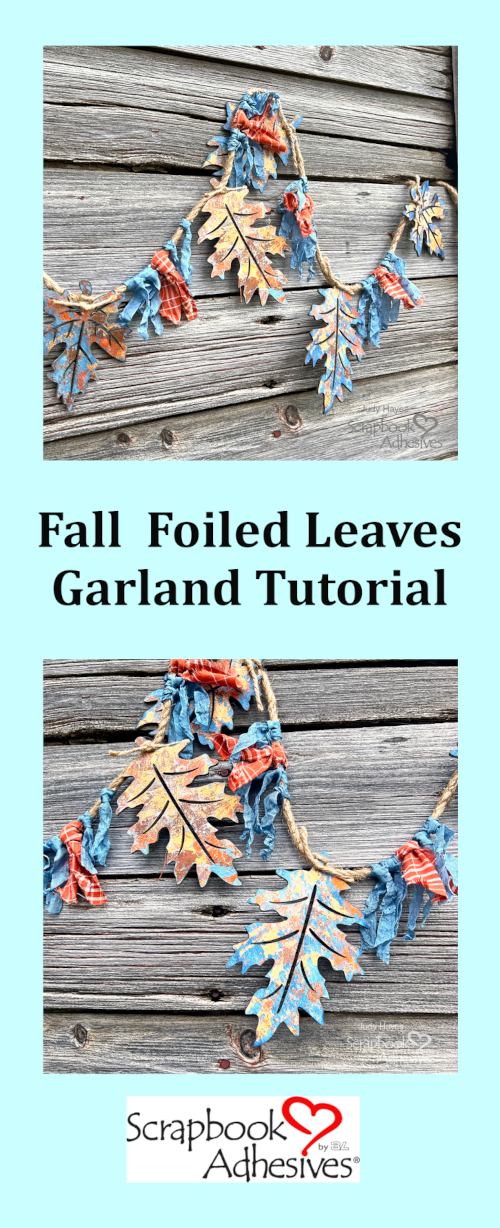
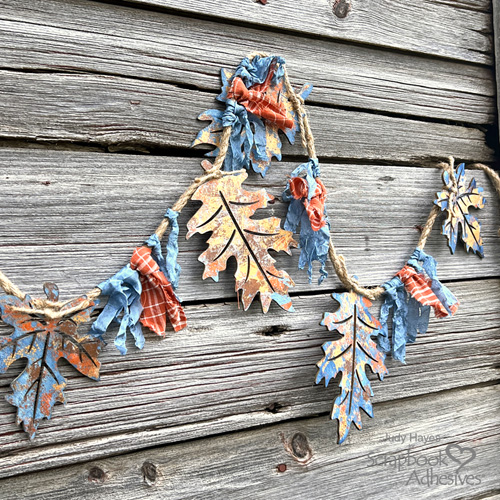
Hi, Judy here! This Fall Foiled Leaves Garland came out from shopping at a craft and home decor store with my sister. She suggested making a garland out of some wood leaves…well, who can resist a sibling challenge?! LOL! To add more elements, I picked out a slightly different Fall color combo by using blue with orange, inspired by the plaid fabric I found in a display of fall fabrics.
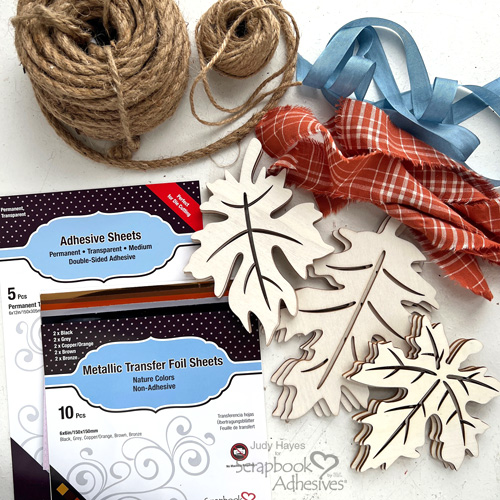
Gather Leaves Garland Supplies
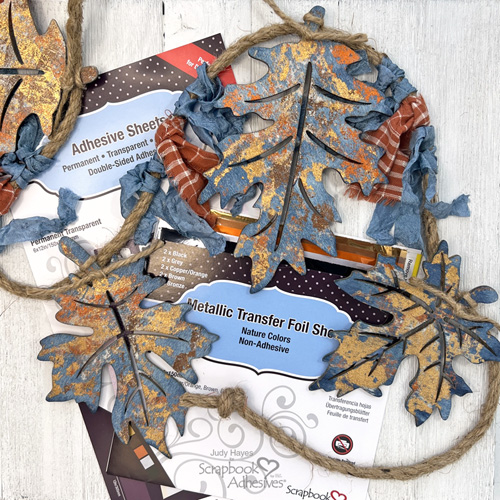
Along with the wood leaves and orange fabrics, I added heavy and medium weight twine, blue seam binding, Metallic Transfer Foil Sheets Nature Colors and Adhesive Sheets 6×12 inch.
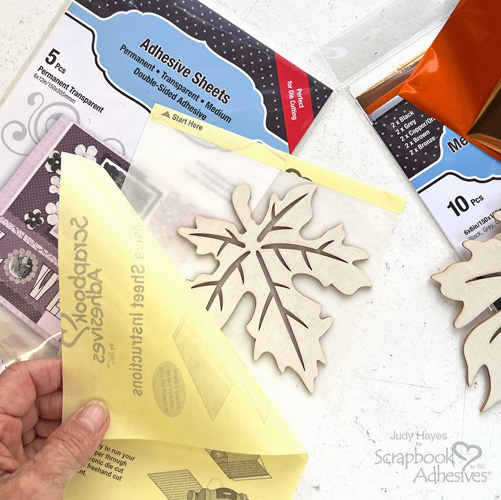
Wear Your Adhesive on the Outside with Adhesive Sheets
Peel back the liner from Adhesive Sheets 6×12 inch and place wood leaf on adhesive. Replace the liner, flip over and burnish over the leaf with a bone folder. Peel back adhesive sheet from leaf and place leaf on non stick craft mat. Note, the adhesive will not completely cover the leaf. Designer Tip: I found it easier to cut Adhesive Sheets 6×12 inch to fit each leaf as duplicated this process.
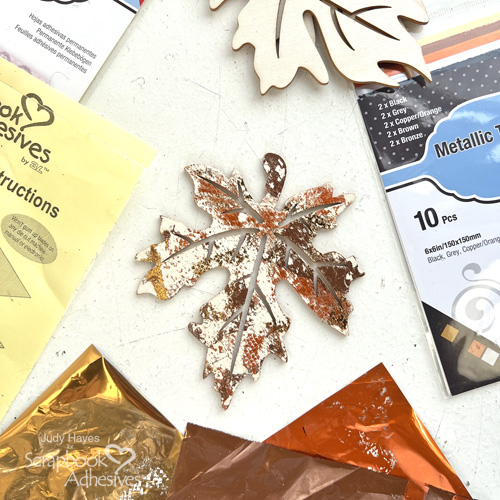
Use your thumb to press a portion of the Copper/Orange foil from the Metallic Transfer Foil Sheets Nature Colors (color side facing you) randomly on the leaf. Do not foil all of the exposed adhesive. Repeat with Brown foil and Bronze foil from the same foil pack until you get your desired look. Repeat these steps for the other side of leaf.
Add Another Layer – Ink
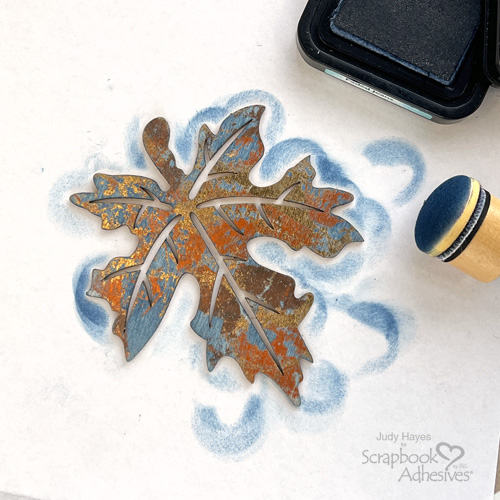
Apply ink with a foam applicator to cover areas without the foil on the leaf. It’s okay to rub over the foil as it will not absorb it. Simply wipe off the ink from the foiled areas with a paper towel. This works best on a non-stick craft sheet. Now, turn over the leaf and repeat the inking steps. Designer Tip: I recommend gloves for inking process. My fingers were quite blue when I got done.
Seal with Clear Embossing
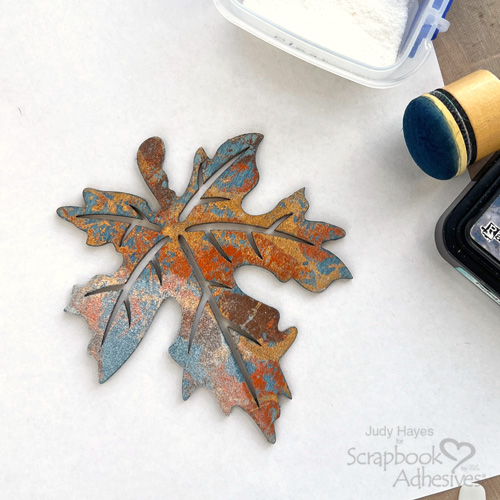
Working on one side at a time, cover leaf with clear embossing powder. Remove excess and melt with a heat tool. The clear embossing will seal any stickiness. Repeat to make a total of nine embellished leaves.
Tie Leaves to Garland Base
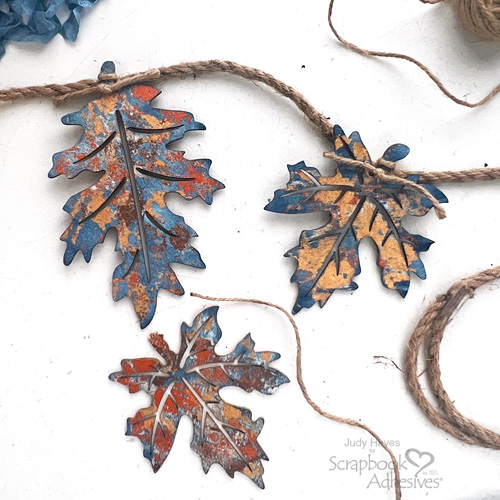
Cut a piece of 8 feet long heavy twine and knot the ends to make a garland base. Position a leaf stem on the twine and with an 8 inch piece of medium weight twine, tie leave stem to the twine garland. Repeat with all leaves, spacing them about 9 inches apart.
Finishing with Fabric Strips
Cut fabric strips to about 1.5 inches wide and 8 inches long. Loop over garland twine centered between leaves.
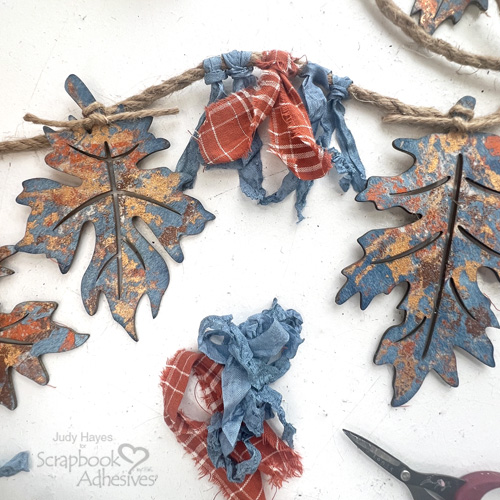
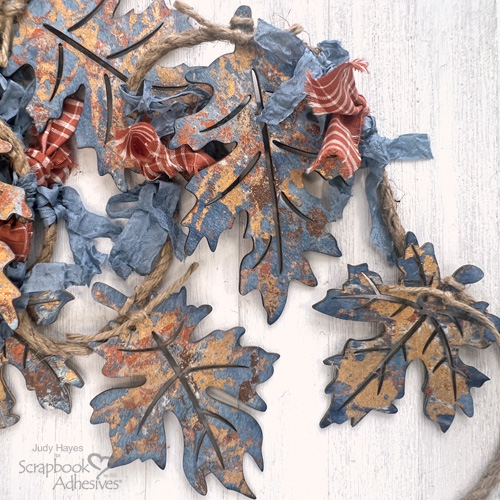
Crumple blue seam binding by misting with water and wadding it into a ball in your hands. Shake out and allow to dry (or use hair dryer, heat gun to dry) Cut into about 8-9 inch lengths. Loop two on each side of fabric. Continue to add fabric and seam binding between all leaves.
I hope you enjoyed my Fall Foiled Leaves Garland tutorial and it inspires you to start creating some fall-themed home decor pieces. Share with us your take on this project by tagging us on Scrapbook Adhesives by 3L Instagram!
Thanks for stopping by!
Judy Hayes
Creative Time: 60+ mins
Skill Level: Intermediate
Materials Needed:
Scrapbook Adhesives by 3L®
Metallic Transfer Foil Sheets Nature Colors
Other: Embossing Powder: Ranger Ink (Clear); Ink: Ranger Ink (Distress Faded Jeans); Wood Leaves (Hobby Lobby); Heavy and Medium Twine; Plaid Homespun Fabric; Blue Seam Binding
Click Preferred Retailers List
Save to Pinterest!