
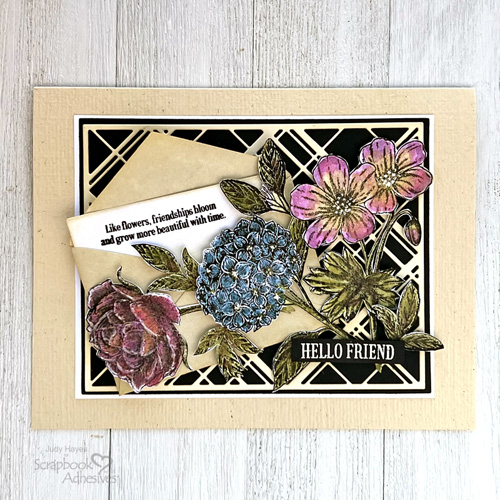
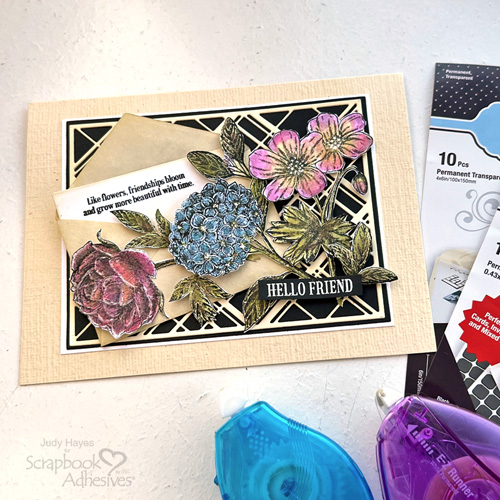
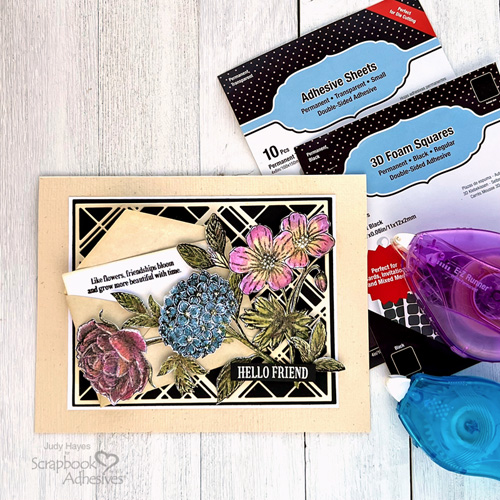
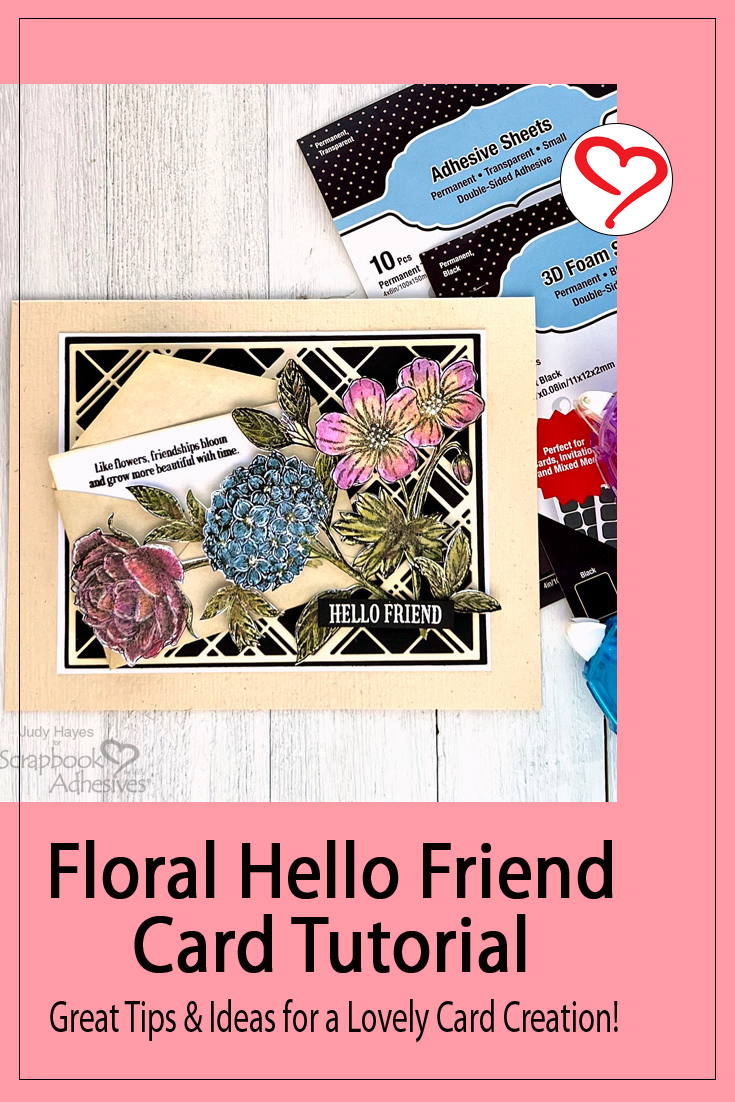
Hi, Judy here today! Lately, the frigid cold in my area has made me wish for spring and pretty flowers. So it inspired me to put together this Floral Hello Friend Card. It has great details from the tiny envelope to the sweet flowers that were fussy cut which I find that kind of meditative! LOL!
Floral Hello Card Base and Panel
Cut a piece of textured cream cardstock to 10 x 6.5 inches, score, and fold to form a 5 x 6.5-inch card base. Next, cut a piece of 4.125 x 5.25-inch white cardstock for the card panel.
Plaid Background
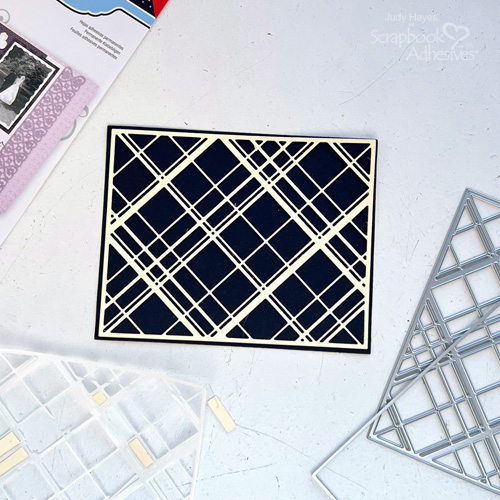
Die-cut the outline rectangle die from a layered plaid die set using black cardstock. Set aside.
Apply an Adhesive Sheet 4 x 6in. to the back of a 4.25 x 5.5-inch smooth cream cardstock and trim any excess adhesive sheet from the length. Die-cut it with the plaid die. Make several passes through the machine and remove cut-out pieces. Peel the liner back and press it into the black cardstock rectangle piece.
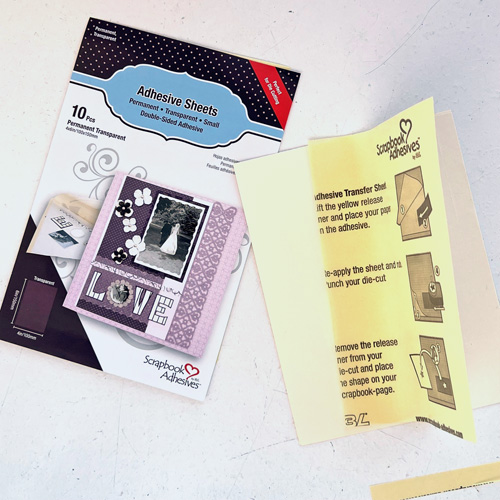
Designer Tip: I sometimes use a heat gun to warm the adhesive after die-cutting to make it more sticky after being compressed.
Attach Panel to the Card Base
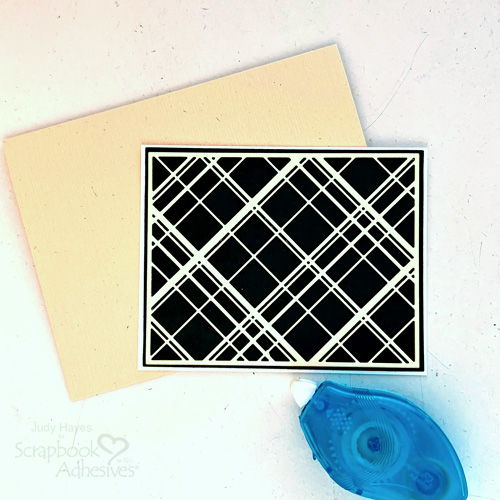
Use E-Z Runner® Petite Permanent Dots Refillable Dispenser to apply adhesive to the back of the black plaid panel piece and secure it to the white cardstock mat. Next, adhere to the card front again with the E-Z Runner® Petite Permanent Dots Refillable Dispenser.
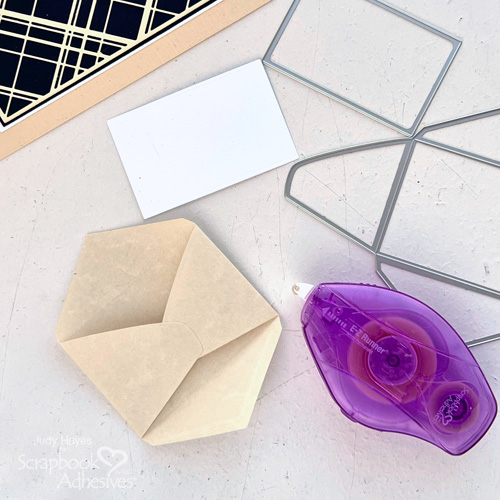
Create a Small Envelope and Insert
Die-cut a small envelope from text-weight cream paper and a card insert from white cardstock. Fold and assemble the envelope with the E-Z Runner® Micro Refillable Dispenser.
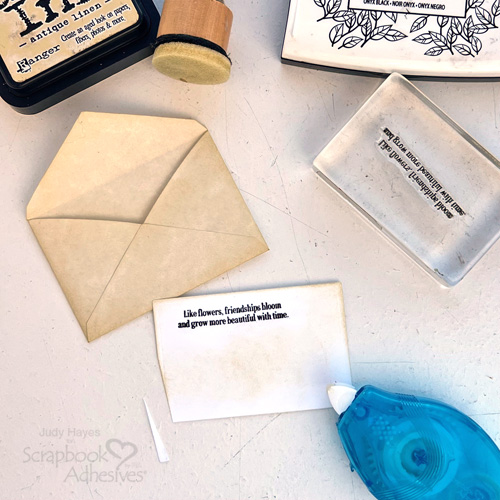
Stamp a verse with black ink on the card insert near the top left corner. Apply Distress Antique Linen with an applicator to lightly color along the edges of the envelope and insert. Trim a narrow piece off the bottom left corner of the insert for an angled placement in the envelope. Next, apply the E-Z Runner® Petite Permanent Dots Refillable Dispenser across the bottom back edge of the insert and tuck it into the envelope at a slight angle.
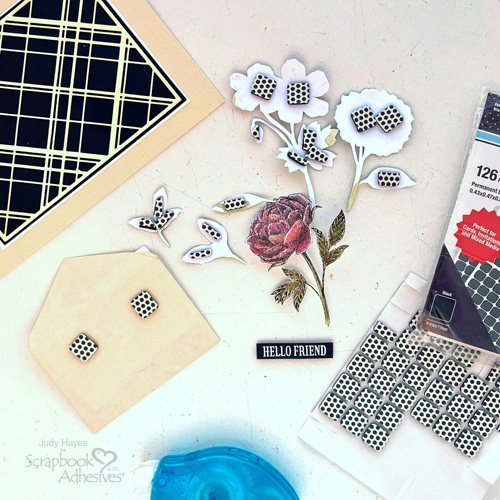
Embellishment Details on the Floral Hello Card
Stamp three flowers and extra leaves using Versafine Onyx Black ink. Color with watercolors (or markers) and fussy cut around each one. On a piece of black cardstock, stamp the “Hello Friend” greeting with Versamark ink, cover it with white embossing powder, remove excess, and heat to emboss. Trim around the greeting to 0.25 x 1.75 inches.
Assemble Card
Place 3D Foam Squares Black Regular towards the top of the envelope back. Use E-Z Runner® Petite Permanent Dots Refillable Dispenser to apply adhesive along the bottom edge of the envelope back. Arrange the desired card design, remove liners from 3D Foam Squares, and press in place.
Shape flowers with fingers to be slightly domed. Fasten 3D Foam Squares Black Regular to the back of flowers and leaves. Cut 3D Foam Squares Black Regular as needed to fit behind the leaves. Arrange on the card, peel liners, and attach the flowers. Then peel liners from extra leaves and tuck them in place.
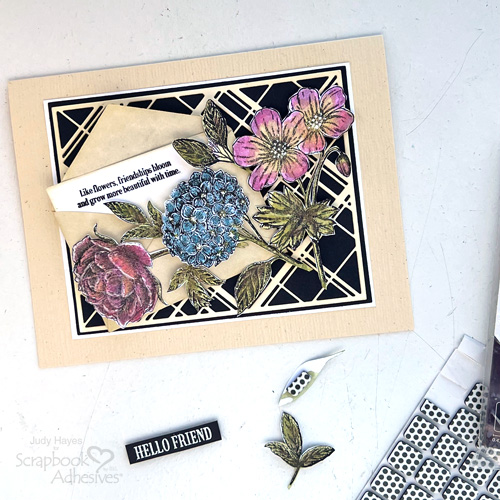
Place 3D Foam Squares Black Regular on the back of the greeting, peel liners and place it on the card over the flower stems.
I hope you enjoyed my Floral Hello Friend Card tutorial. Use some of these ideas and tips for your next card creation!
Thanks for visiting!
Judy Hayes
Creative Time: 40 mins
Skill Level: Intermediate
Materials Needed:
Scrapbook Adhesives by 3L®
E-Z Runner® Micro Refillable Dispenser and E-Z Runner® Petite Permanent Dots Refillable Dispenser,
Other: Stamp: Ranger Ink (Simon Hurley Beautiful Blooms); Ink: Tsukineko (Versamark, Versafine Onyx Black), and Ranger (Distress Antique Linen); Embossing Powder: Ranger (White Embossing Powder); Craft Dies: Sizzix (Tim Holtz Layered Plaid, Tim Holtz Postale); Cream, Cream Textured, Black + White Cardstock; Cream Text Weight Paper; Watercolors (or Water Base Markers); White Gel Pen
Click Preferred Retailers List
Save to Pinterest!
Visit our Website and Blog!
Sign up for our Newsletter so you never miss a contest or giveaway!


