
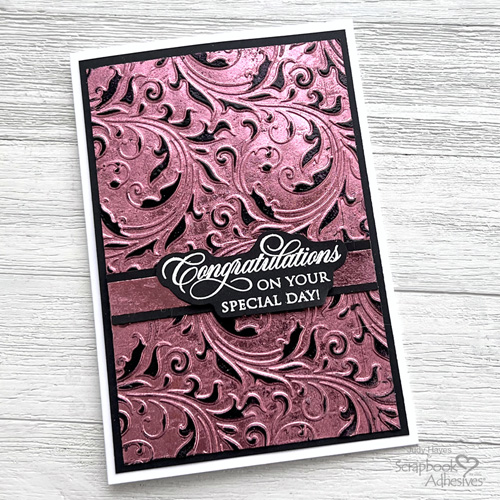
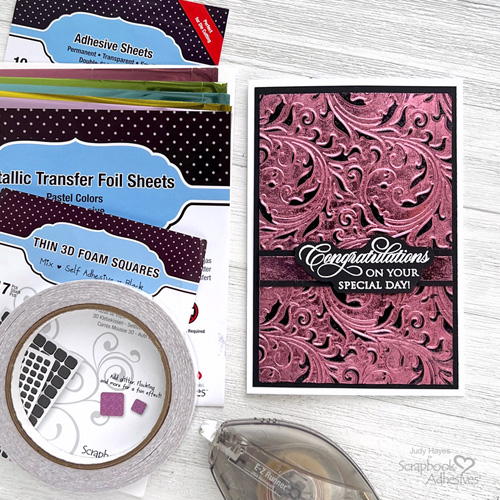
Hi, Judy here today! I’ve been experimenting with Metallic Transfer Foil Sheets Pastel Colors and embossing folders. I’m really pleased with how this Embossed Foil Congratulations Card turned out.
Prepare Papers
To make this card, you’ll need a side fold 4.25 x 6.25 inch card from white cardstock. From black cardstock, cut 2 pieces of 4 x 6 inch (one for mat and one for foil), a .75 x 4.5 inch black strip and a piece for stamped greeting.
Emboss Foil
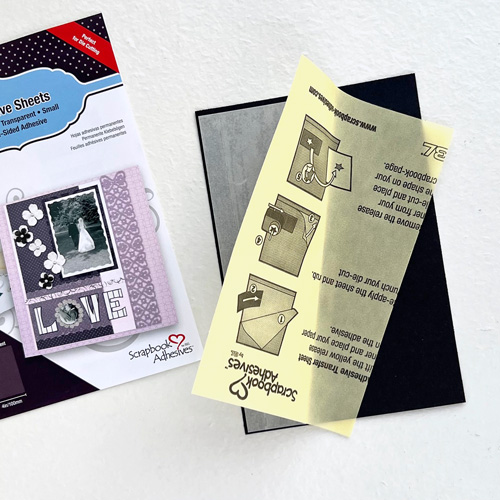
On back of one of 4 x 6 inch black pieces, apply Adhesive Sheets 4 x 6in.

Place pink piece of foil from Metallic Transfer Foil Sheets Pastel Colors face down on work surface. Peel liner from black cardstock and place adhesive side down on foil. Turn over and smooth foil over adhesive
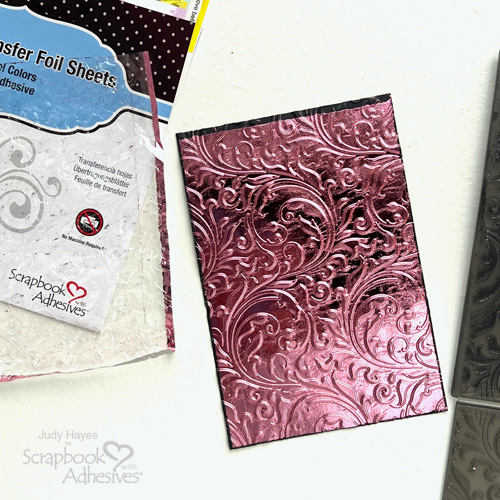
Place foiled cardstock in embossing folder with foil side up on top of embossed side of folder (side with pattern raised). Pass through die cutting machine to emboss
Apply Ink

Peel foil away from embossed panel. Position back in embossing folder to provide support while apply ink. Use Archival Jet Black ink pad to tap ink onto raised pattern. Continue until all raised areas are covered with black ink.

Cover panel with clear embossing powder, remove excess and heat emboss with heat tool. This will melt embossing powder and also create texture in foil.
Fasten Panel
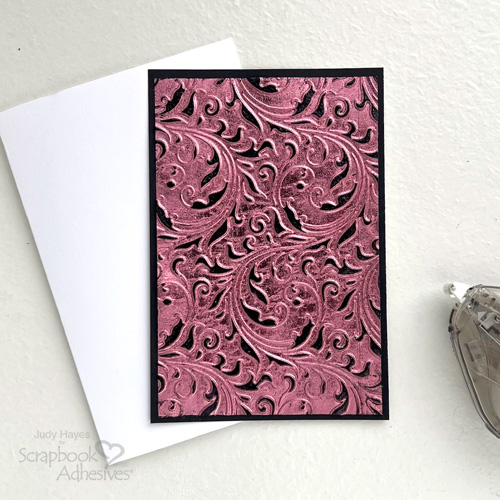
Apply adhesive to back of foiled panel with E-Z Runner® Ultra Strong Refillable Dispenser and fasten to black mat. Then apply adhesive to it and fasten to card front.
Foil Band
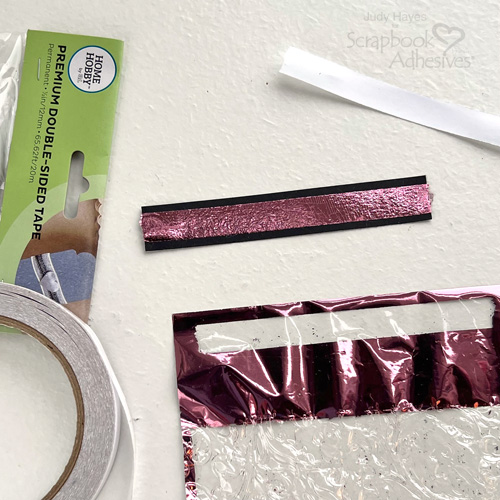
Place piece of Premium Double-Sided Tape 1/2in. along center of black strip and press firmly in place. Remove liner, cover with pink foil, press in place and peel away foil. Use heat tool if desired to create texture on foil. Cut strip to 3.75 inches long.
Greeting
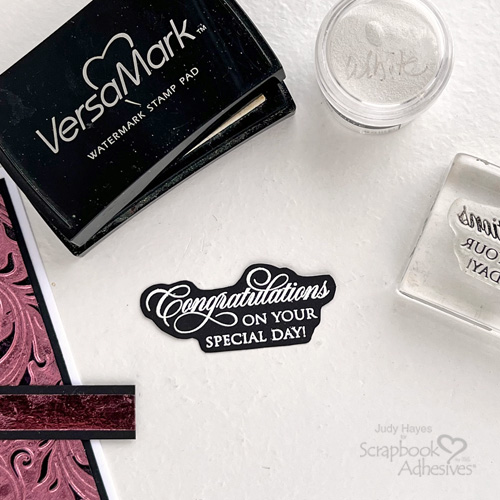
Stamp greeting with Versamark ink on piece of black cardstock. Cover with white embossing powder and heat with heat tool. Trim around verse leaving about .125 inch border.
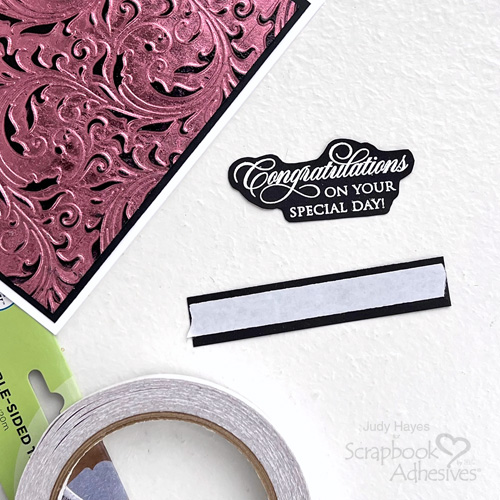
Place piece of Premium Double-Sided Tape 1/2in. on back of foil band, peel liner and fasten on card front.
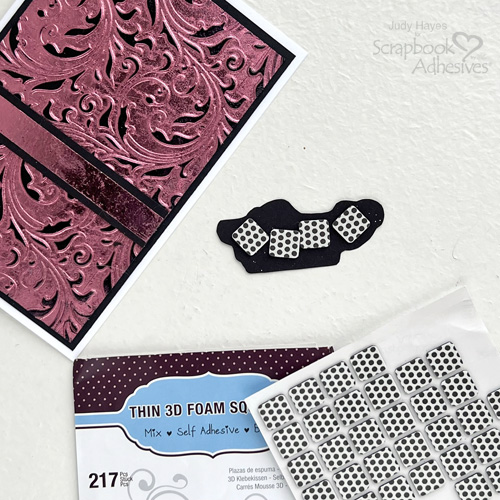
On back of greeting, place Thin 3D Foam Squares Black Mix, peel liners and fasten over foil band on card.

I hope you enjoyed this technique. I challenge you to try it with your embossing folders!
Thanks for visiting!
Judy Hayes
Creative Time: 40 mins
Skill Level: Intermediate
Materials Needed:
Scrapbook Adhesives by 3L®
E-Z Runner® Ultra Strong Refillable Dispenser
Thin 3D Foam Squares Black Mix
Metallic Transfer Foil Sheets Pastel Colors
HomeHobby™ by 3L
Premium Double-Sided Tape 1/2in.
Other: Embossing Folder: Sizzix (Tim Holtz Vault Flourish); Stamp: Penny Black (Beautiful Heart); Ink: Ranger Ink (Archival Jet Black) and Tsukineko (Versamark); Embossing Powder: Ranger Ink (Clear, White Embossing Powder); White + Black Cardstock
Click Preferred Retailers List
Save to Pinterest!

Visit our Website and Blog!
Sign up for our Newsletter so you never miss a contest or giveaway!


