
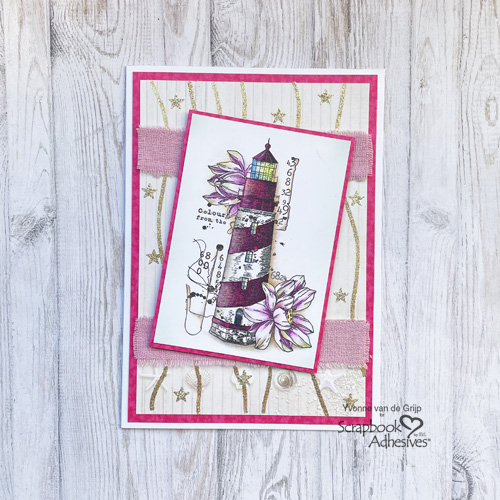
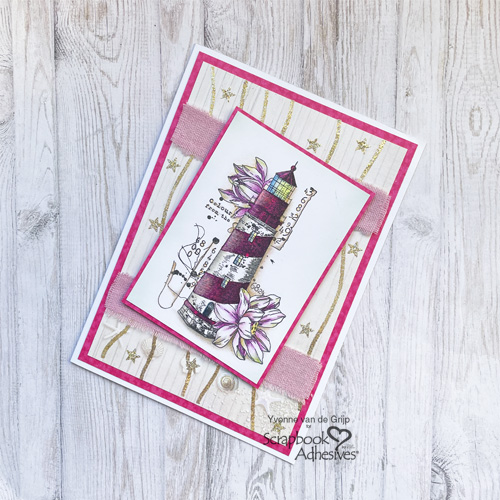
Hi everyone, Yvonne here with a tutorial on how to make this Glittered Lighthouse Card. To add the glittery accents I used the Wear Your Adhesive on the Outside technique. It’s super easy to do and with no special tools! I would love to share how I made my card. Wanna join me?

Glittered Lighthouse Card Base
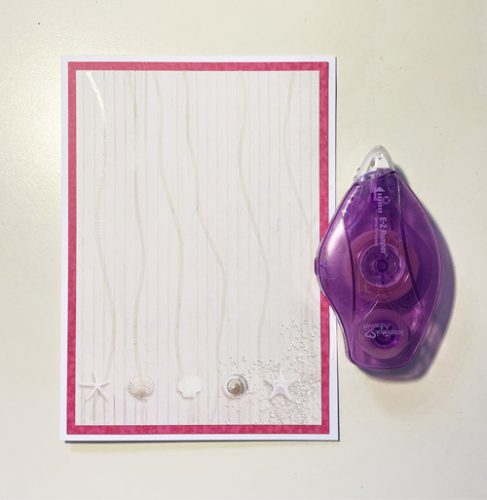
To create the card base, trim a piece of patterned paper to a rectangular size, and mat it on a pink panel using the E-Z Runner® Permanent Strips Refillable Dispenser. Then adhere to a white card base.
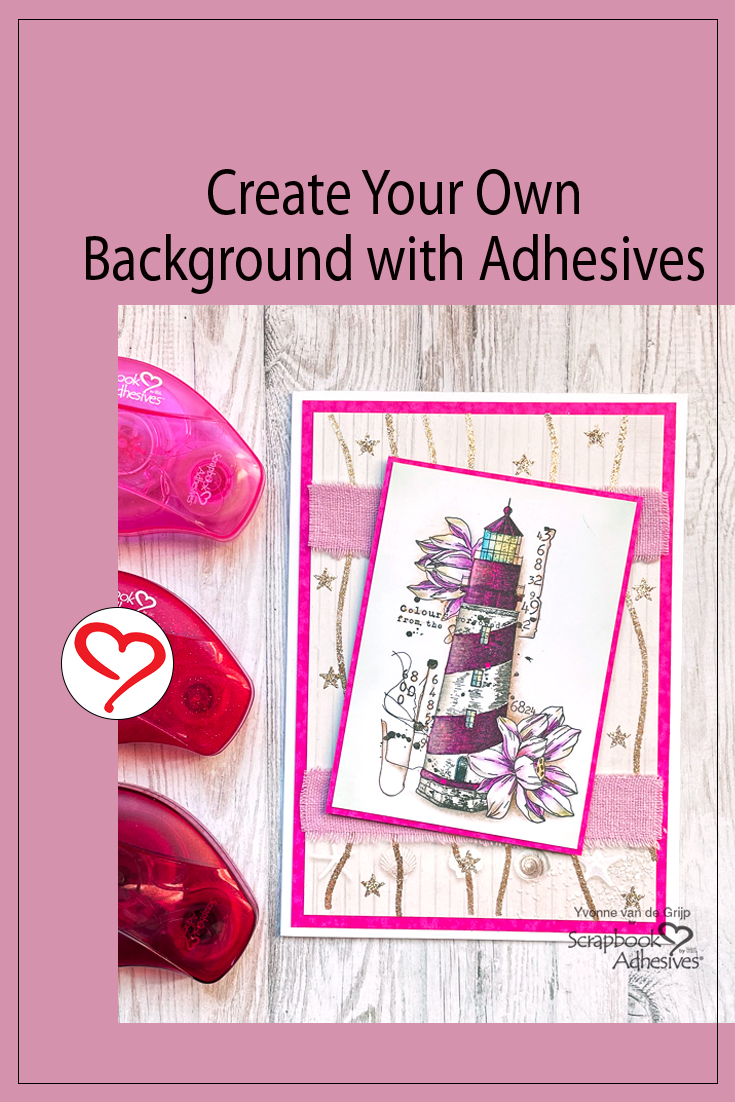
Wear Your Adhesive on the Outside with E-Z Runner Micro
Using this technique, I can customize my panel background by accenting it with the panel pattern. I start with a glittery effect by running the E-Z Runner® Micro Refillable Dispenser in vertical horizontal lines. Sprinkle gold glitter on top, rub it into the adhesive to secure it, and tap off the excess.
The Wear Your Adhesive on the Outside technique brings the adhesive from under layers and makes them into embellishments or accents. In this case, it creates a lovely shiny accent on the Glittered Lighthouse Card.
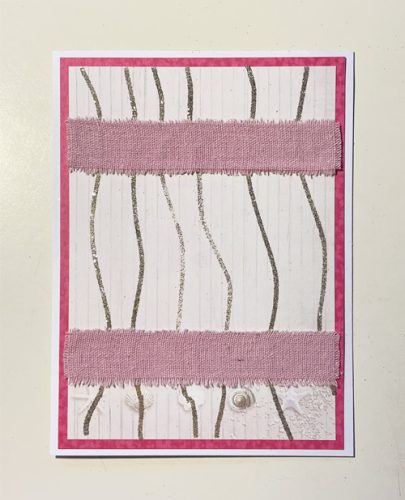
Add two pieces of pink ribbon over the top card panel using the Crafty Power Tape Dispenser 20′ for adhering.
Lighthouse Element
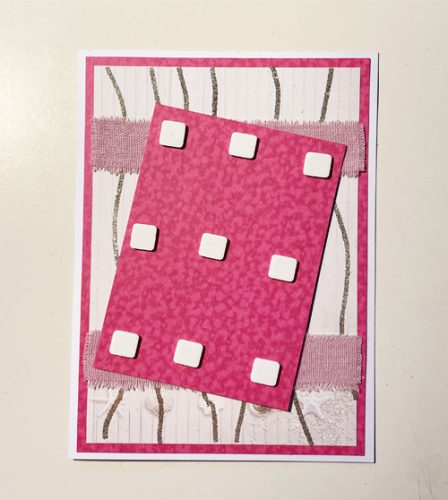
Stamp the lighthouse image on a piece of white cardstock with black ink, and then color using colored pencils. Trim the image and mat it on a pink panel with the E-Z Runner® Permanent Strips Refillable Dispenser. Lastly, pop up the stamped panel to the card base using 3D Foam Squares White Mix.
Finishing Touch
To finish the Glittered Lighthouse Card, I again use the Wear Your Adhesive on the Outside technique by randomly placing the E-Z Runner® Stars Refillable Dispenser on the card front with a pair of tweezers. Next, rub gold glitter to the exposed adhesive on the stars and tap off excess to reveal the shiny star.
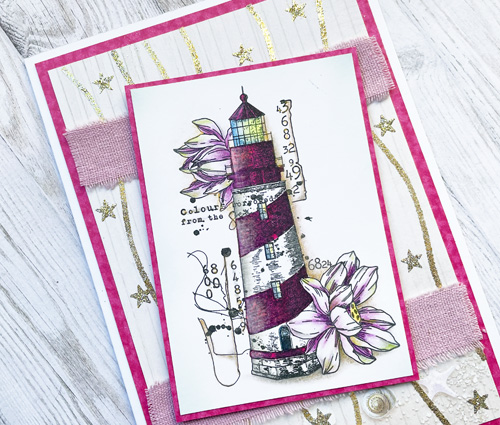
And voilá, the Glittered Lighthouse Card is ready. I hope you enjoyed the tutorial and wish you happy crafting!
Creative Time: 60 minutes
Skill Level: Intermediate
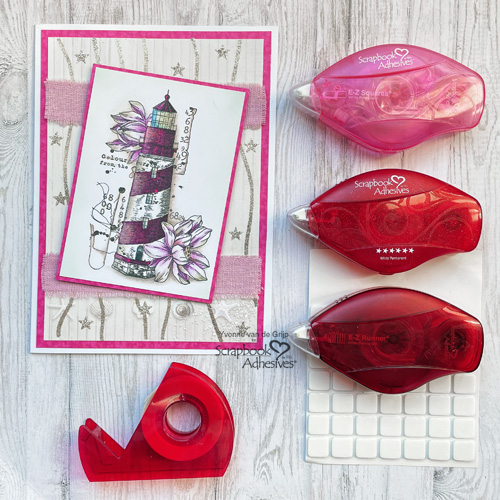
Materials needed:
Scrapbook Adhesives by 3L®:
E-Z Runner® Micro Refillable Dispenser
Crafty Power Tape Dispenser 20”
E-Z Runner® Permanent Strips Refillable Dispenser
E-Z Runner® Stars Refillable Dispenser
Other: Patterned Paper: Tilda (The Seaside Life); Stamp: AALL&Create (Sea Elements); Ink: Tsukineko (Versafine in Onyx Black); Color pencils: Caran d’Ache: Luminance Pencils; Gold Glitter; Acrylic Stamp Block; White and Dark Blue Cardstock; Tweezers; Paper Trimmer; Scissors
Save to Pinterest!
Visit our Website and Blog!
Sign up for our Newsletter so you never miss a contest or giveaway!


