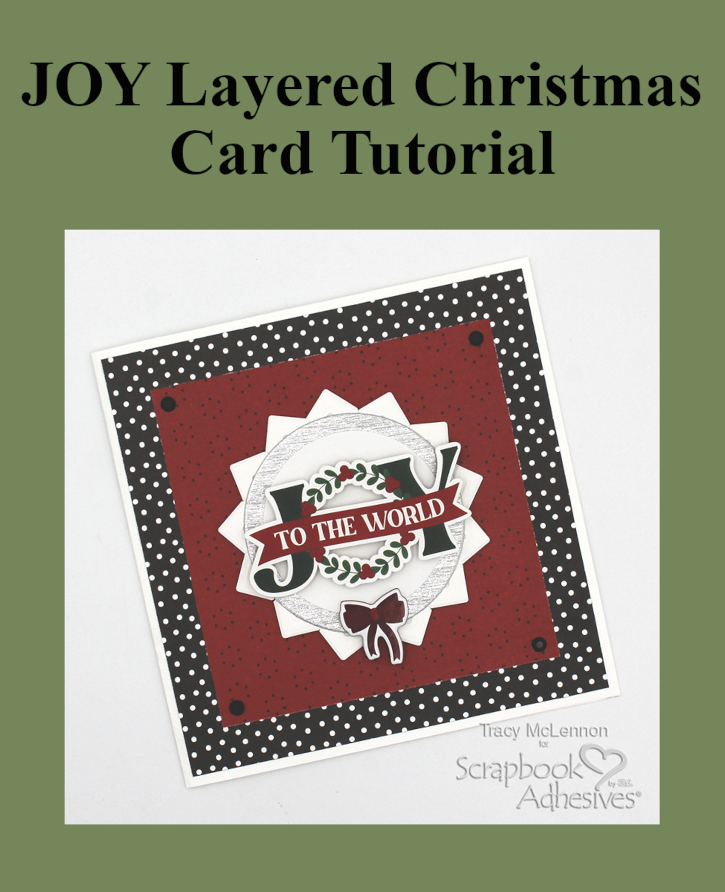
Hello crafty cardmaking friends! Tracy here, and today I have a pretty little JOY Layered Christmas Card to share. Here are all of the details.
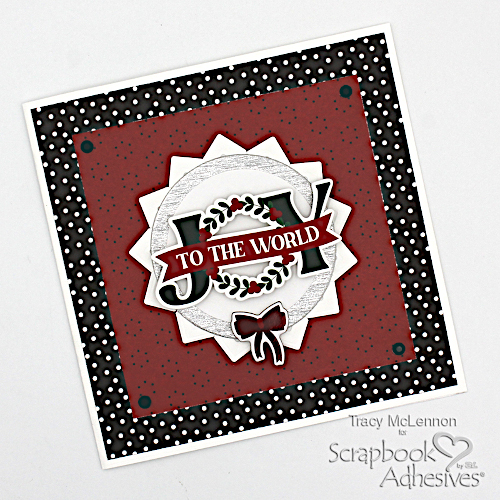
Let’s Get Festive!
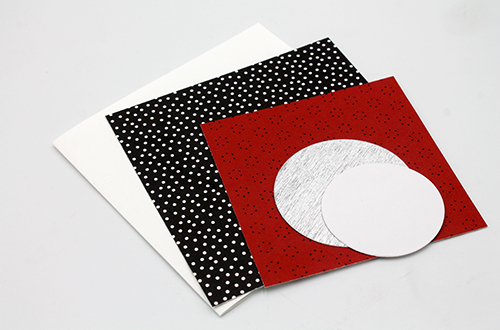
First step is to gather and cut the layers for your card. White cardstock card base. Two patterned paper background layers. A larger silver cardstock circle and a smaller white cardstock circle.
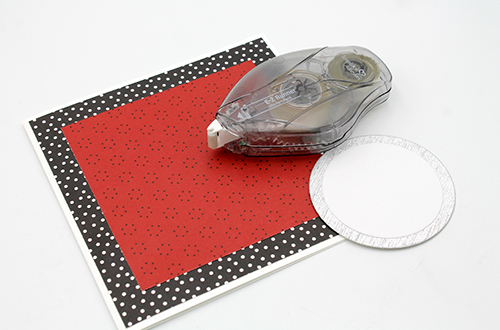
Adhere the patterned paper layers to the card base and adhere the circles together for this layered Christmas card using the E-Z Runner® Ultra Strong Refillable Dispenser.
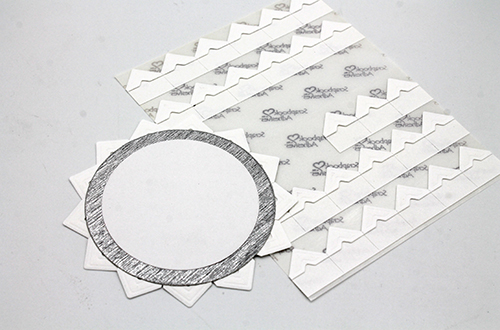
Using the E-Z Runner® Ultra Strong Refillable Dispenser add adhesive to the back of the layered circle. Next, add Creative Photo Corners White around the edge of the layered circle.
Add the title sentiment die cut to the circle frame using 3D Foam Strips Black. Then I added a chipboard sticker bow to the bottom of the frame.
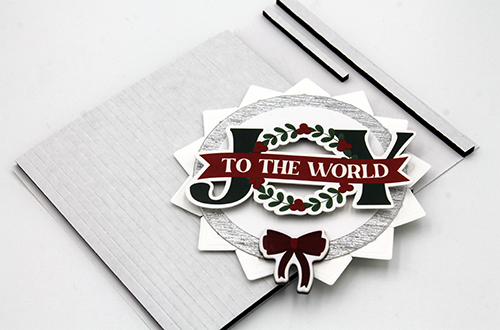
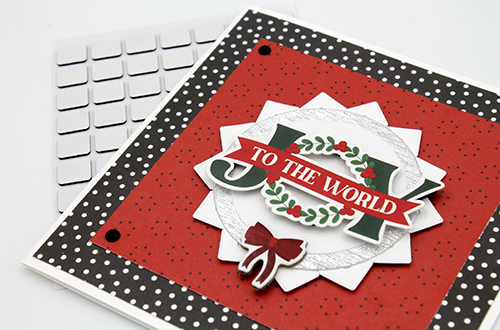
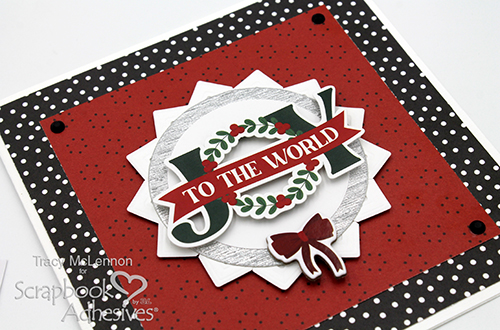
Attach the frame piece to the layered Christmas card base using Thin 3D Foam Squares Black Mix. I also added black gems to the corners of the red patterned paper for a little extra sparkle.
Thanks so much for stopping by!
Tracy
Creative Time: 30 mins
Skill Level: Intermediate
Materials Needed:
Scrapbook Adhesives by 3L®
Creative Photo Corners White
3D Foam Strips Black
E-Z Runner® Ultra Strong Refillable Dispenser
Thin 3D Foam Squares Black Mix
Other: Echo Park Collection; Silver Cardstock; White Cardstock; Black Gems
Save to Pinterest!
Visit our Website and Blog!
Sign up for our Newsletter so you never miss a contest or giveaway!