
Hello everyone!
Can you believe it’s already Easter? If you haven’t made any cards yet, then pick up some new 3D Foam Easter Shapes and get cracking ! (ha ha pun intended)
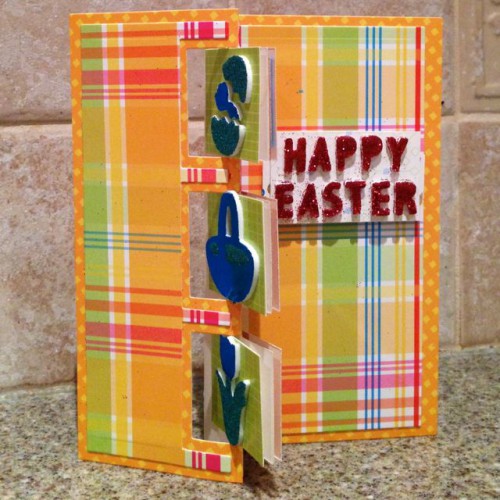
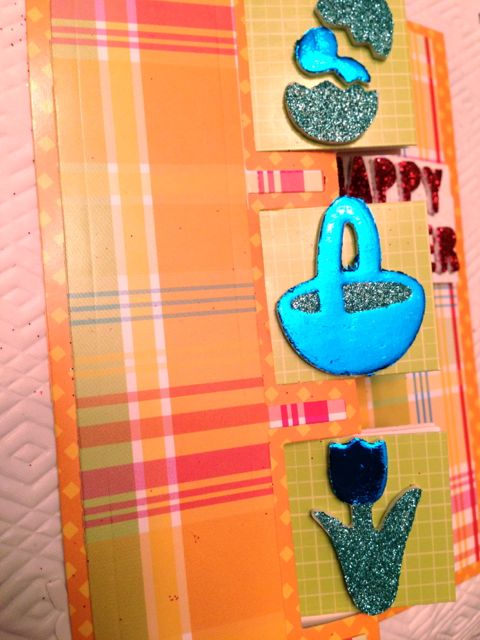
I created this cute 3D card that works perfectly with the pretty 3D Foam Easter Shapes!
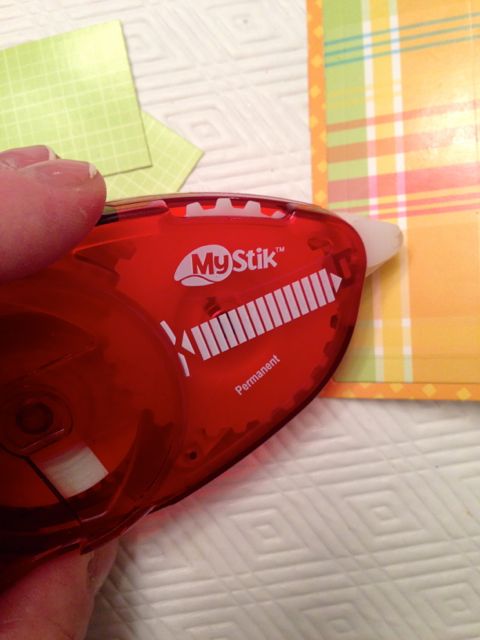
First, I adhered my card layers together using the MyStik™ Permanent Strips.
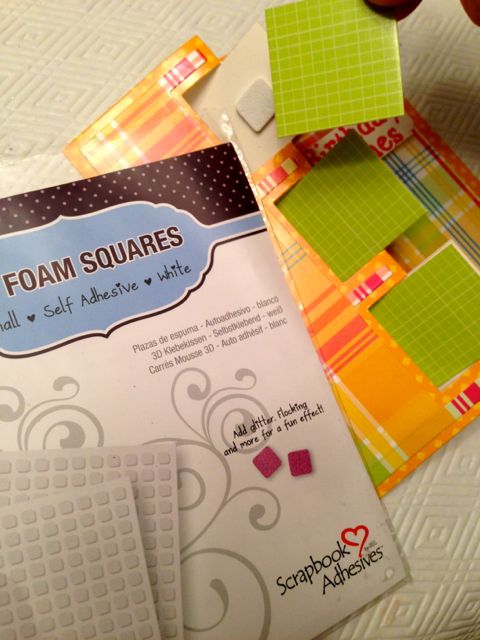
I also used my 3D Foam Squares to adhere some card layers for more dimension.
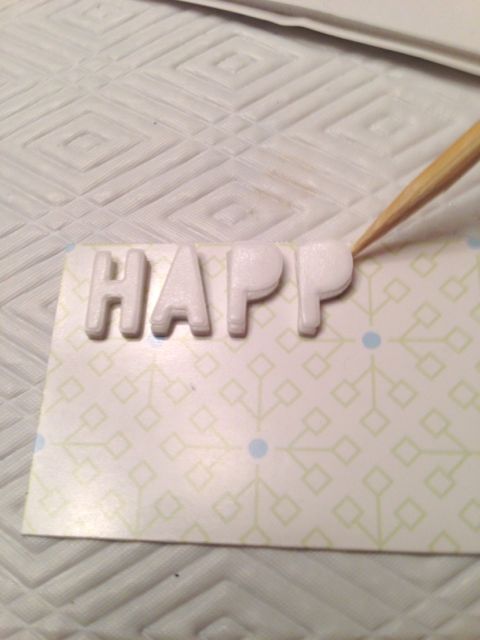
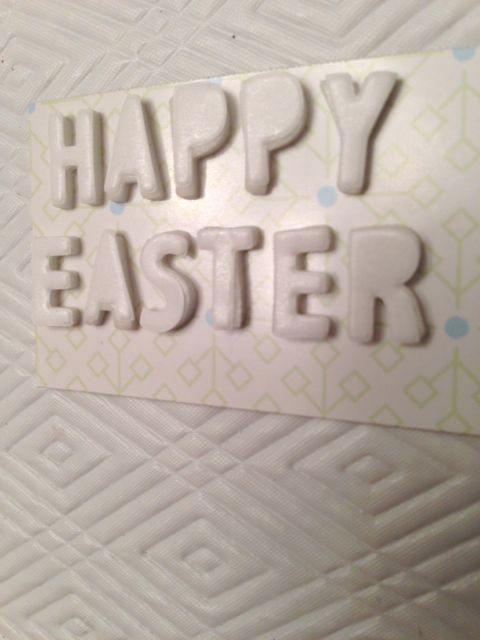
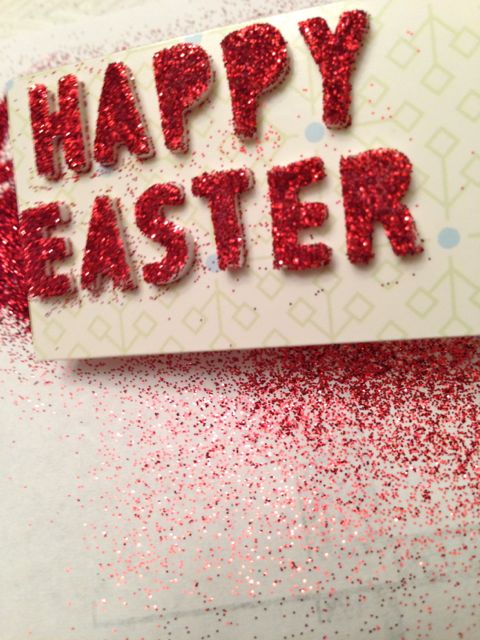
Then I created my “Happy Easter” sentiment from the 3D Foam Easter shapes and red glitter.
Here’s a little tip for removing some of the tinier pieces from the foam sheet. Use a sharp tool, like a paper piercer, non-stick scissors … or even a wooden bamboo skewer, like I did.
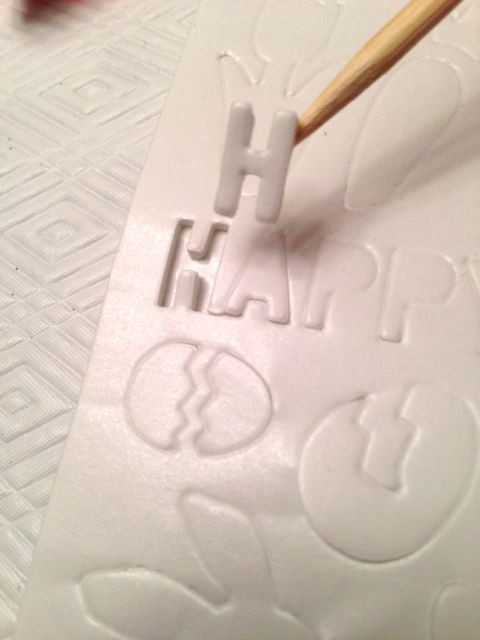
Take your time and remove them gently … a little patience with these teeny bits goes a long way.
The great thing about these all Designer Foam Shapes is that you can customize them to match your papers with any colour of glitter, flocking, embossing powder, etc.
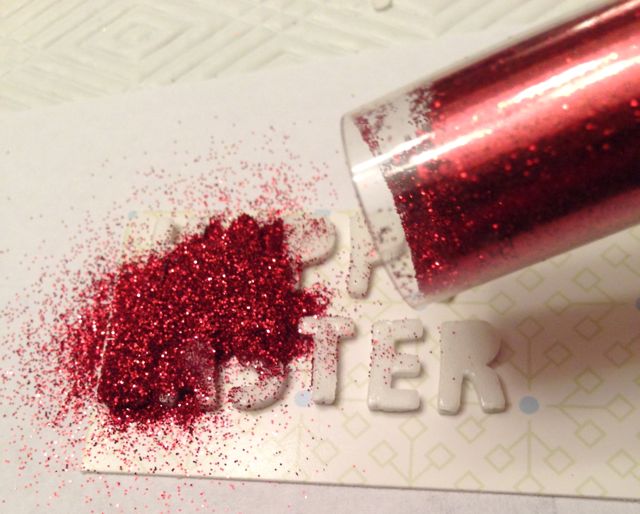
I dump my glitter on liberally… and then brush it off.
For the three different 3D Foam Easter shapes on the front of the card, I used foil and glitter paper.
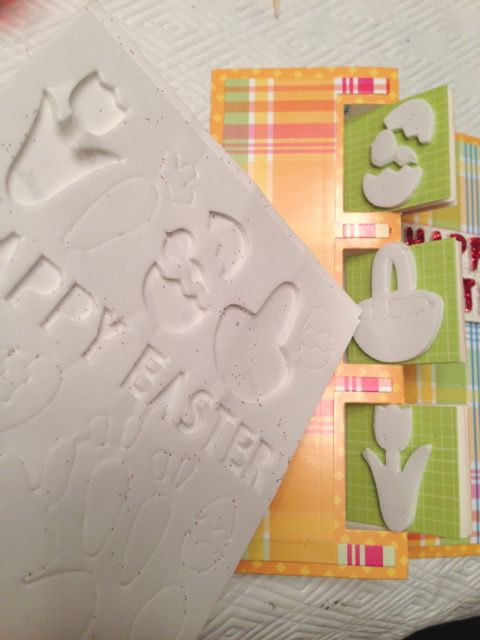
I removed only parts of the backing of each shape, so I could add both foil and glitter paper. First, I added foil to parts of each shape:
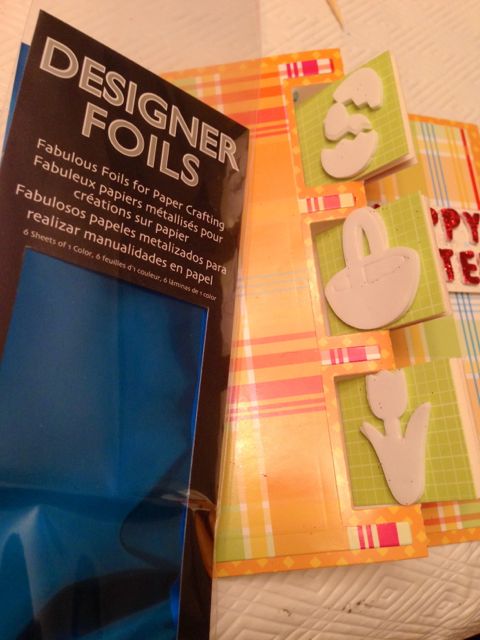
Then came the glitter paper.
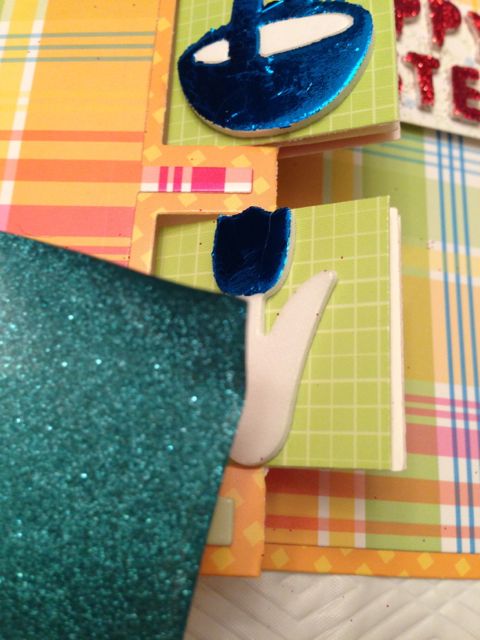
I just love the two-tone effect these products make together.
And that is how an Easter card can come together using awesome products from Scrapbook Adhesives by 3L®!
Happy Easter…. and Happy Crafting!
Kelly Klapstein (Visit my blog www.kellycreates.ca)
Supplies:
3D Foam Easter Shapes, MyStik™ Permanent Strips, 3D Foam Squares
DCWV papers; Sizzix die and Big Shot; Clearsnap Designer Foil; Zoom Creative Glitter Paper.
By Deborah S April 14, 2014 - 7:51 pm
What a cute project I love that you used both foil and glitter very nice!
By Asia King April 16, 2014 - 7:42 am
Fabulous card Kelly! Love the bring spring-time colours 🙂