
Hi everyone, it is Christine here today and to celebrate Easter I thought I would re-style Easter egg packaging! The shop packaging can get a little boring so how about making your own? It is so easy with the help of Scrapbook Adhesives by 3L® products.

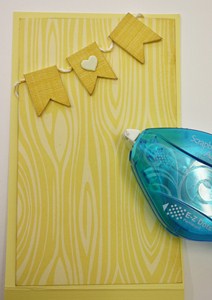
First of all select a piece of yellow cardstock and trim off a strip measuring 12″ x 4″. This isn’t quite big enough to wrap around the egg so you will need an extra piece measuring 5″ x 4″ to add on – Crafty Power Tape does this perfectly.
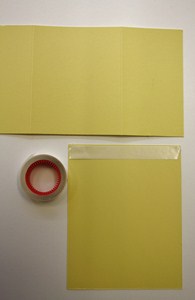 Then score at 6.5″ and 9.5″ – this creates the base section for your egg.

To decorate, I wanted some Spring-like bunting so the 3D Foam Pennants were perfect for this.
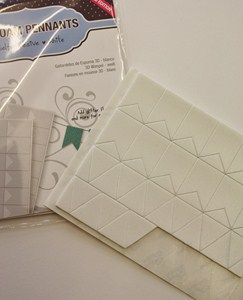
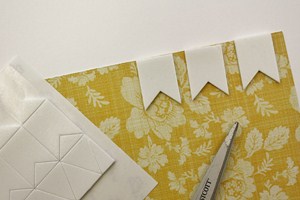
I affixed them to patterned paper and then cut around each one.
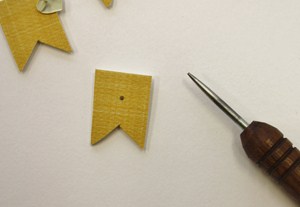
For an extra embellishment, make a hole with your pokey tool and insert a brad.
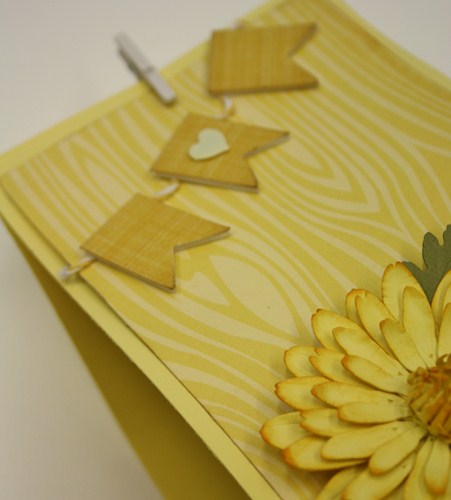
The 3D Foam Pennants and twine are then attached to some patterned paper from Echo Park and the decorated panel is attached to the cardstock using E-Z® Dots Permanent Refilliable.
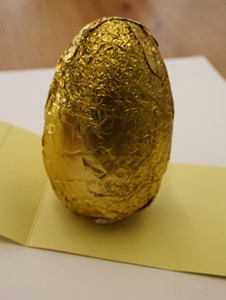
The egg is held in place with Crafty Power Tape.
Draw up the front and back panels and secure with a small peg. For an additional decoration I cut/embossed a Spellbinders® Create A Daisy.
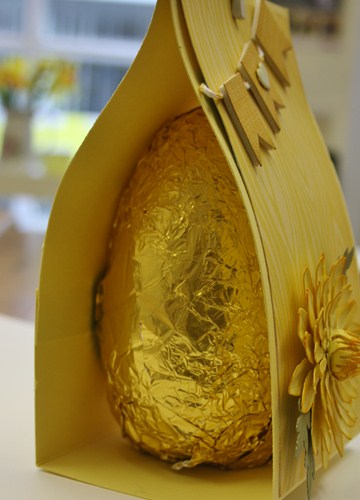 The finished decorated egg –
and the pretty 3D Foam Pennants.
Have fun changing packaging to suit your style! Wishing you all an enjoyable Easter.
By Janice April 19, 2014 - 8:47 am
Beautiful packaging Christine, so much better and prettier than the shop’s own ones !
Great tutorial too, the 3d foam pennants look really good, especially with the brad!
Janice x
By Deborah S April 19, 2014 - 10:01 am
What a lovely egg holder the color and style make it nice for the more mature recipient which is some times hard to find in the store thanks
By Maggie April 20, 2014 - 1:56 am
Hi Christine. A real stunner of an Easter egg~ I would be ecstatic if I received one like this! I love the lovely ‘sunshine’ yellow card you have used ~ the bunting and flower are beautiful. Hugs,
Maggie x
By Carole Zorzo April 20, 2014 - 2:53 am
Hi Christine, this makes the egg look eggstra (!) beautiful..love the papers you’ve used and a great use of the flags/bunting foam pads. Super tutorial too, Hugs, Carole Z X
By CornishEmma April 20, 2014 - 4:15 am
What a gorgeous Egg package, love the bunting and large daisy. Emma