
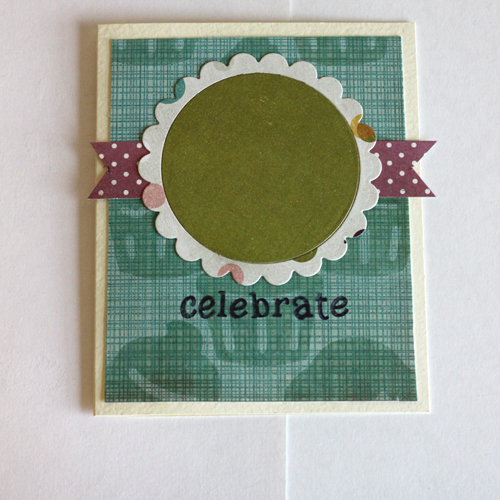
Hello blog readers! It’s Angela here today and I’m sharing a card that I created using the 3D Foam Cupcake shapes:
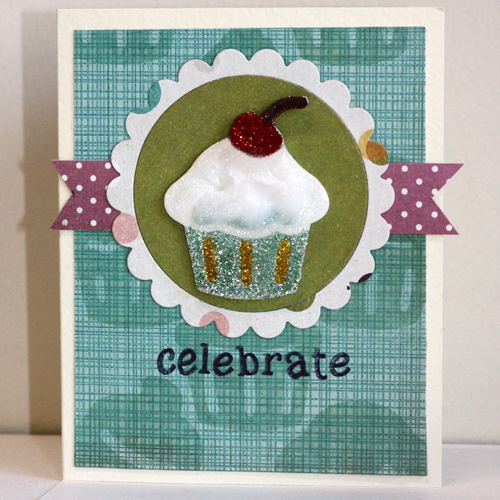 Can you see how I used the shape in 2 different ways? One is the focal point and the other is the clear embossed image in the background. Let me show you how I did both!
Instructions:
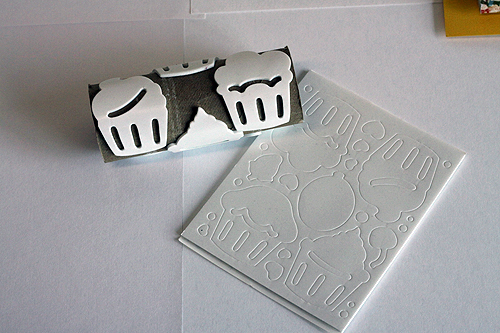
1. Adhere approximately 6 3D Foam Cupcake shapes to a toilet paper roll.
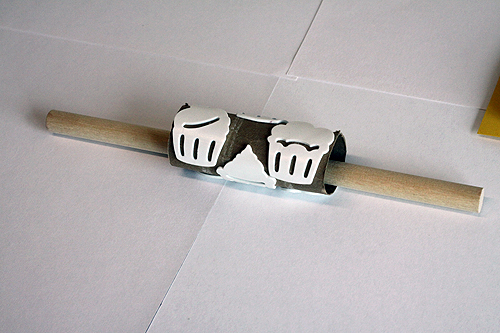
 2. Remove the protective backing from the shapes and ink them with an embossing ink. Insert a wooden dowel into the toilet paper roll and use it to apply the custom roller stamp to the patterned paper.
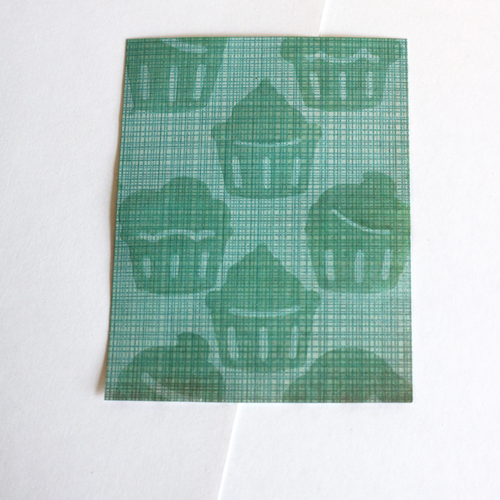
 3. Sprinkle with clear embossing powder, shake off excess and heat to set.
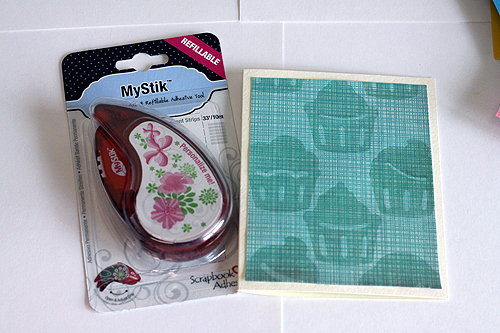
4. Using the MyStik® Permanent Strips, adhere the patterned paper to a card base.
5. Cut a double sided banner strip from a coordinating pattern paper and adhere to the card base. Stamp the sentiment using StazOn (or similar) ink.

6. Die cut a circle and scalloped circle window from patterned paper. Inset the circle (you could layer, if you prefer) and adhere to the card base with the MyStik® Permanent Strips.
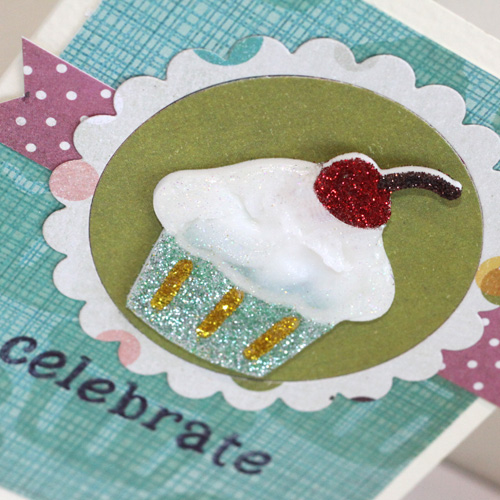
 7. Remove the backing and cover the bottom of the 3D Foam Cupcake shape and the icing shadow in light green glitter. Remove the icing backing and pipe on the icing, using a 3D glitter fabric paint. Insert the cherry shape, allowing the fabric paint to overlap slightly. Let the fabric paint dry.
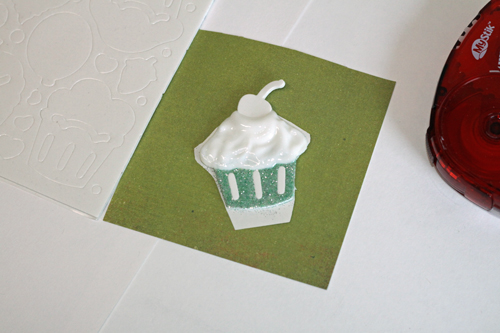 8. Remove the rest of the backing from the cupcake base and cover with gold glitter. Cover the cherry with red glitter and the stem with brown glitter. I use a craft knife to cut the baking on the shape and peel the pieces one at a time for each color of glitter needed. Adhere finished cupcake to card base.
Here’s a close up of the focal point:
 I love it when an idea comes together!
Angela
Scrapbook Adhesives by 3L® Supplies used: 3D Foam Cupcakes, MyStik® Permanent Shapes
Other Supplies Used: Basic Grey patterned paper, EK Success glitter, Lawn Fawn Riley ABCs alphabet stamps, Tsukineko StazOn ink, Ranger Clear embossing powder, Tulip 3D glitter fabric paint, Bazzill Basics Paper card stock, Spellbinders dies.
By Deborah S April 21, 2014 - 10:40 am
Wow clever gal what a great technique this is an adorable card!