
Hello Blog Readers!
It’s Angela today and I have a tutorial to create a DIY paper bead with Scrapbook Adhesives by 3L® Adhesive Sheets 12 x 12.
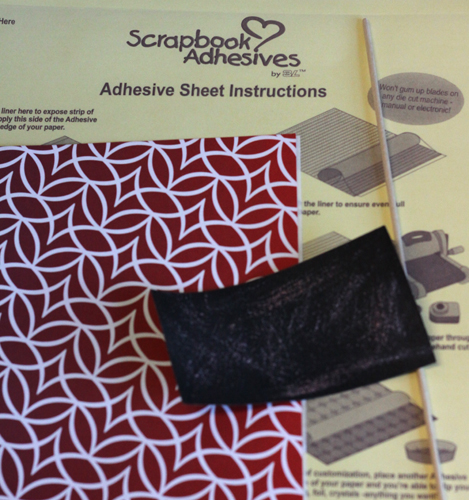
What you will need:
How to Make a Paper Bead:
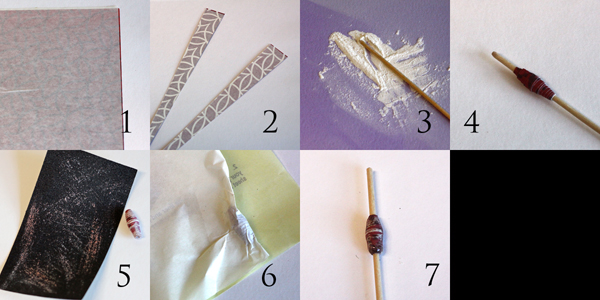
1. Select a patterned paper (lighter weight papers work best) and adhere an Adhesive Sheet – 12 x 12 to the wrong side of the paper.
2. Cut the patterned paper into long triangles – I used a 1 inch wide triangle on the wide edge and kept the length at 12 inches.
3. Dip a thin dowel in baby powder (this will deactivate the adhesive that comes into contact with the dowel).
4. Starting on the wide edge of the patterned paper, roll the the triangle of paper onto the dowel, adhesive side in). Remove from dowel.
5. Sand the bead to shorten and smooth the layers. This also creates some color contrast. You could distress further with inks, but I chose not to.
6. Wrap the distressed bead in another Adhesive Sheet 12 x 12.
7. Return the bead to the dowel. Dip adhesive covered bead into some Ultra Thick Embossing Enamel (UTEE). Heat to set. While still warm, dip a second time into the UTEE. Reheat and redip until the UTEE wants to drip off. Rotate the bead while it cools to keep a smooth surface.
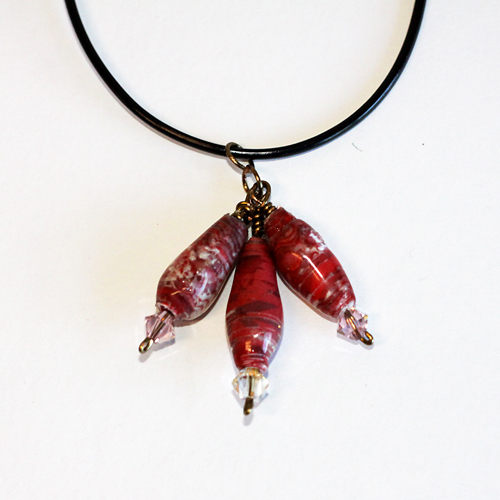
8. Remove bead from dowel and finish with jewelry making supplies.
ENJOY! Thanks for stopping by today!
Scrapbook Adhesives by 3L supplies used: Adhesive Sheets 12 x 12
Other supplies used: Ranger Ultra Thick Embossing Enamel, heat tool, Reminisce patterned paper, sandpaper, craft dowel, baby powder, jewelry making supplies
By Deborah S June 22, 2014 - 1:18 am
Wow Angela these look like glass beads they are gorgeous years ago I took a couple of classes to try and learn how to make glass beads and it was very difficult and super expensive. Your beads are so much easier to make and look awesome thank you so much for this tutorial I love this post!