
Hi there,
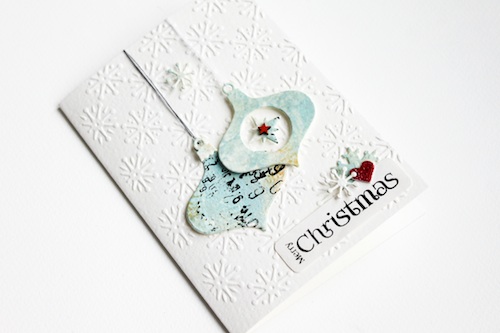
it’s Stephanie here today and I want to show you a Christmas card I made using some of my favorite adhesives.
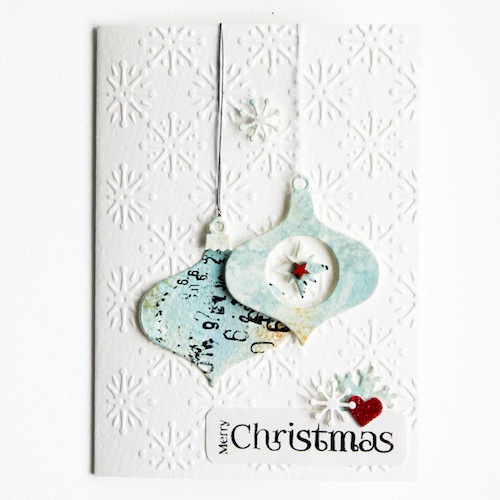
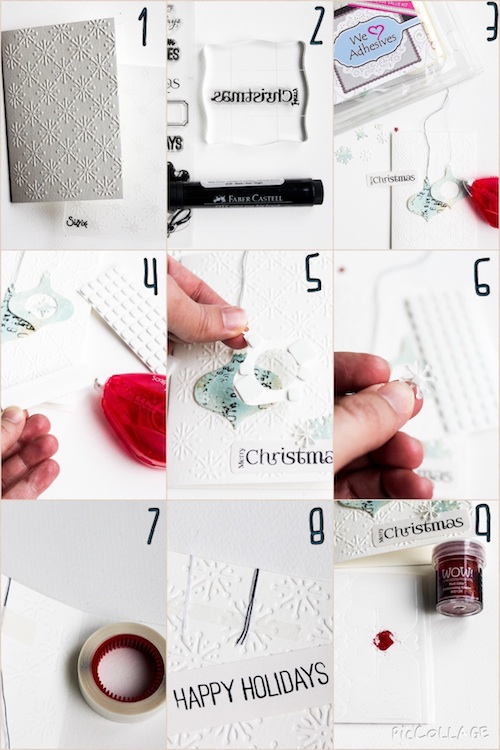
1 – Use your Die Cut Machine to emboss your card with a winter theme. I used an embossing folder with lovely snowflakes.
2 – Stamp your sentiment and cut it out.
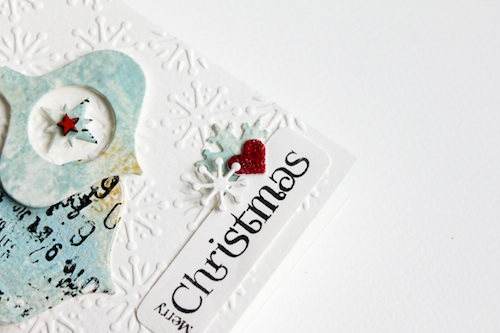
3 – Prepare your decorative embellishments: die cut some ornaments, Christmas balls, color a wooden star with red watercolor.
4 – Adhere your sentiment and one of the Christmas ornaments with the E-Z Runner® Permanent Strips Refillable Dispenser
5 – Adhere the other Christmas ornament with the 3D Foam Squares White Small and Regular
6 – You can cut the 3D Foam Squares for smaller, detailed sizes for little paper cuts and embellishments.
7 – Use the Crafty Power Tape to fix the yarn at the back of the card
8 – Adhere another sentiment on this place.
9 – Use the 3D Foam Heart and embellish with red embossing powder for another colored highlight. Yes, you can heat emboss the 3D Foam shapes!
Supplies from Scrapbook Adhesives by 3L®
- E-Z Runner® Permanent Strips Refillable Dispenser
- Crafty Power Tape
- 3D Foam Squares Small White
- 3D Foam Squares Regular White
- 3D Foam Hearts
Other supplies:
- watercolor paper
Paint, stamps
Red watercolor
Stamps from Penny Black
Wooden heart embellishment from Cosmo Cricket
WOW! Embossing Powder red
Sizzix Textured Impressions Embossing Folders 2PK – Yuletide Boulevard Set
Sizzix Triplits Die Set 9PK – Ornaments
Thanks for visiting! I wish you a nice creative day!
Stephanie Schutze
Visit our Website and Blog!
Sign up for our Newsletter so you never miss a contest or giveaway!


