
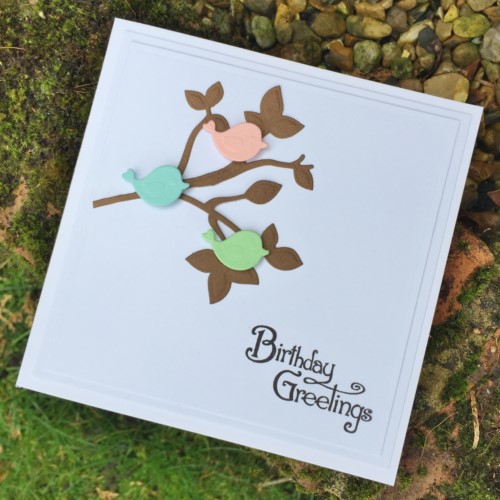
Hi everyone, Christine here today with a Springtime Birthday card. Applying thin die cuts can often be tricky but they are no longer a problem with Adhesive Sheet 4 x 6″.
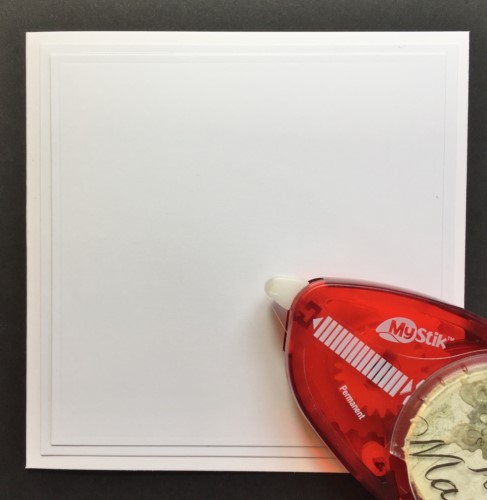
To start, my card base has two white mats affixed with MyStik® Permanent Strips.
I then selected an Adhesive Sheet 4 x 6″. Lifted the yellow release paper and placed my colored card inside.
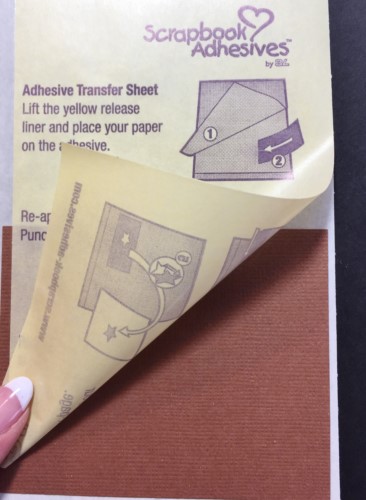
Smoothed it back down and positioned my die. Run this through my die cutting machine.
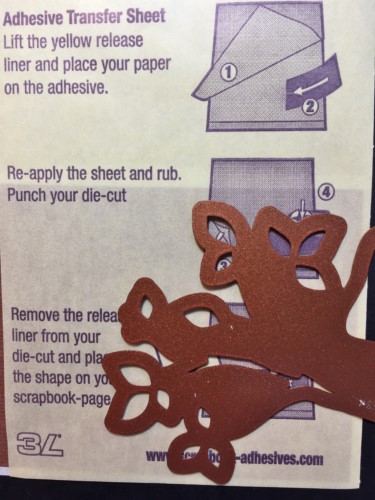
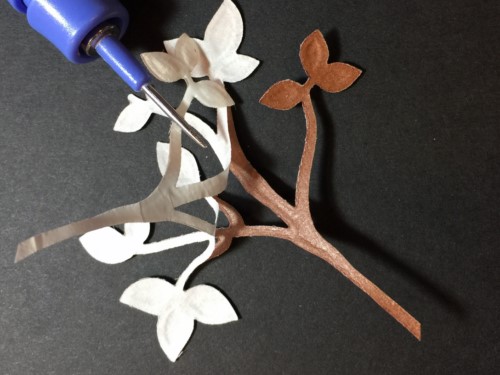
When cut and embossed I peeled away the backing to reveal that the adhesive from the sheet has transferred onto the back of my delicate die cut.
View the quick video below on How to Use Adhesive Sheets for Die Cutting.
Positioned onto my card front.
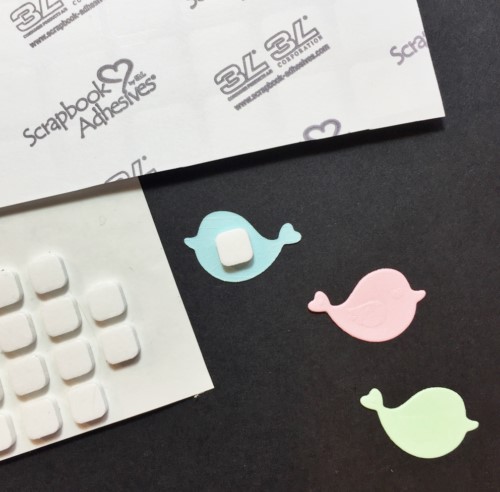
I added further little bird die cuts and adhered these with 3D Foam Squares – White, Small.
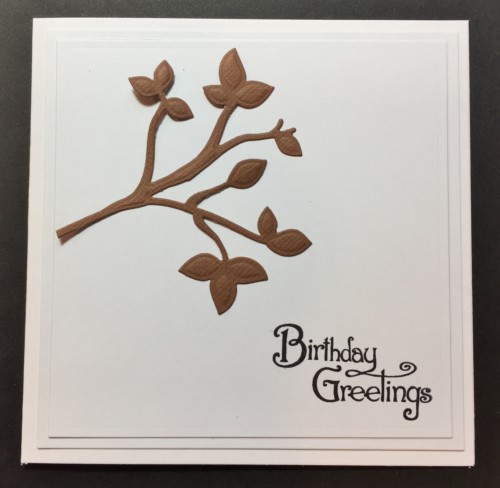
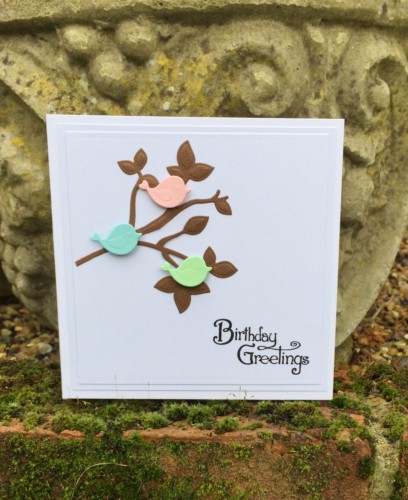
The finished card full of Spring-ness!
Thanks for stopping by today and don’t forget to check out all the great products on the website.

Products used:
3D Foam Squares – White, Small
Adhesive Sheets 6″ x 4″
MyStik® Permanent Strips
Others:
Dies: Spellbinders Paper Arts (Springtime and Out on a Limb)
White, Brown, Pink, Green and Blue Cardstock
Stamp – Little Darlings