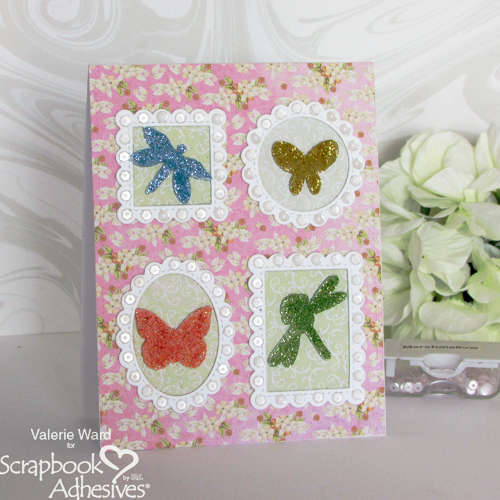
Hello! Valerie here today, and today I’m featuring a pretty summertime card featuring glitter and several Scrapbook Adhesive products. The focal point is on 3D Foam Butterflies and Adhesive Dots Micro for this all occasion card.
The Card Tutorial
Create Four Mini Frames
For this step, you’ll need your white cardstock, the 3D Foam Creative Embellishment Kit, scalloped mini frame dies, and a die cutting machine.
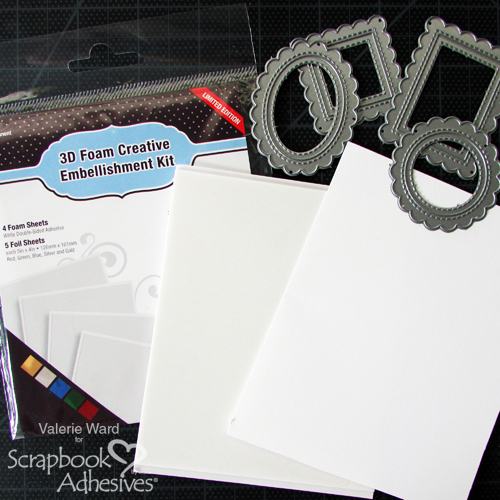
In the first step I created white frames. First, I peeled off the backing of one of the 3D Foam Creative sheets from the 3D Foam Creative Embellishment Kit and adhered a piece of white cardstock over the entire piece; I kept the backing on the other side. Next, turn it over to the white side that has the white cardstock on it, and place your 4 mini frame dies on it. Then run it through your die cutting machine. Set them aside for now.

Break out the Glitter!
Here is where we create the glittery butterflies and dragonflies! Select your favorite shapes from the 3D Foam Butterflies kit, and get 4 colors of glitter.
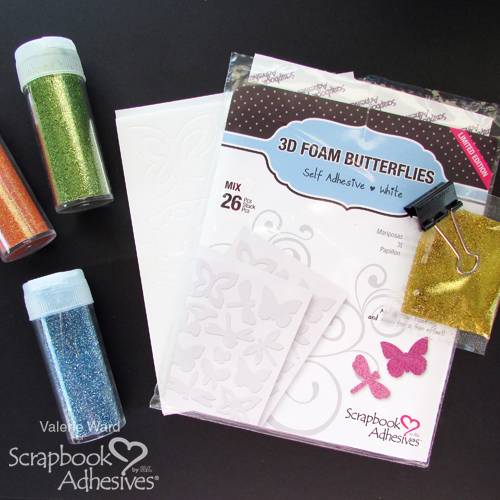
I’m using the dragonfly. First I removed it from the sheet, laid it sticky-side UP on a surface, and poured the glitter on. I picked it up with tweezers, poured off the excess glitter and set it aside. Repeat with the different bugs (lol – bugs) and different colors of glitter for each one (if you want 4 different colors, that is).

Embellish the Card Base and 4 Frames
Using the patterned paper, flip it back-side-up, and apply adhesive from your E-Z Runner® Grand Refillable Dispenser. Line it up on your card base and apply.
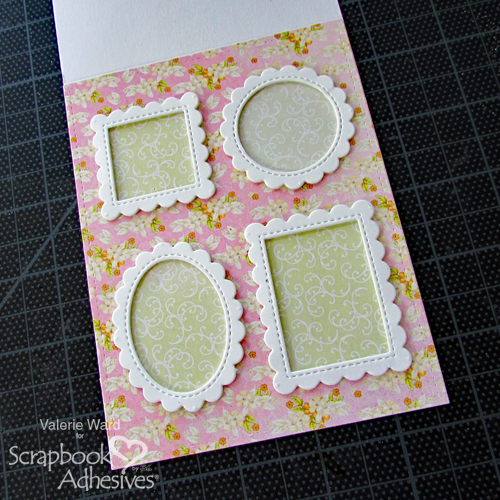
You’ve already die cut your 4 mini frames, so for this step I hand cut 4 backgrounds for the frames from coordinating patterned paper. I lined them up where I wanted them to go, then applied adhesive from my E-Z Squares® Refillable Dispenser to the backs of each one and attached them to the card.
Next get the 4 die cut frames, and peel off the backing from them. Apply them to the card over the backgrounds for each one.
It’s really starting to come together now!
Add the Pretty Bugs
Now go get those 4 pretty bugs and decide which frames to place them in. Remove the backings, and adhere them inside the frames.

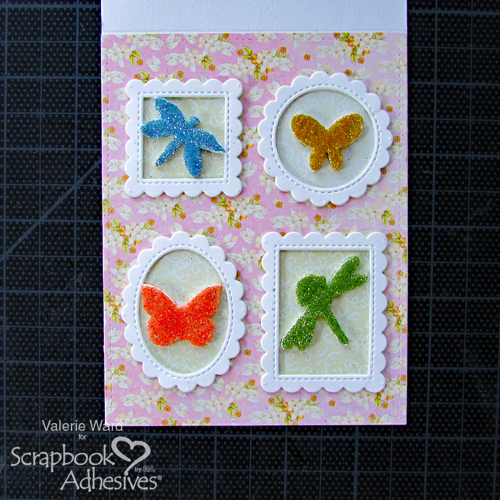
Embellish the Frames
Next I decided this card needed something more to jazz up the frames. I pulled out some mini sequins and my box of Adhesive Dots Micro. These sticky dots are amazing! They are very strong and easy to use.
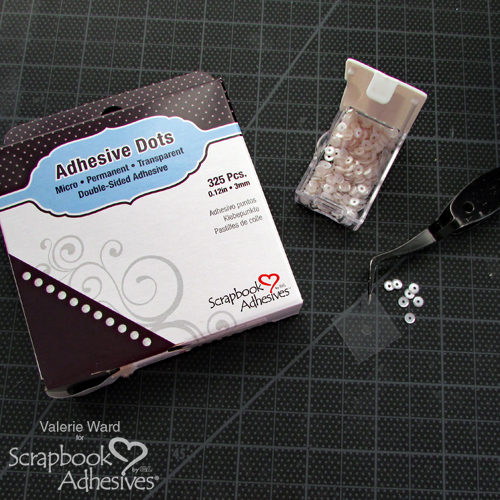
Adhesive Dots dispense from the box on a clear liner. Just pull one square out of the box, lay the sticky dot where you want it applied, press it on the spot, and pull off the liner. No touch application! Then you can put your sequin on top of the Adhesive Dot, and it sticks right down. I suggest using tweezers with the sequins.

This step took MAYBE 5 minutes, tops. I couldn’t resist taking a shot of the pile of the Adhesive Dots clear liners. 😉
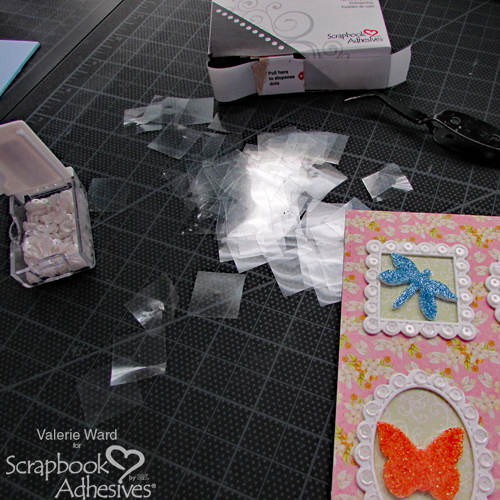
The card is finished! I was so happy with this final result. All the sparkle is so pretty, and the texture with the sequins was the perfect final touch.

Here are the Scrapbook Adhesive products I used. There is a list at the end of the post with links to each product.
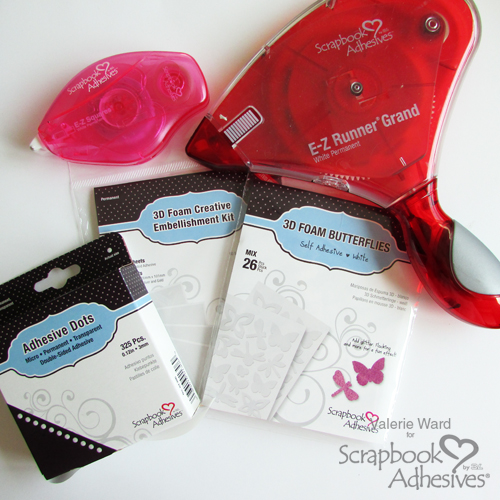
A little close-up: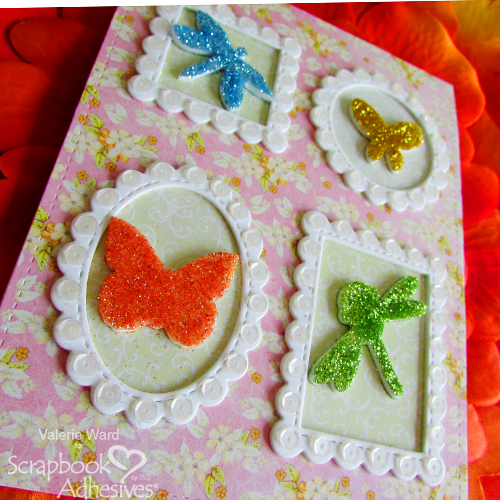
Thank you so much for joining me today! Have a wonderful day, and Happy Crafting!
Valerie
- Creative Time: 60 Minutes
- Skill Level: Intermediate
Scrapbook Adhesives by 3L® Supplies:
E-Z Runner® Grand Refillable Dispenser
E-Z Squares® Refillable Dispenser
3D Foam Butterflies
3D Foam Creative Embellishment Kit
Adhesive Dots Micro
Other Supplies: white cardstock, 2 patterned papers, scalloped mini frame dies, glitter, mini sequins, tweezer to pick up sequins, die cut machine


By Terrie D. July 20, 2018 - 9:48 am
This is very pretty! I love how you framed the butterflies and dragonflies 🙂