Welcome back, crafty friends! Tracy here, and today I have a Hey, Honey card that’s quick and oh SO easy to create. You’ll “Bee” happy to have a card to make ‘on the fly!’ Keep reading for all of the details.
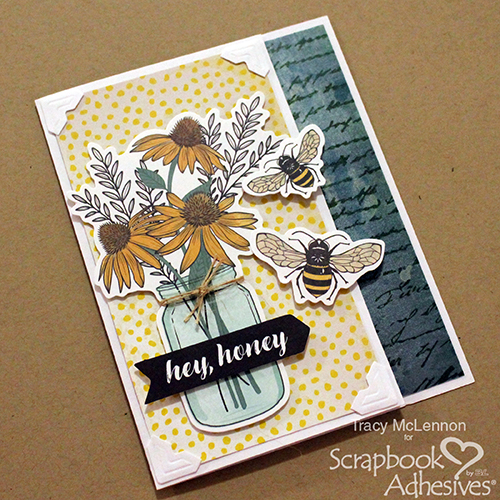
Hey Honey, Let’s Make this Card!
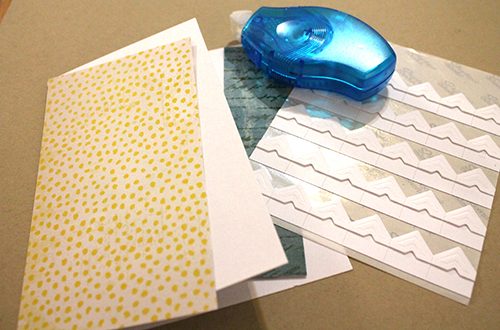
Start the project with a card base that is 8.5×5.5, and fold in half. Then cut off a 1-inch piece from the front of the card base.
Next, cut the patterned paper pieces for the front. The yellow patterned paper is 5.25 x 3-inch, and the blue patterned paper is 5.25 x 1.25-inch. Add the blue strip using the trusty E-Z Runner® Petite Permanent Dots Refillable Dispenser and add the yellow patterned paper using Creative Photo Corners White.
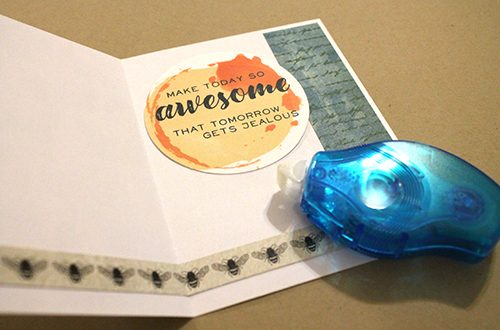
The inside of the card is kept simple. Add the die cut sentiment and the bee patterned strip using the E-Z Runner® Petite Permanent Dots Refillable Dispenser.
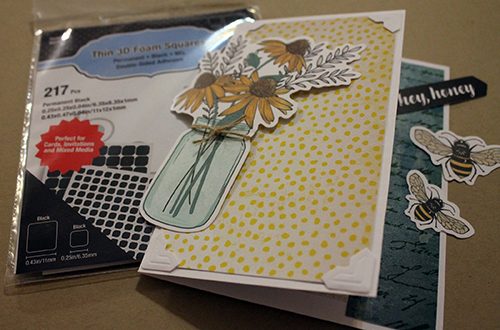
The front of the card features Creative Photo Corners in White, which frame the yellow patterned paper. Add a line of E-Z Runner® Petite Permanent Dots to adhere the paper to the card front, so it can hold the weight of the die cuts.
For the perfect pop of dimension on my card, I grabbed the Thin 3D Foam Squares Black Mix and used it to add the vase, flower and bee die cuts. If you want one die cut higher than another, just double up the 3D Foam Squares. The Thin 3D Foam Squares Black Mix is the perfect go-to adhesive for this quick & easy card.
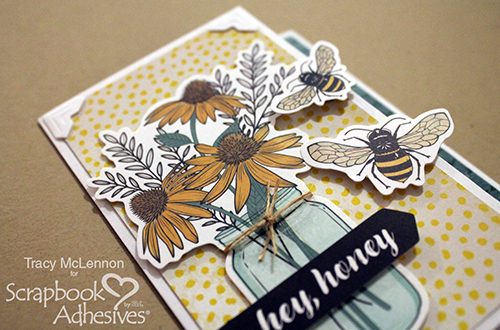
Just like that, my Hey Honey card is done! You could be out the door in under 15 minutes with a beautiful card!
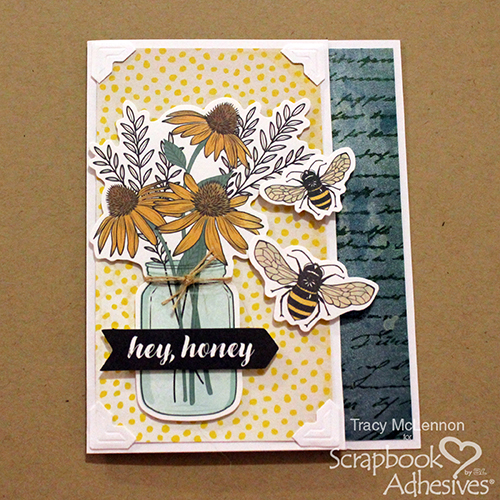
Thanks so much for stopping by to check out my card tutorial!
Tracy
Creative Time: 15 minutes
Skill Level: Beginner
Materials Needed
Scrapbook Adhesives by 3L®
E-Z Runner® Petite Permanent Dots Refillable Dispenser
Creative Photo Corners White
Thin 3D Foams Squares Black Mix
Other
White Cardstock, Natural Burlap String, Patterned Paper and Die Cuts: Vicki Boutin (Wildflower and Honey Collection)
Love It. Pin It!
Visit our Website and Blog!
Sign up for our Newsletter so you never miss a contest or giveaway!


