
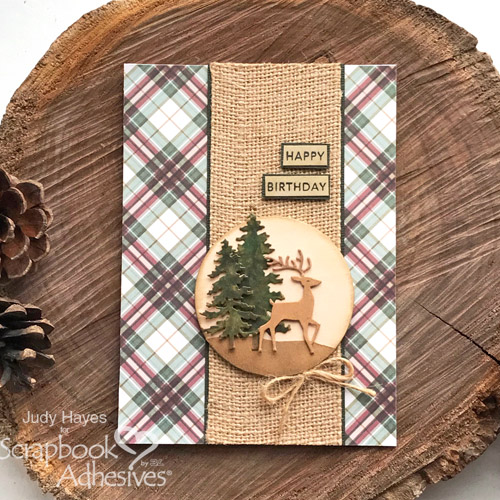
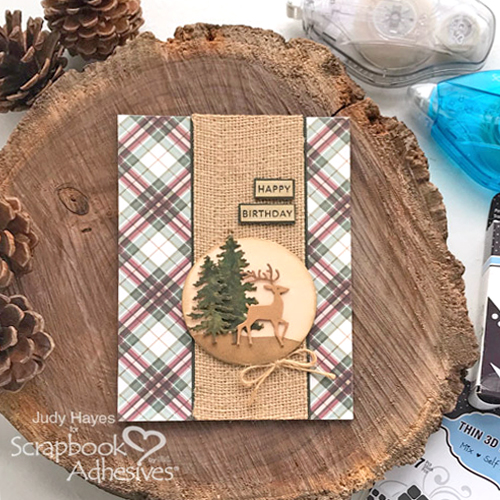
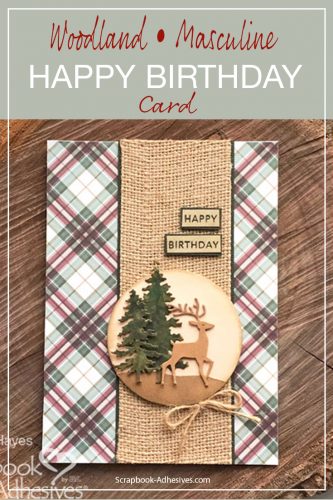
As I looked around my craft space for inspiration for my project today, I found a tiny deer and evergreens dies and a wood circle. Rather than make a holiday card, I decided to make a masculine birthday card. This design could easily be a holiday card by simply changing the verse!
Masculine Birthday Card Tutorial
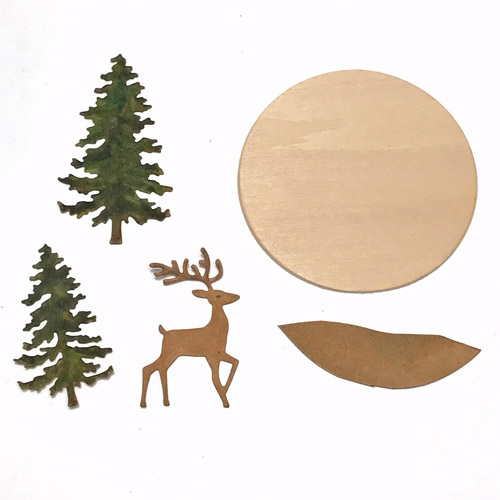
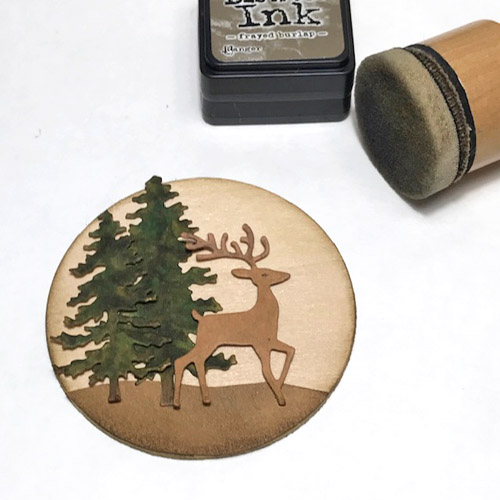
To start, I die-cut a deer and two evergreens from heavy kraft cardstock.
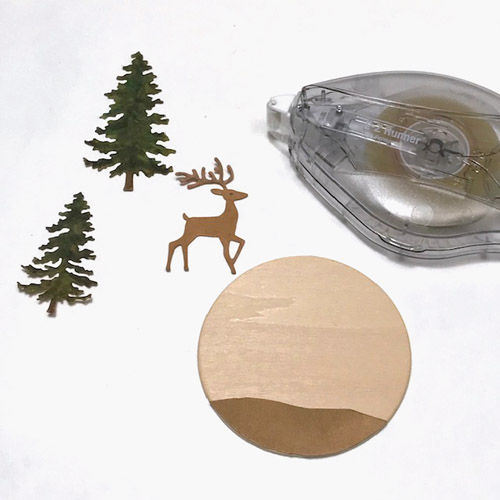
Next, I colored the trees and added slight shading to the deer. Then I cut a scrap of paper for the ground. To cut the curved edge, hold it against the wood circle as a guide.
The ground piece is fastened in place with E-Z Runner® Ultra Refillable Dispenser. I like to use this adhesive for its super-strong hold to the wood. Attach the larger tree with E-Z Runner® Ultra Refillable Dispenser as well.
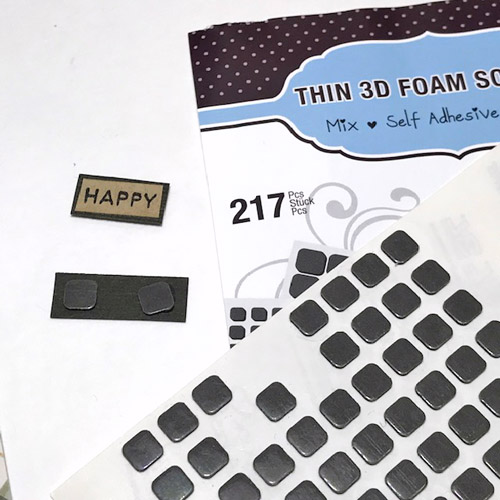
The smaller tree and deer are adhered with Thin 3D Foam Squares Black Mix, which I cut to fit behind the die cuts.
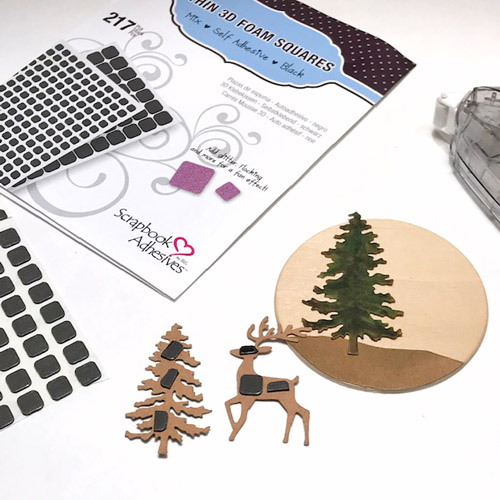
I use a foam applicator to add ink along the edges of the wood circle.
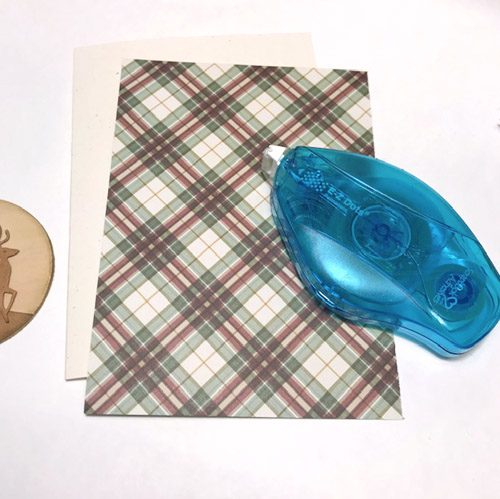
Making the Card Layers
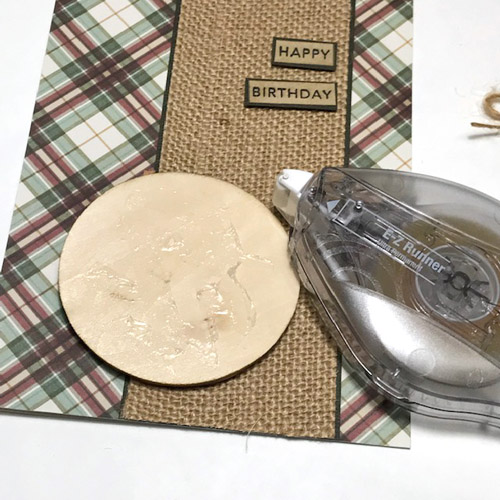
To start the card base part, cut plaid paper to fit a 4.25 x 6-inch card and adhere it to the card with E-Z Dots® Permanent Refillable Dispenser.
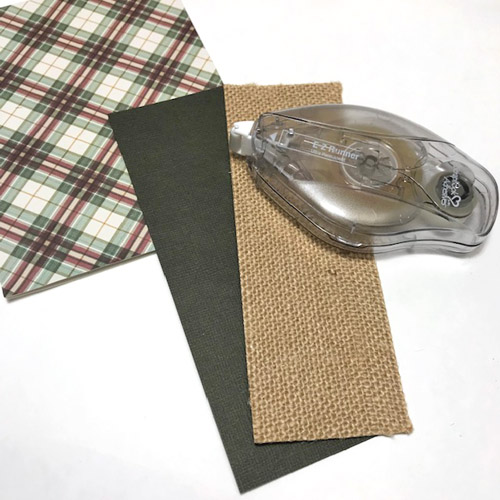
I cut burlap paper and dark green mat. Attach burlap paper to the dark green mat using E-Z Runner® Ultra Refillable Dispenser.
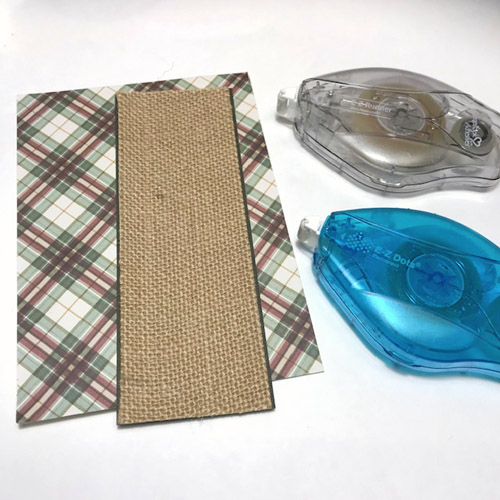
Using a combination of E-Z Runner® Ultra Refillable Dispenser and E-Z Dots® Permanent Refillable, fasten the burlap strip to the card front. Note that I applied the Ultra adhesive on the ends to keep them from fraying.
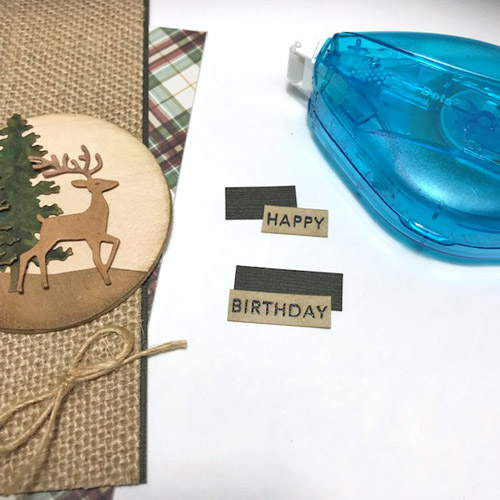
For the sentiment, stamp and clear heat emboss “happy birthday,” then cut it into two separate words. Behind each word, add dark green mats and adhere them with E-Z Dots® Permanent Refillable Dispenser.
To add dimension, pop up each word with Thin 3D Foam Squares Black Mix on the back side of the mat. Add them after wood circle is in place.
Attach the embellished wood circle to the burlap with E-Z Runner® Ultra Refillable Dispenser. Then add the matted sentiment on the burlap above the wood circle.
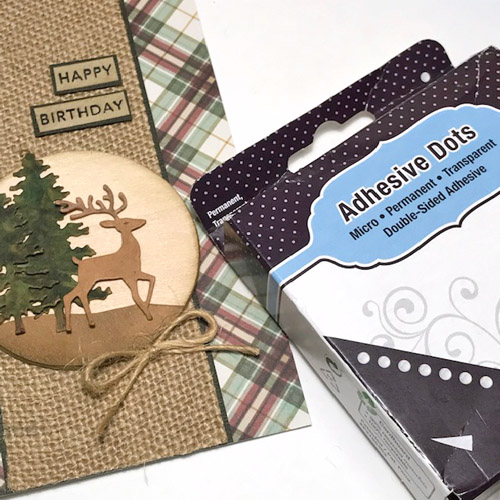
Place a twine bow with Adhesive Dots Micro as the final touch. Now my masculine birthday card is all ready to send to someone special!
Thanks for visiting!
Judy Hayes
Creative Time: 20 minutes
Skill Level: Intermediate
Materials Needed
Scrapbook Adhesives by 3L®
- E-Z Dots® Permanent Refillable Dispenser
- E-Z Runner® Ultra Refillable Dispenser
- Adhesive Dots Micro
- Thin 3D Foam Squares Black Mix
Other
Burlap Paper: DCWV; Patterned Paper: Simple Stories (Winter Farmhouse Plaid Paper); Sentiment Stamps and Craft Dies: Taylored Expressions (Reindeer, Evergreens, and Simple Strips); Brown Ink, Distress Markers and Clear Embossing Powder: Ranger Inks; Black Ink: Tsukineko (Versafine Onyx Black Ink); Off-White, Kraft, and Dark Green Cardstock; 2.5″ Wood Circle; Twine
Save It on Pinterest!
Visit our Website and Blog!
Sign up for our Newsletter so you never miss a contest or giveaway!


