
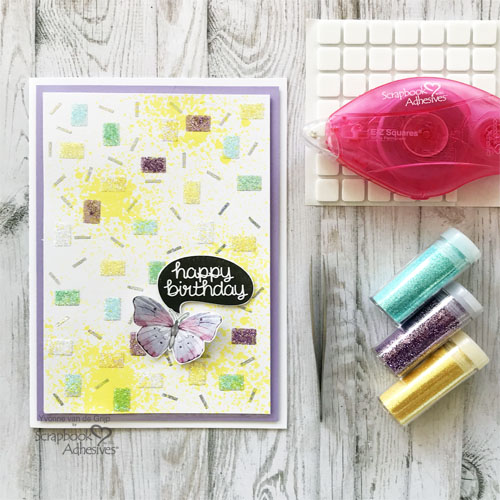
Hi everyone, Yvonne here with a celebratory twist to making a confetti background in a birthday card! By taking a look at the shapes of the E-Z Squares® Refillable Dispenser and E-Z Runner® Permanent Strips Refillable Dispenser, I came up with this fun design!
With a bit of glitter and foil, it’s SO easy and no special tools. You bring adhesives outside from layers and to make embellishments to Wear Your Adhesive on the Outside. I’ll show you how.
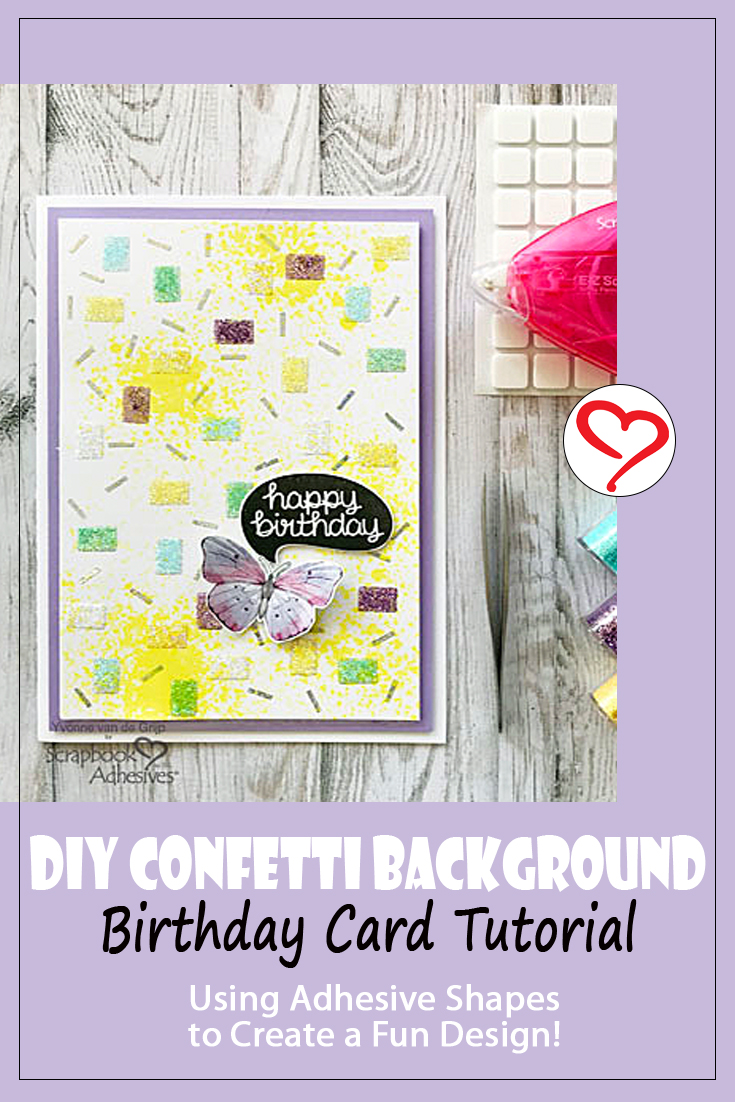
DIY Confetti Background
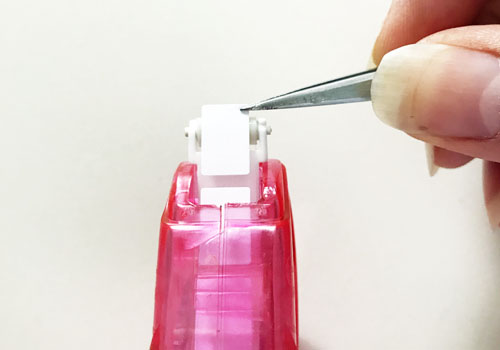
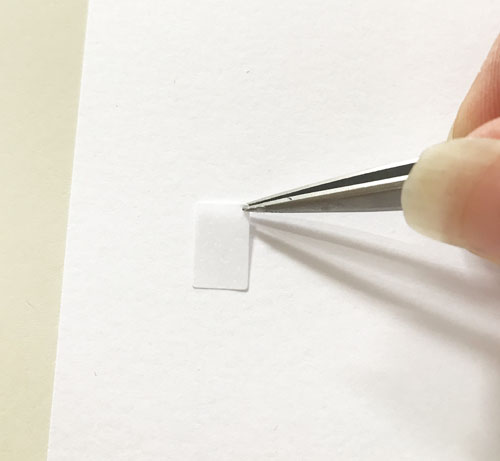
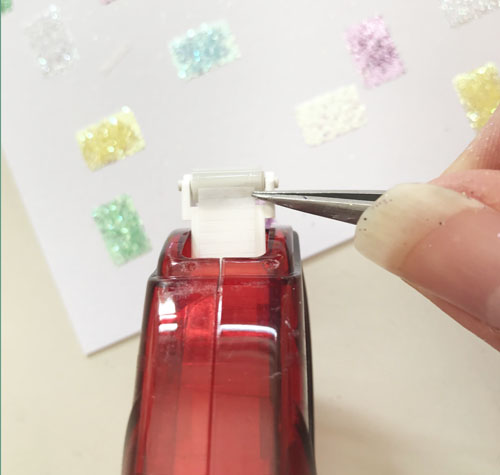
Pick up an adhesive square shape with a pair of tweezers from the E-Z Squares® Refillable Dispenser. Then randomly place onto a white card panel.
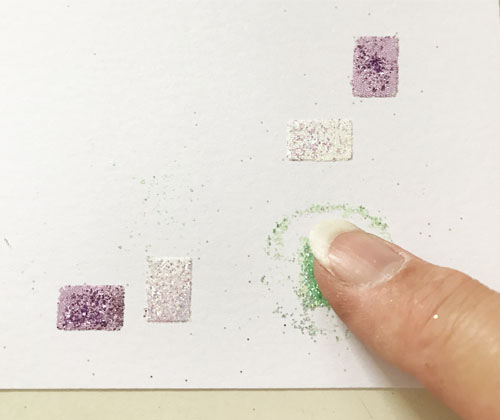
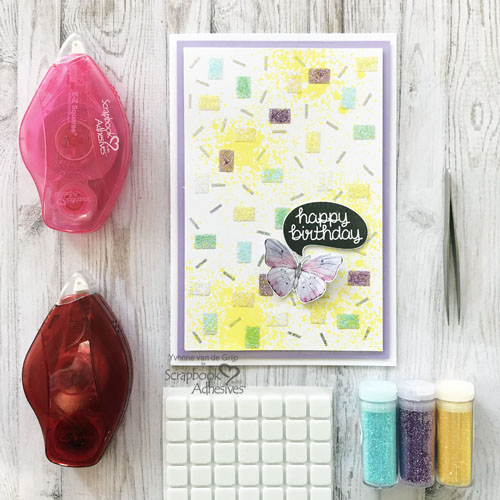
Place about five of the adhesive square shapes from the E-Z Squares in a cluster. Sprinkle pink glitter on one adhesive square, rub the glitter with fingertips to secure, and tap off excess.
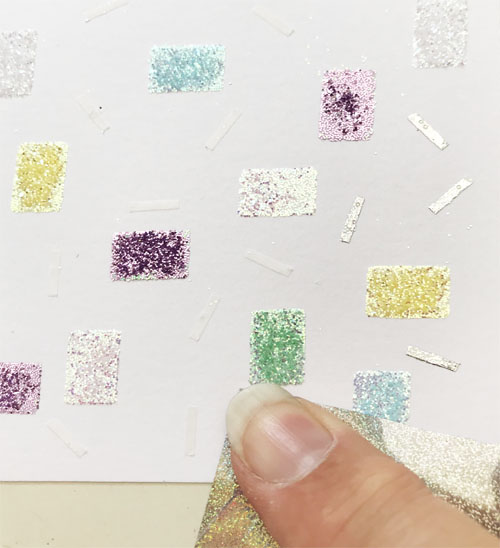
Repeat this step on the other squares using different color glitter. I used pink, white, purple, green, blue, and yellow glitter.
Then continue creating more square and glitter clusters until you get your desired look.
Adding More Confetti Design
Again use tweezers to pick up the tiny strips of the E-Z Runner® Permanent Strips Refillable Dispenser and then adhere onto the glittered card panel.
Tip: use tweezers with a pointy tip for easier picking up of the tiny tape strips. Adhere the strips all over the card panel.
Then cut a small piece of silver foil from Metallic Transfer Foil Sheets Holographic Colors and rub the foil with your finger (with the bright side facing up) over the stripes for an extra glittery and festive touch.
Then use a yellow mister to spray some yellow accents to the card front for extra color.
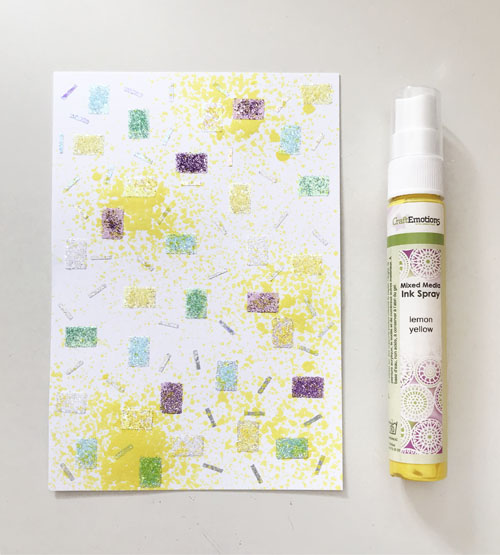
This also gives an extra accent to the glitter and holographic elements you just added.
The Card Base
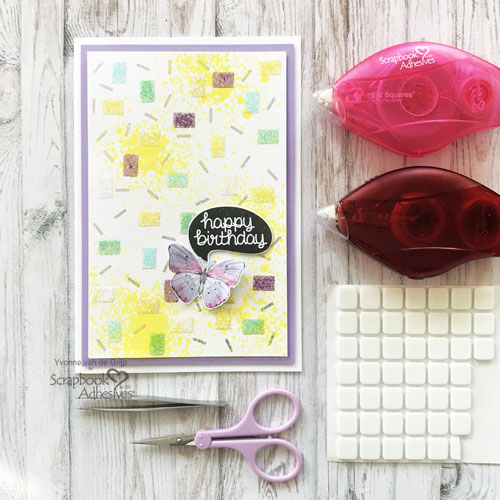
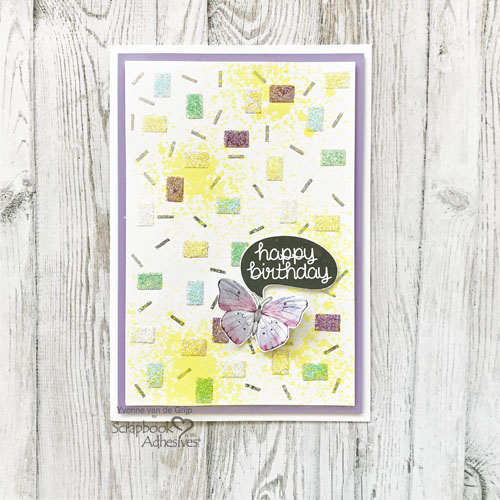
First, adhere the glittered white card panel onto a slightly larger lilac card panel and then onto a white card base using Crafty Foam Tape White. Using Crafty Foam Tape White gives an extra dimension to your Happy Birthday card.
Finishing the card.
Cut out a stamped Happy Birthday sentiment and adhere to the card front using Crafty Foam Tape White.
Next cut out a butterfly from patterned paper and fold the butterfly slightly. With a pair of tweezers pick up a tiny strip of E-Z Runner® Permanent Strips Refillable Dispenser and place on the back of the body of the butterfly. Then cut a square from 3D Foam Squares White Regular Size in half and adhere to the back of the wings.
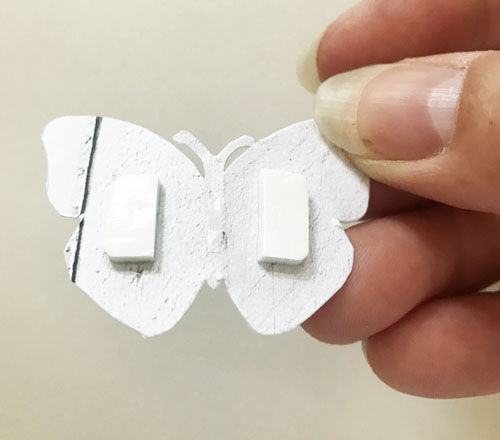
Remove the liner and the butterfly to the card front. The 3D Foam Squares make the wings pop up!
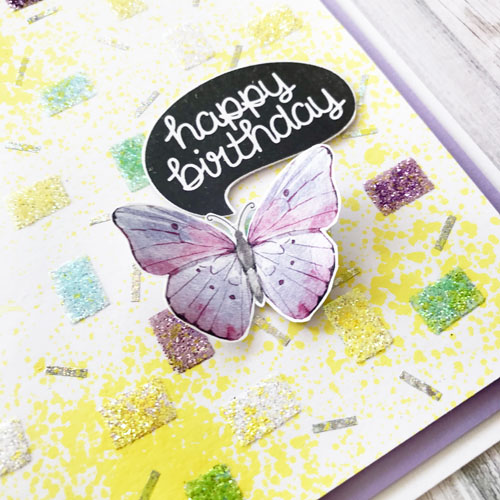
And voila…your Happy Birthday card is ready to be sent! I hope you enjoyed this DIY Confetti Background tutorial.
Wishing you happy crafting,
Yvonne van de Grijp
Creative Time: 30 minutes
Skill Level: Intermediate
Materials Needed
Scrapbook Adhesives by 3L®
E-Z Squares® Refillable Dispenser
E-Z Runner® Permanent Strips Refillable Dispenser
Metallic Transfer Foil Sheets Holographic Colors
Crafty Foam Tape White
3D Foam Squares White Regular Size
Other
White and Lilac Cardstock; Glitter: Prima Marketing (Art ExtraVagance Glitter set A Bloom); Stamp: Lawn Fawn® (Chit Chat); Black ink Pad; Butterfly (Mintay Papers: Wing Book); Ink Spray (Craft Emotions, Yellow); Tweezers, Bone Folder; Paper Trimmer
Save It to Pinterest!
Visit our Website and Blog!
Sign up for our Newsletter so you never miss a contest or giveaway!


