
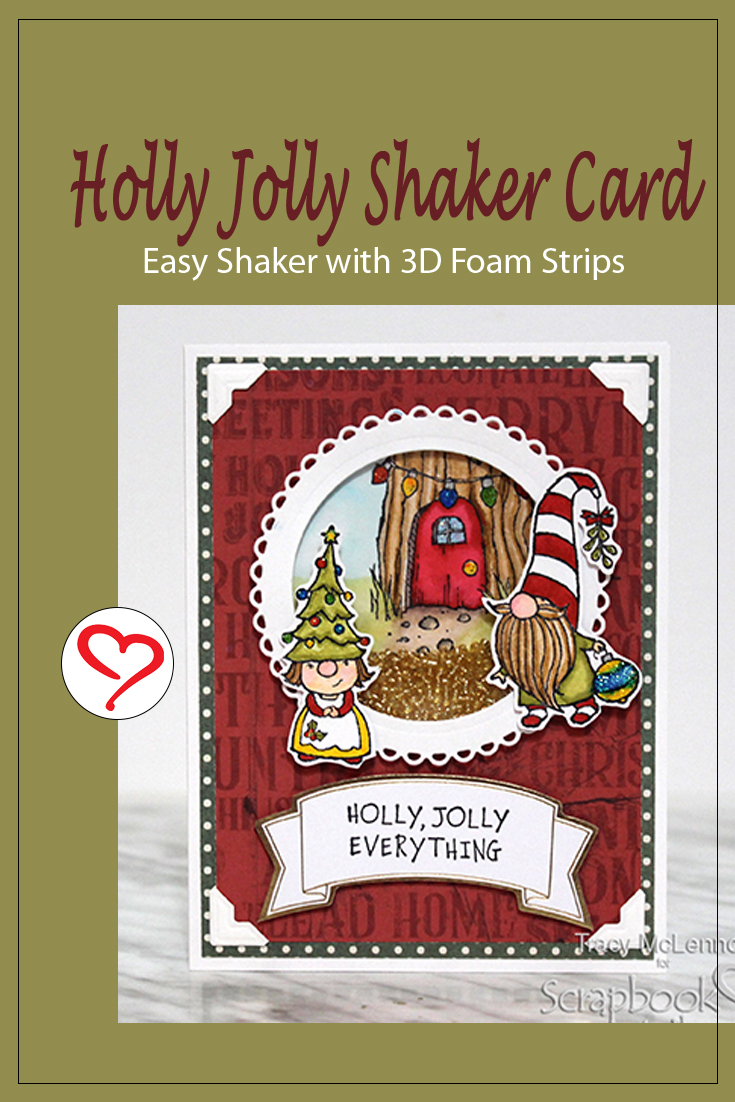
Hello crafty friends. Tracy here! Today, I am sharing a fun Holly Jolly Shaker Card tutorial with you. Isn’t this design cute? Let me show you how.
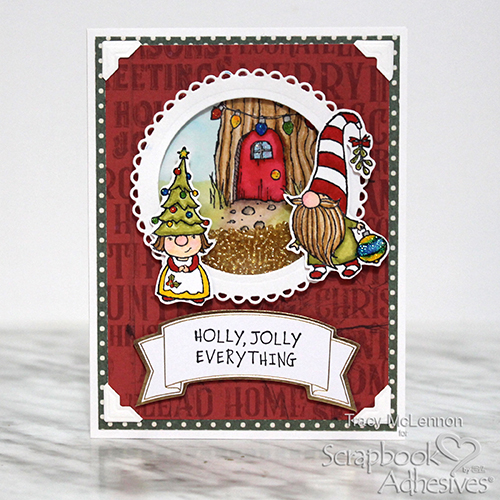
Let’s Make a Holly Jolly Shaker
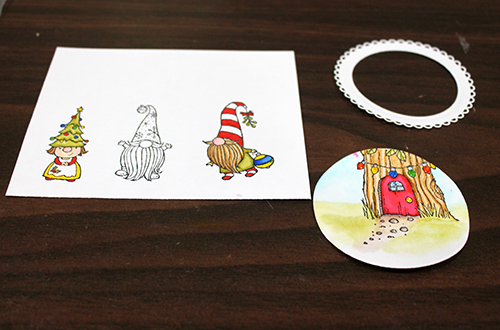
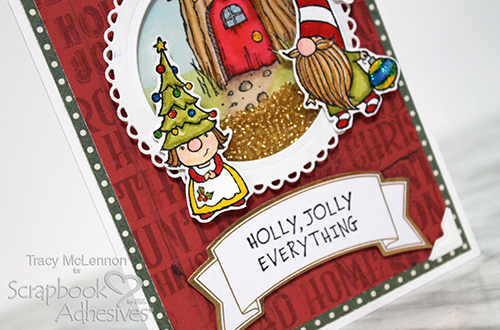
I started my holiday shaker card by stamping my images using Staz On Ink, adding colour using Zig Clean Color Markers and a water brush. Then I die cut out my shaker pieces.
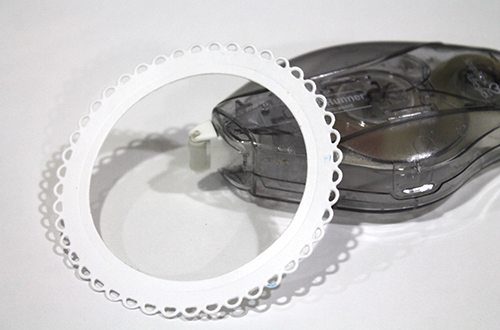
Using the E-Z Runner® Ultra Strong Refillable Dispenser, I adhere the ring die cut to the acetate.
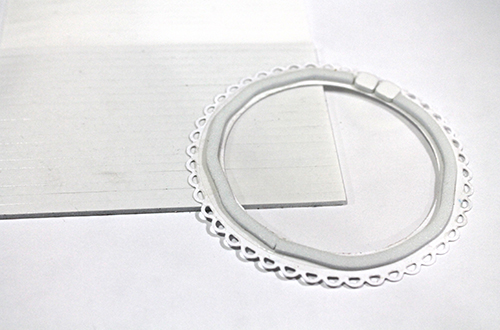
Next, I used 3D Foam Strips to live the inside edge of the Holiday Shaker Card top. I snuck in a couple of 3D Foam Squares White Small Size, to complete circle.
Holly Jolly Layers
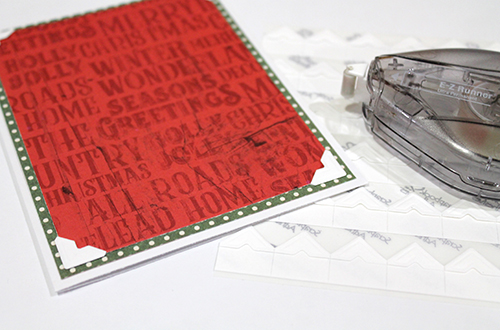
Create a simple layered card background using patterned paper, and a white cardstock base. I added the red patterned paper layer using Creative Photo Corners White. I adhered the other layers of the Holiday Shaker Card using E-Z Runner® Ultra Strong Refillable Dispenser.
Add the shaker filler, in this case, I used beads. Attach the stamped background to the shaker top.
Finishing Off
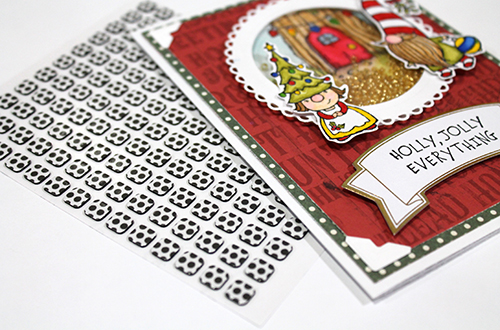
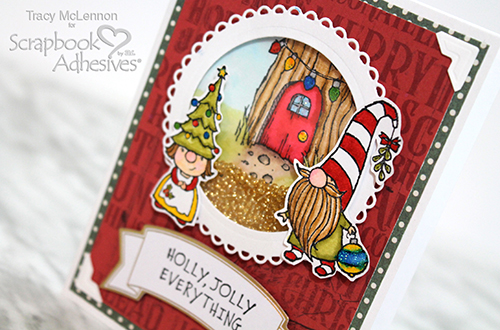
I used the E-Z Runner® Ultra Strong Refillable Dispenser again to add the shaker piece to the Holiday Shaker Card. Then using Thin 3D Foam Squares Black Mix I added the stamped sentiment tag and the fussy cut gnomes.
Add some Stickles to the stamped images for a little extra sparkle.
I hope you enjoyed the Holly Jolly Shaker Card. Thanks so much for stopping by!
Tracy McLennon
Creative Time: 60 Minutes
Skill Level: Intermediate
Materials Needed
Scrapbook Adhesives by 3L®
3D Foam Squares White Small Size
Thin 3D Foam Squares Black Mix
3D Foam Strips
Creative Photo Corners White
E-Z Runner® Ultra Strong Refillable Dispenser
Other
Stampin Up Stamp Set- Gnome for the Holidays, Simple Stories Country Christmas Patterned Paper, Staz On Ink- Jet Black, Heartfelt Creations Circle Dies, Acetate, Beads, Tag, Zig Clean Color Markers, Waterbrush, Cardstock- White, Stickles- Diamond
Save It!
Visit our Website and Blog!
Sign up for our Newsletter so you never miss a contest or giveaway!


