
Hello fellow crafters! Judy here today with a wintery and sparkly snowflake card. This card features beautiful 3D Foam Snowflakes with glitter to Wear Your Adhesive on the Outside! My photos just don’t show the sparkle very well but it’s there. LOL!
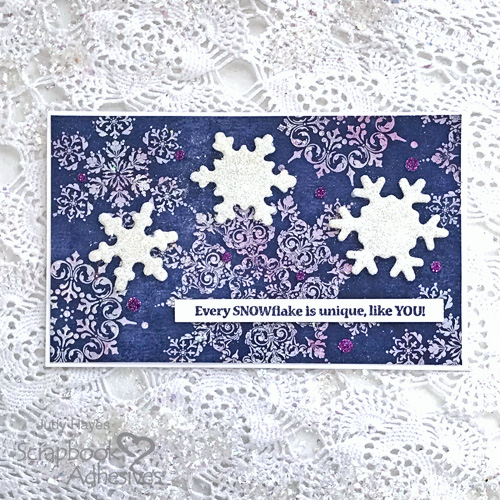
Sparkly Snowflake Card Background
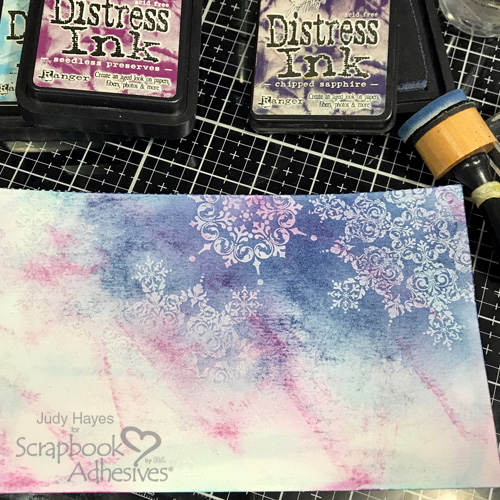
Start the background by randomly rubbing Tumbled Glass ink over the watercolor paper card panel. I used a larger size panel and then cut to size later. Water mist and blend the ink into the paper. Repeat until you get the desired look.
Next, swipe Seedless Preserves ink pad over it. Water mist and blend the colors with fingers or sponge tool. Dry completely with a heat tool.
Stamp the intricate snowflakes with Versamark ink on top of the background. Heat emboss them with a clear embossing powder.
To achieve the dark background, apply Chipped Sapphire ink with a foam applicator over the entire panel. Mist it lightly with water to blend in the ink. Repeat as desired.
Lastly, lightly wipe it with a paper towel to remove ink from snowflakes. Use a heat tool to completely dry the ink.
Sparkly Snowflakes
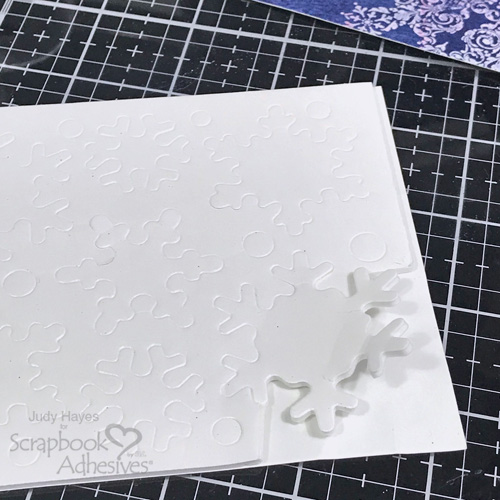
Remove the 3D Foam Snowflakes from its release sheet. Place three snowflake shapes over the inked background. Don’t forget to allow space for the sentiment.
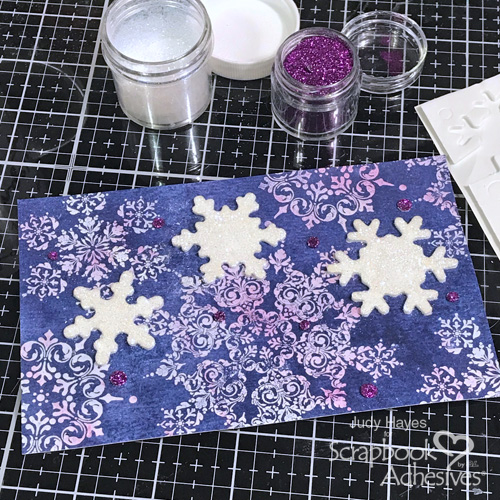
To make the sparkly snowflake shapes, remove the top liner on each snowflake. Sprinkle to cover with Prisma glitter and tap off the excess.
Using the dots from the 3D Foam Snowflakes set, randomly place them around the sparkly snowflakes. Remove the top liner from each one and cover with Fiery Berry glitter. Tap off the excess.
Designer’s Tip: Instead of tapping off the excess glitter, try a lint roller or disposable duster to clean up the excess.
Assembling the Card
Use E-Z Runner® Ultra Strong Refillable Dispenser to apply adhesive to the back of the snowflake panel. Then secure it to a 4 x 6.5-inch white card base. I chose the E-Z Runner® Ultra Strong Refillable Dispenser because of its strong adhesive to hold the watercolor card panel in place.
Stamp the sentiment with Medieval blue ink on a scrap of watercolor paper or white card stock. Trim to size.
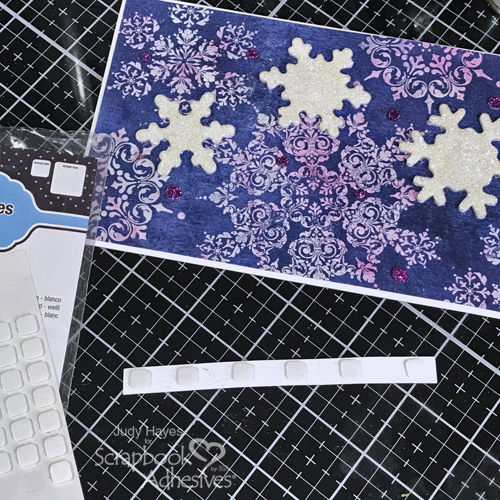
Place six small Thin 3D Foam Squares White Mix on the back of the sentiment. Place it on the Sparkly Snowflake card.
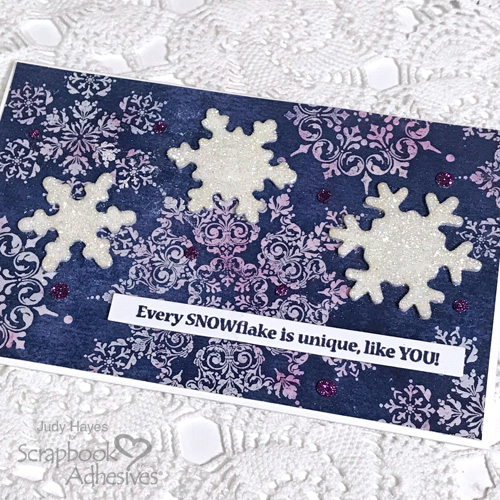
Give this Wear Your Adhesive on the Outside concept a try! Thanks for Visiting!
Happy Crafting!
Judy Hayes
Creative Time: 30 Minutes
Skill Level: Intermediate
Materials Needed
Scrapbook Adhesives by 3L®
Other: Hero Arts Prisma Glitter; Imagine Crafts/Tsukineko – Versamark Ink, Versafine Clair Medieval Blue Ink; Ranger Distress Inks – Tumbled Glass, Seedless Preserves, Chipped Sapphire; Ranger Clear Embossing Powder; Sparkle N Sprinkle Fiery Berry Glitter; Stampendous Cling Intricate Snowflakes Stamp Set; Watercolor Paper
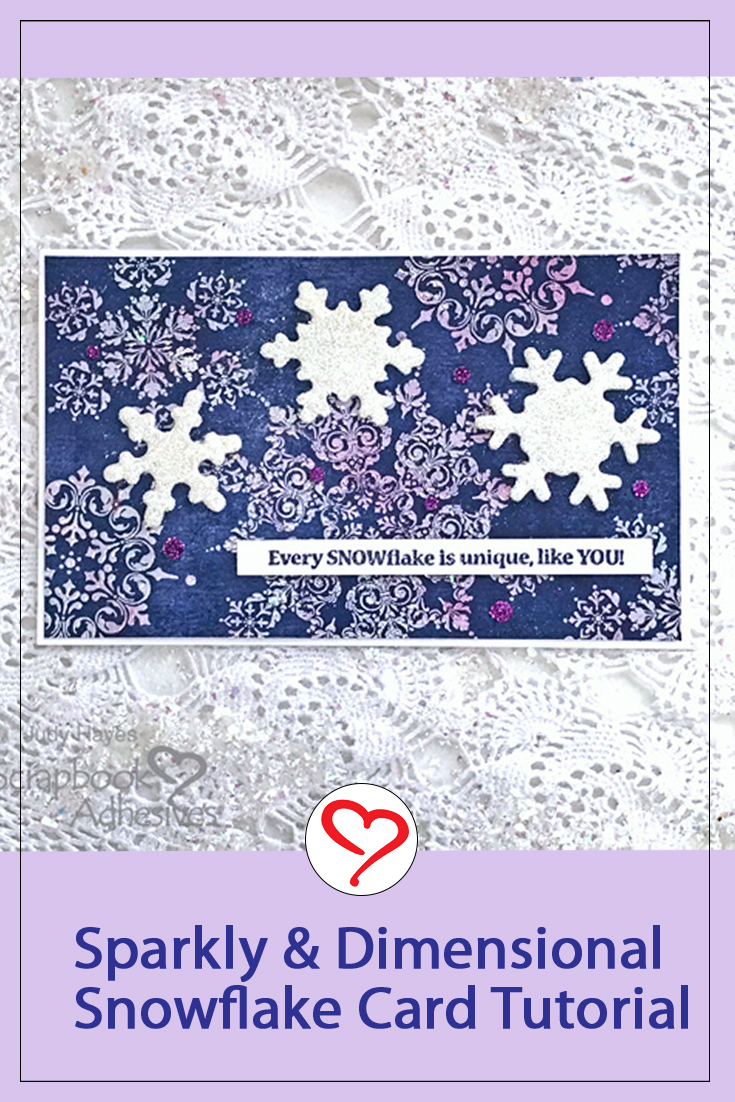
Pin It!
Visit our Website and Blog!
Sign up for our Newsletter so you never miss a contest or giveaway!


