
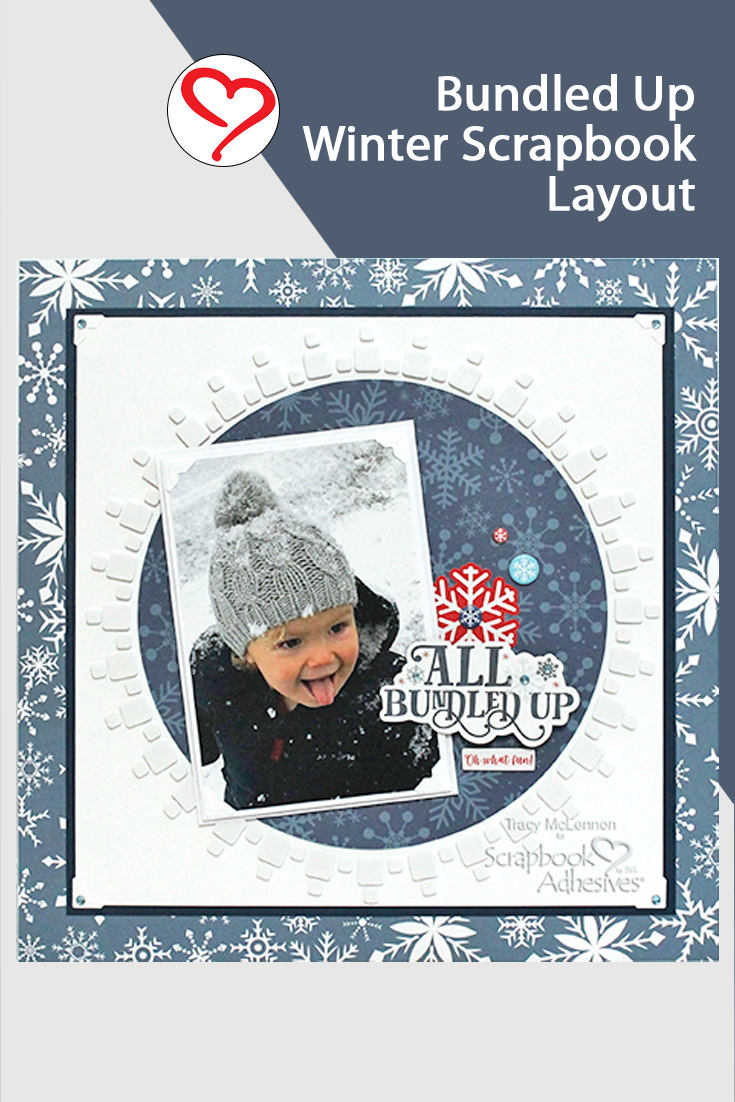
Hello crafty friends! Welcome to 2021! Tracy here, and today I have a fun and easy Bundled Up winter scrapbook layout to share. This layout features Wearing Your Adhesive on the Outside with 3D Foam Squares White Mix. Here are all of the details.
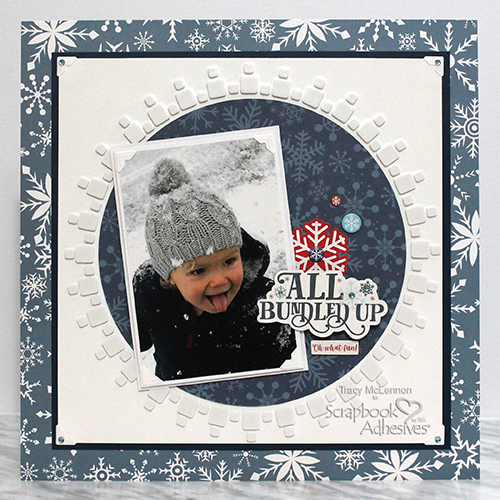
Bundled Up Layout Layers
First I created a simple layered background for the Winter Scrapbook Layout using light blue patterned paper as the page base.
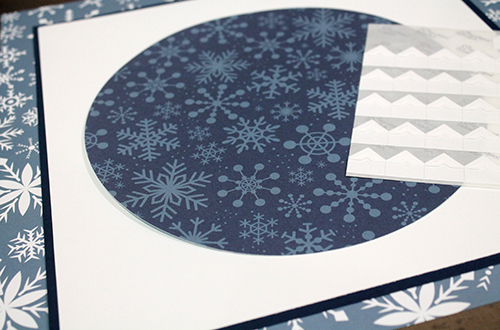
For the center frame layers, cut a 10.25 x 10.25-inch square navy cardstock, a 10 x 10-inch square white cardstock, and an 8-inch dark blue patterned circle.
Add Creative Photo Corners White to each corner of the white cardstock square. Adhere the other layouts together using the E-Z Runner® Grand Refillable Dispenser.
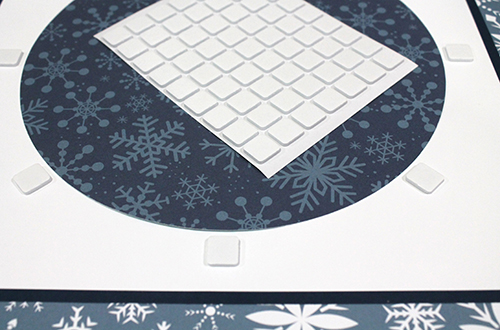
Wear Your Adhesive on the Outside
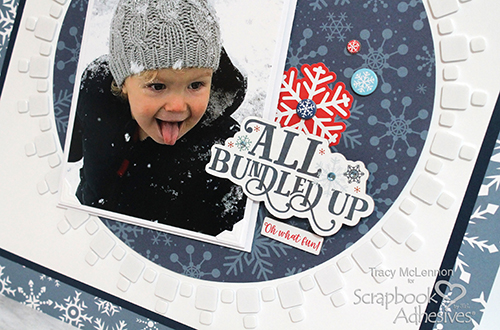
To create the 3D Foam Squares White Mix wreath around the patterned paper circle, start with the regular size. Add them to the top, bottom, and sides. Then add one in the middle of the remaining spaces. So it should look like a clock face design.
The next step for this Bundled Up Winter Scrapbook Layout’s wreath is to add three regular-sized from the 3D Foam Squares White Mix in the remaining spaces.
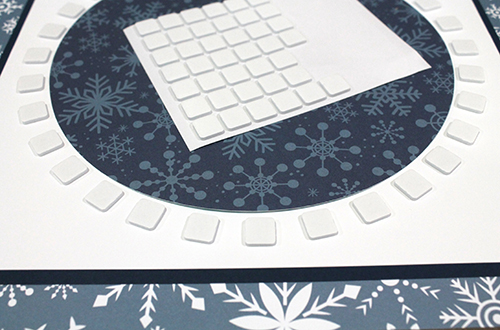
Using the small 3D Foam Squares White Mix, add one between each regular-sized 3D Foam Square.
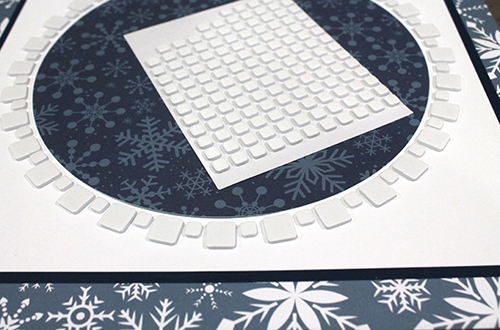
Photo Layers
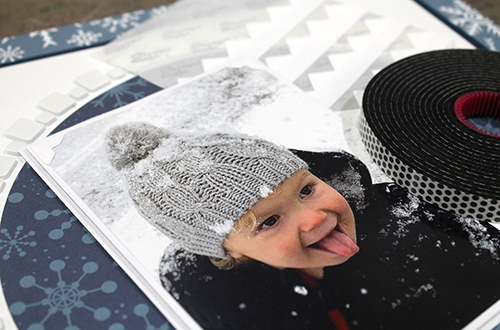
Double mat the 4 x 6-inch photo in white cardstock. Add Creative Photo Corners White to the photo and use Crafty Foam Tape Black between the cardstock layers. Use Crafty Foam Tape Black again to add the matted photo to the Winter Scrapbook Layout.
Let’s Add More 3D Foam Squares
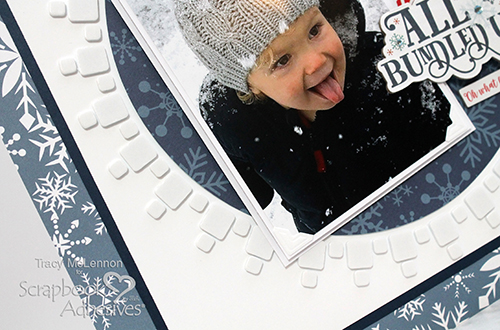
Have you ever neared the end of a project and decided to take it one step further? So it’s at this point that I decided to add more small 3D Foam Squares White Mix around the wreath. Add the chipboard title using 2 layers of 3D Foam Squares White Mix on the right side, to get it up to the same level as the matted photo.
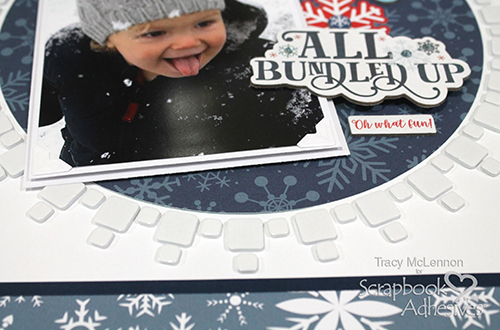
I added a few more stickers and gems around the title chipboard. The chipboard stickers I used, were NOT very sticky. That’s where Adhesive Dots Mini came in handy to add them to my Winter Scrapbook Layout.
One last little touch is to add gems to the Creative Photo Corners White on the white cardstock background layer.
Thanks so much for stopping by!
Tracy
Creative Time: 45 minutes
Skill Level: Beginner
Materials needed:
Scrapbook Adhesives by 3L®
E-Z Runner® Grand Refillable Dispenser
Crafty Foam Tape Black
Creative Photo Corners White
3D Foam Squares White Mix
Adhesive Dots Mini
Other:
Cardstock (Navy, White); Gems; Echo Park Paper- Celebrate Winter Collection (patterned paper, chipboard stickers, cardstock stickers)
Save It to Pinterest!
Visit our Website and Blog!
Sign up for our Newsletter so you never miss a contest or giveaway!


