
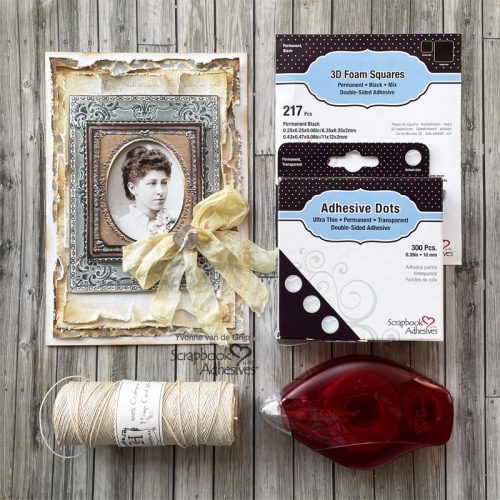
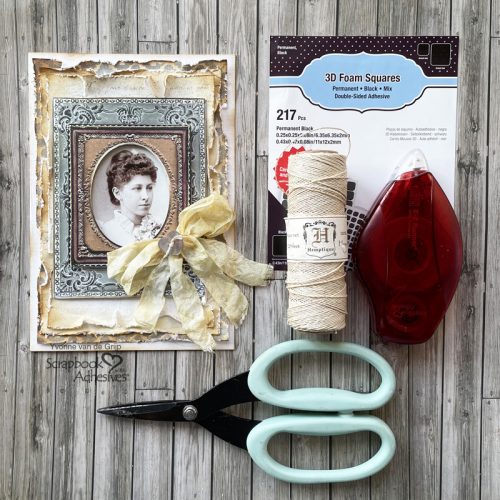
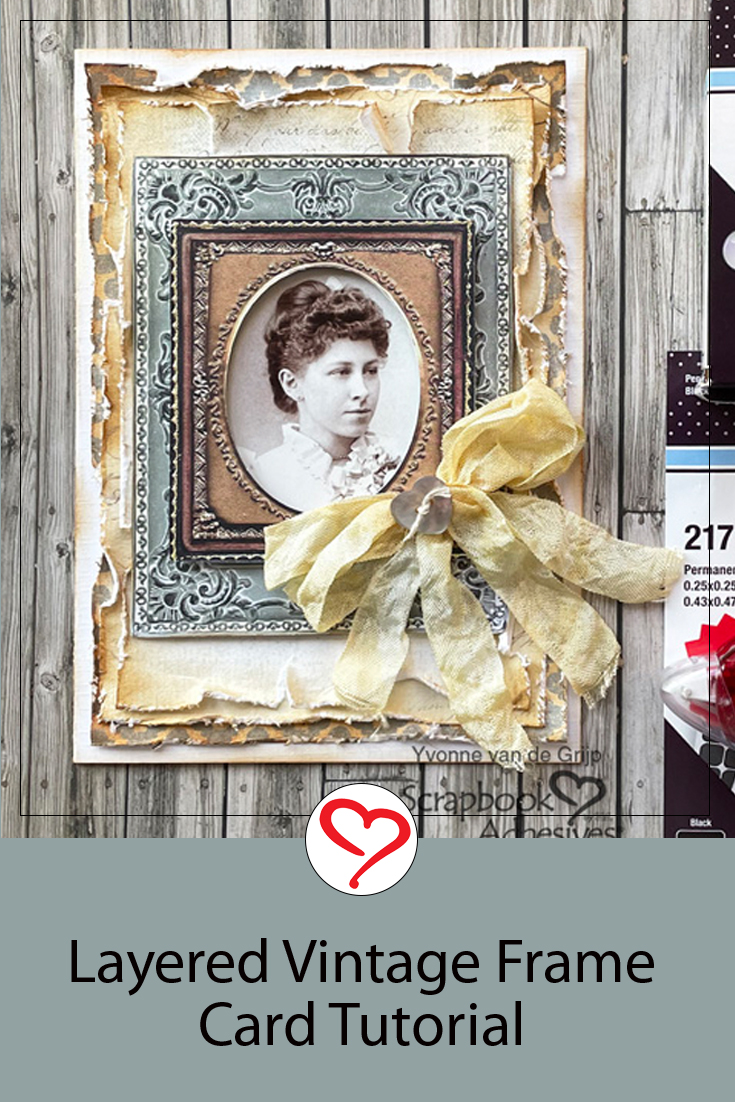
Hi everyone, Yvonne here with a layered vintage frame card. I love using lots of layers on my cards. With the E-Z Runner® Permanent Strips Refillable Dispenser, it’s super easy, quick, and precise adhering to the layers. By using 3D Foam Squares Black Mix, you create a gorgeous 3D effect with depth on your project. Wanna join me in making the vintage layered card? Yes? Let’s get started!
Vintage Frame Card Base
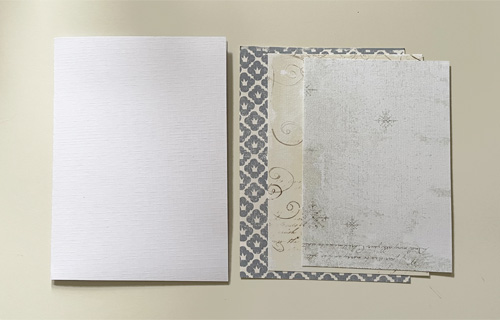
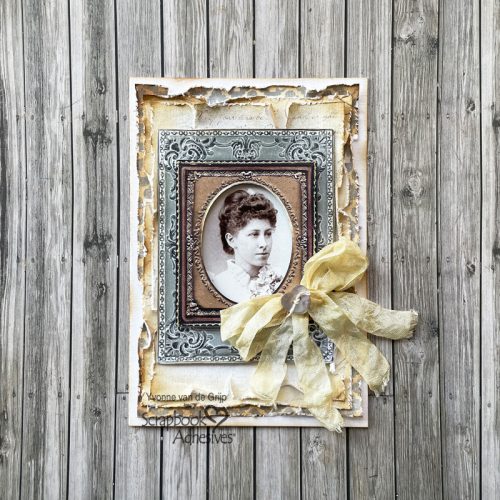
First, fold a piece of white cardstock in half and trim it to a rectangular base card. Then trim 3 card panels from patterned paper and make sure that each panel is about 1/8 inch smaller than the other. With the biggest card panel being 1/8 inch smaller than the card base.
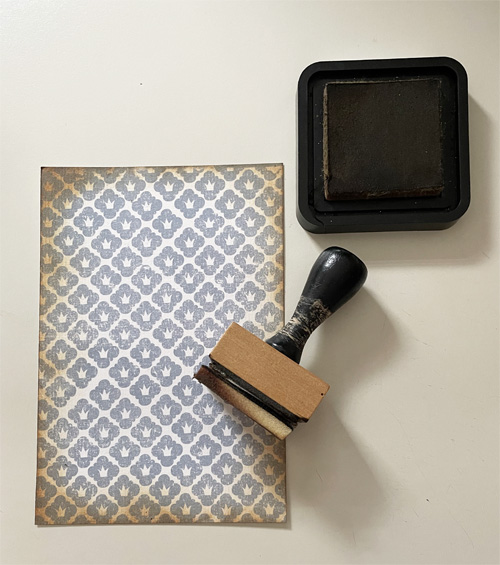
Now ink the edges of the front of the white card base and the patterned card panels using a brown ink pad and an ink blending tool.
Next, alter the edges of all card panels using a distressing tool. This way you create a worn look.
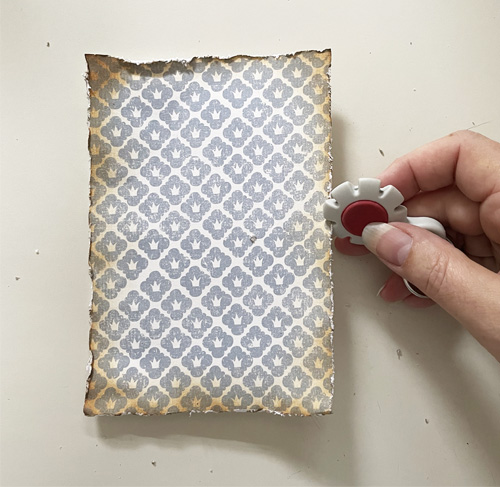
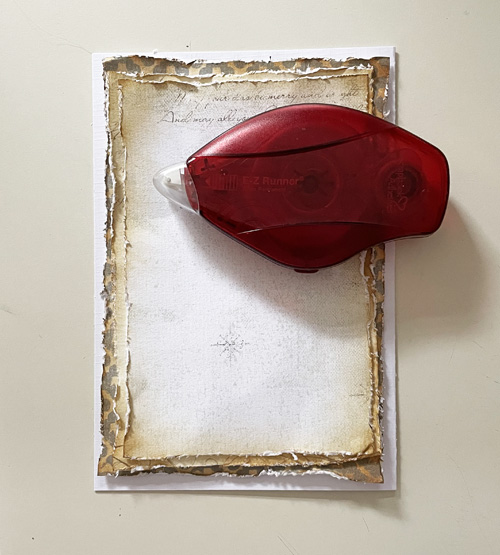
Then make some small tears on the edges of the patterned card panels. To create the layered effect, adhere the panels onto the card base using the E-Z Runner® Permanent Strips Refillable Dispenser.
Embellish the Vintage Frame
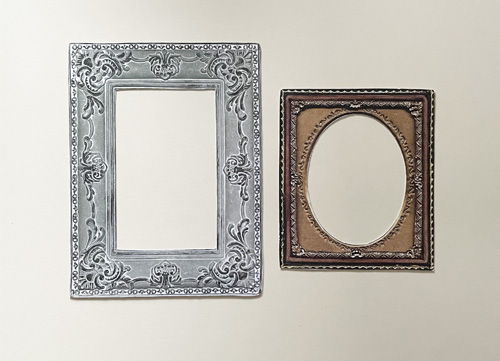
For my layered picture frame, I used images that I cut out using a craft knife.
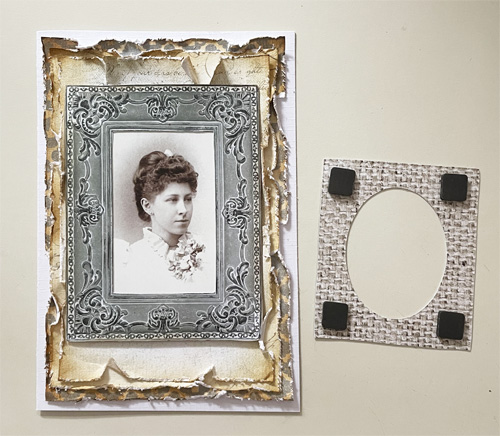
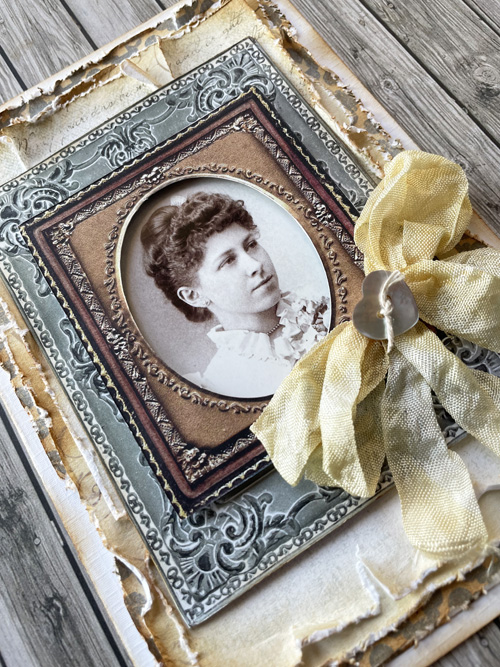
Then adhered the vintage photo to the back of the large frame using the E-Z Runner® Permanent Strips Refillable Dispenser. Now adhere to the card base using 3D Foam Squares Black Mix.
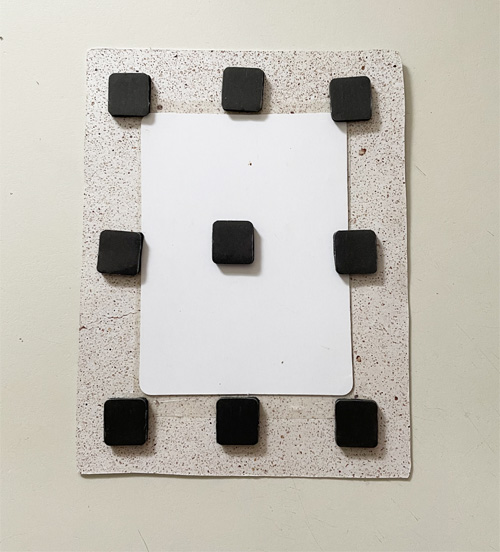
Adhere the smaller picture frame onto the larger frame with the vintage picture using 3D Foam Squares Black Mix to create extra dimension.
Embellishing the card.
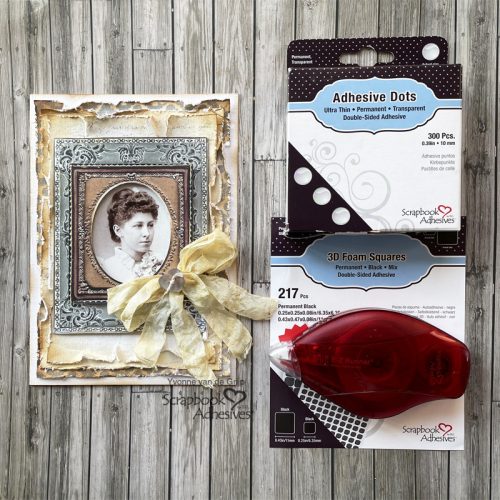
To finish the card I wrinkled some seam binding ribbon and colored it with a little bit of brown ink to make it look more vintage. Then made a double bo wand adhered it to the card using Adhesive Dots Medium Ultra Thin.
The great thing about Adhesive Dots is that you will never have glue stains shining through the ribbon! And finally, adhere a pearl heart button onto the bow using Adhesive Dots Medium Ultra Thin.
Now you have created a vintage-styled card with lots of layers…isn’t that fun!
I hope you enjoyed my tutorial and wish you happy crafting!
Yvonne van de Grijp
Creative Time: 45 minutes
Skill Level: Intermediate
Materials needed:
Scrapbook Adhesives by 3L®
E-Z Runner® Permanent Strips Refillable Dispenser
3D Foam Squares Black Mix
Adhesive Dots Medium Ultra Thin
Other
Cardstock (White; Patterned: Magnolia); Picture frames (Mintay: Frame Book); Vintage photo (Tim Holtz: idea-ology Found Relatives); Inkpad (Distress: Brushed Corderoy); Ink Blending Tool; Seambinding Ribbon; Pearl Button; Twine; Paper Trimmer; Scissors; Craft knife
Save to Pinterest!
Visit our Website and Blog!
Sign up for our Newsletter so you never miss a contest or giveaway!


