
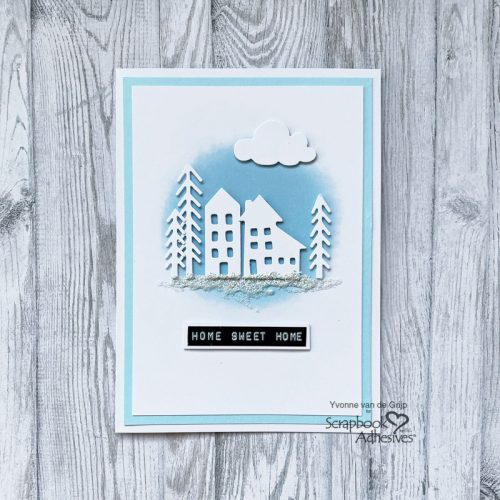
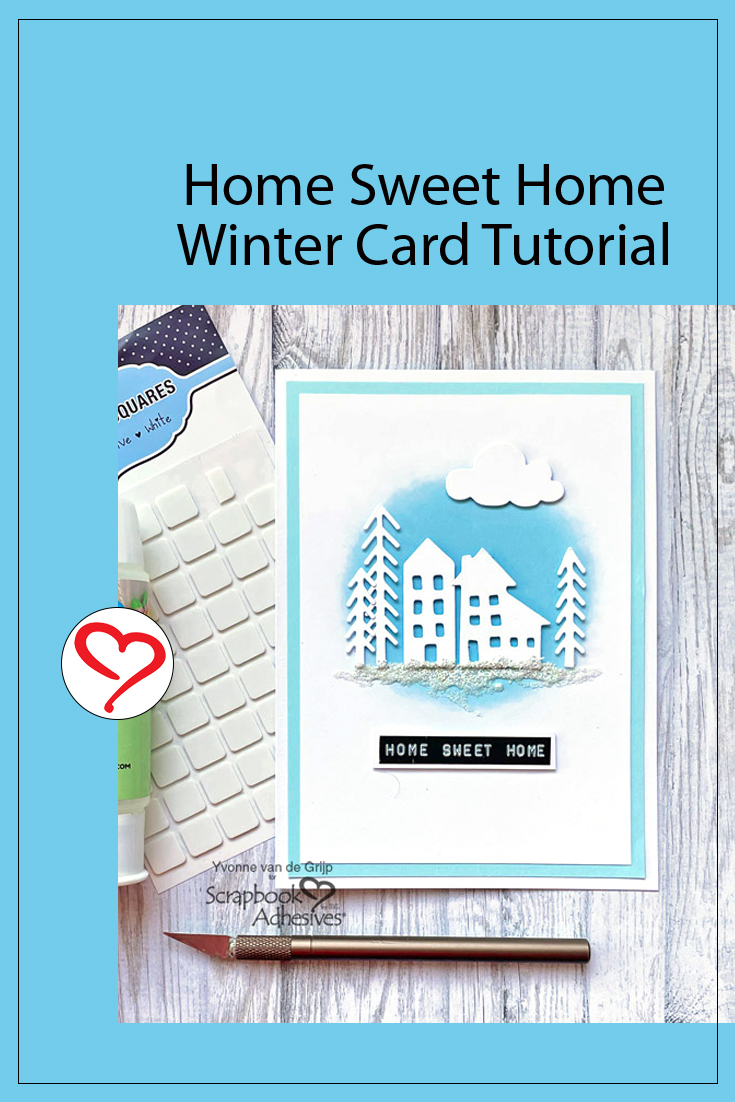
Hi everyone, Yvonne here with a Home Sweet Home Card. Being January, I chose a winter scene for this card. The home sweet home sentiment makes the card also suitable to congratulate someone on a new home or as a welcome home card.
The card is very easy to make so also suitable for beginner card makers. I would love to share how I made the card. Shall we get started?
The Blue Background Circle
Start by making a soft blue circle on a piece of white cardstock. For this, I used a soft blue inkpad and an ink blending tool. Remember it’s better to add several layers when building up color. By gently adding a little more ink each time you can create that soft fading look for the inked background circle.
Embellishing the Card Panel
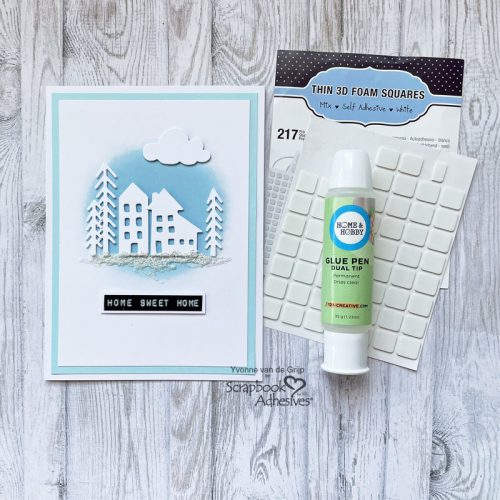
Start by die-cutting the trees, a cloud, and houses from a piece of white cardstock. Then adhere the die-cuts onto the inked circle using Thin 3D Foam Squares White Mix.
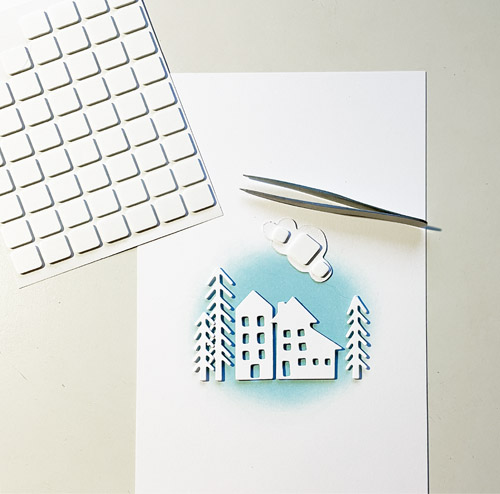
For the smaller parts, I cut some 3D Foam Squares into small strips (using a craft knife) so no adhesive will show. Using Thin 3D Foam Squares White Mix gives adds a lovely subtle uplifting effect to your Home Sweet Home card.
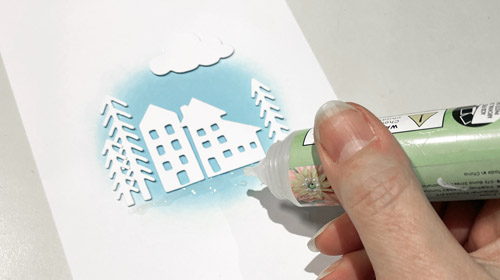
Wear Your Adhesive on the Outside with Glitter
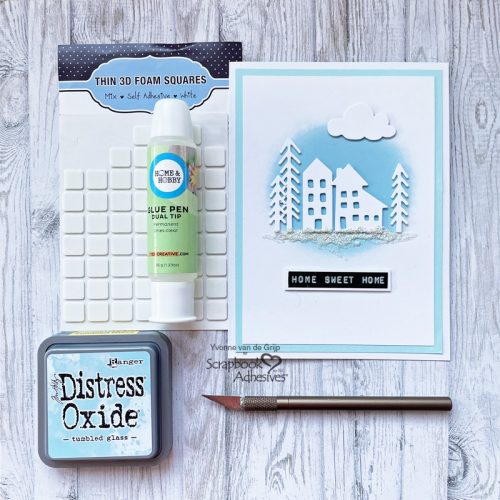
To create a snowy effect on the Home Sweet Home card I used the Dual Tip Glue Pen and glitter. Add glue from the Dual Tip Glue Pen following the bottom line of the houses and trees.
Sprinkle some glitter upon and tap off the excess glitter. Let dry. Next, I added a second layer of glue and again sprinkled glitter over the wet glue. Set it aside to dry.
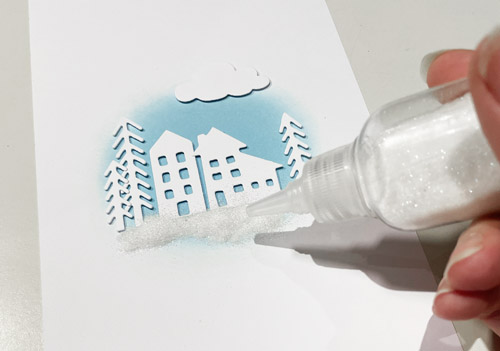
This technique of making your adhesive shine is called Wear Your Adhesive on the Outside.
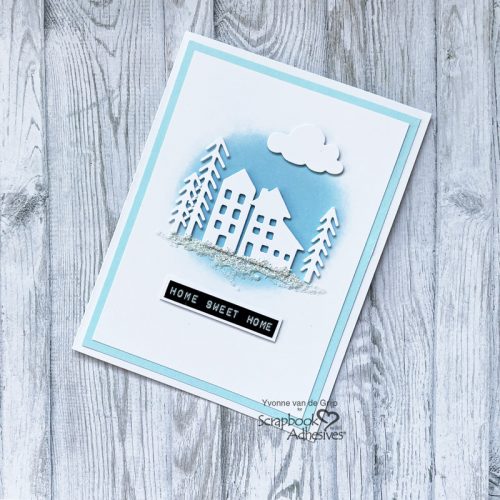
Making the Card Base.
Start by trimming the top card panel for the Home Sweet Home card to the size you like. Adhere to a blue card panel using the E-Z Runner® Grand Refillable Dispenser. Then add it to a white card base.
Home Sweet Home
I used my Dymo labeling tool to make a sentiment strip. Simply mat it to a white strip and place it on your card using Thin 3D Foam Squares White Mix. Voilá! Your Home Sweet Home card is ready to be sent!
I hope you enjoyed this tutorial and wish you happy crafting
Creative Time: 20 minutes (drying time not included)
Skill Level: Intermediate
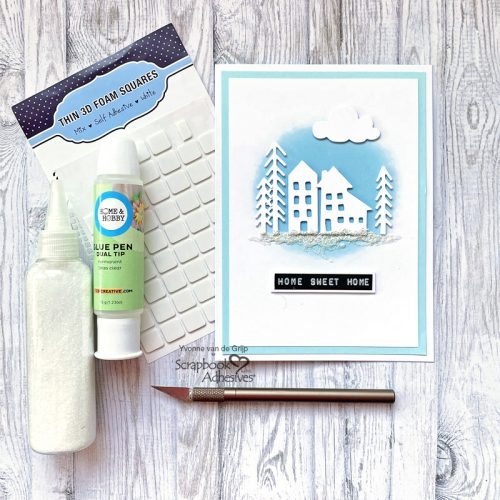
Materials needed:
Scrapbook Adhesives by 3L®
E-Z Runner® Grand Refillable Dispenser
Thin 3D Foam Squares White Mix
HomeHobby™ by 3L
Other
Cardstock (White, Blue); Etched dies (Sizzix: Tim Holtz Thinlits™ Christmas Cutouts); Die-Cutting and Embossing Machine (Spellbinders Paper Arts®: Platinum 6 Machine); Dymo; Inkpad (Distress Oxide inkpads: Tumbled Glass); Ink Blending Tool; Glitter; Tweezers; Scissors; Paper Trimmer
Save to Pinterest!
Visit our Website and Blog!
Sign up for our Newsletter so you never miss a contest or giveaway!


