Tag Archives: E-Z Dots Permanent Refillable
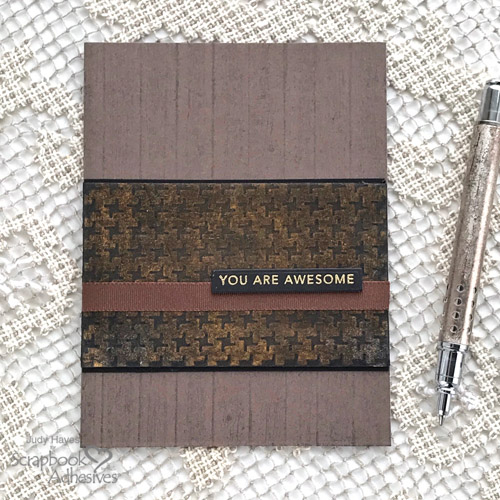
Faux Metal Band Masculine Card
Hello everyone! Judy here with a masculine card with a faux metal band created using 3D Foam Creative Sheets Medium White with gold holographic foil from Metallic Transfer Foil Sheets Holographic Colors. I grunged it up a bit so it’s … Continue reading
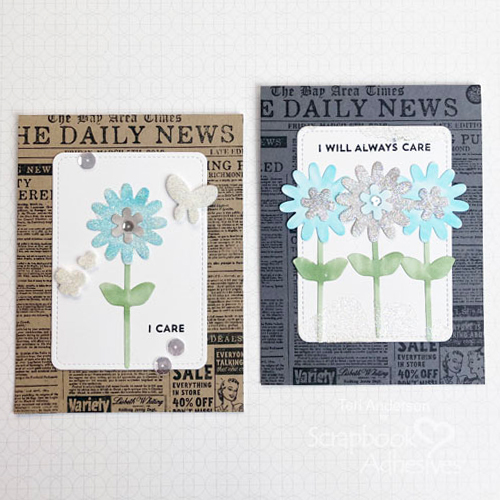
Glittered Flowers for Cards Tutorial
Hi, everyone! Like to add a little to sparkle to your handmade cards? Teri here with a fun way to make glittered flowers for all your cards and scrapbook pages. These flowers are easy to make and come together rather … Continue reading
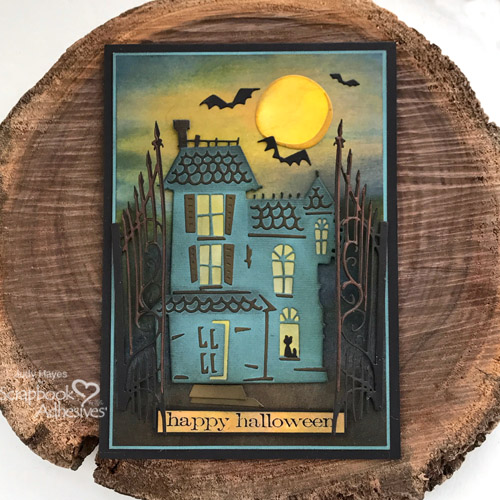
Haunted House Halloween Card
Hello friends! Judy here today to share a Haunted House Halloween Card. Once I got rolling on this card, it was fun to put together. Look at all those little pieces though – gasp! BUT with Adhesive Sheets, it was … Continue reading
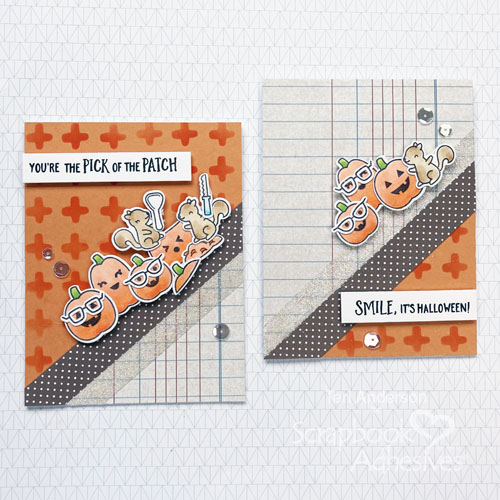
Halloween Cards Made Simple
Hi, friends! Looking for some Halloween card inspiration? Teri here, and I’ve got a couple of fun and simple Halloween cards to share with you today. These cards were easy to make with patterned paper, cardstock and stamps and would … Continue reading
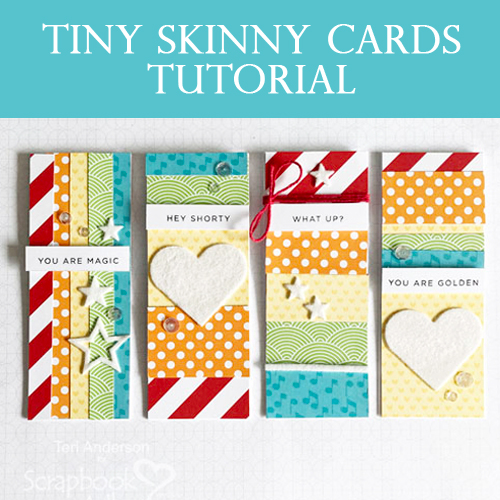
Tiny Skinny Card Tutorial
Hi, all! Back to school will be in session soon, and I’ve got a fun way to add a little cheer for your kids. Teri here and I’m going to show you how to make my version of skinny cards! … Continue reading
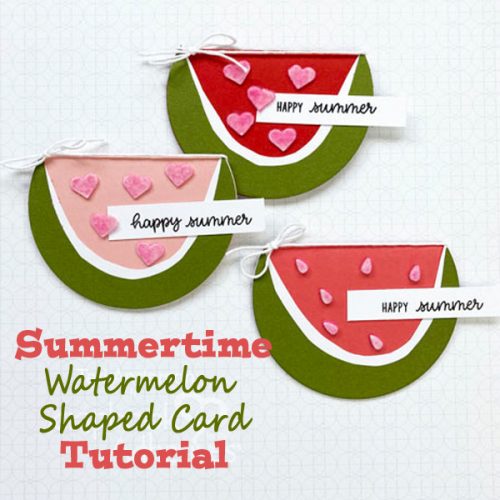
Summertime Watermelon Shaped Card Tutorial
Hi, friends! Let’s celebrate the summer with these sweet watermelon shaped cards. If you’re staying home, making these cards will help spread a little cheer to loved ones. Teri here to show you how so let’s get started. These cards … Continue reading
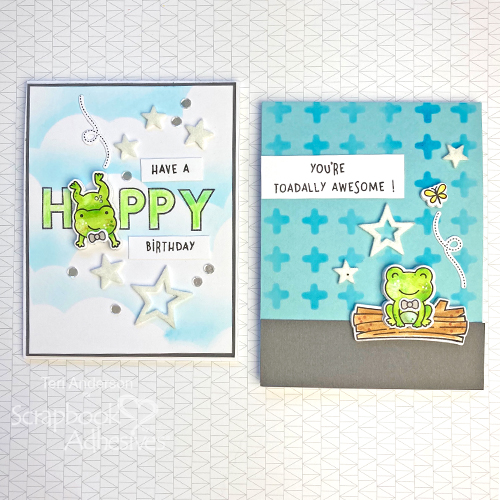
Fun Frog Card Tutorial
Hi, friends! Looking for a way to add pop to your next stamped card? Teri here, and I’ll show you a fun way to make frogs (or any other critter stamps) look like they are going to jump off your … Continue reading

Faux Clay Tiles Tutorial
Hi, everyone! Looking to add some texture to your next card or scrapbook page. Teri here and I’ll show you a fun way to do that by creating faux clay tiles with 3D Foam Creative Sheets and embossing powders. This … Continue reading
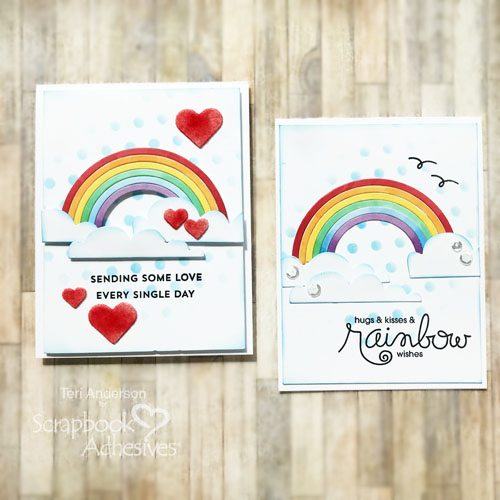
Rainbow Cards Tutorial
Hi, friends! Want to make someone smile? Teri here, and I’ll show you how to put together a couple of quick rainbow cards to pop in the mail and make the ones you love smile! Let’s get started! Create a … Continue reading
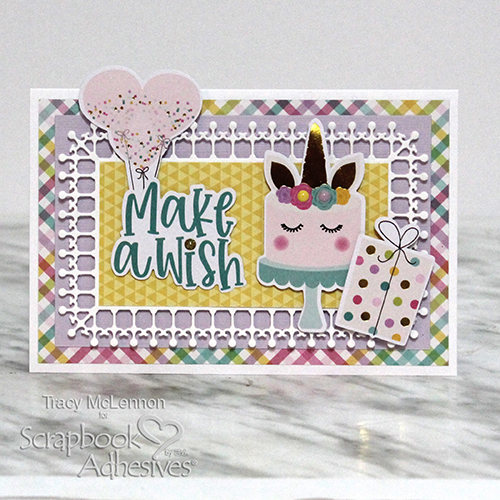
Make a Wish Birthday Card
Hello crafty friends and welcome back! Tracy here, and today I am sharing this sweet and simple Dimensional Card to brighten up someone special’s day. Let’s bring back the love of Snail Mail during this time that we cannot be … Continue reading