Hi, everyone! Like to add a little to sparkle to your handmade cards? Teri here with a fun way to make glittered flowers for all your cards and scrapbook pages.
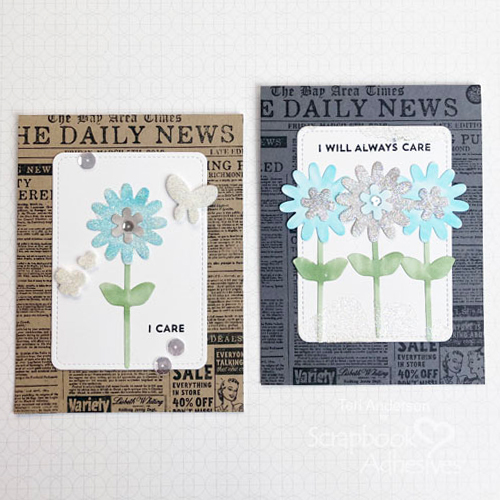
These flowers are easy to make and come together rather quickly! Let’s get started.
Make Glittered Flowers
Start by die-cutting several flowers and stems from white cardstock. Use markers to add color to them.
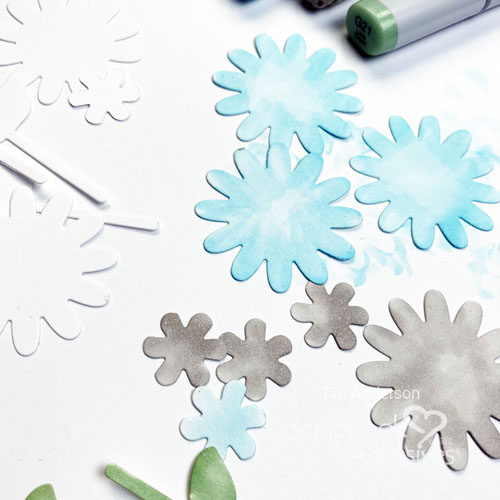
Pick out the flowers you want to add glitter to Apply adhesive with an Adhesive Sheet onto the tops of your flowers. Be sure really burnish the adhesive onto the flowers. If you don’t have a hard touch, use a bone folder or stamping block to do the burnishing.
Designer Note: save a little time on future projects by making several additional glittered flowers at the same time!
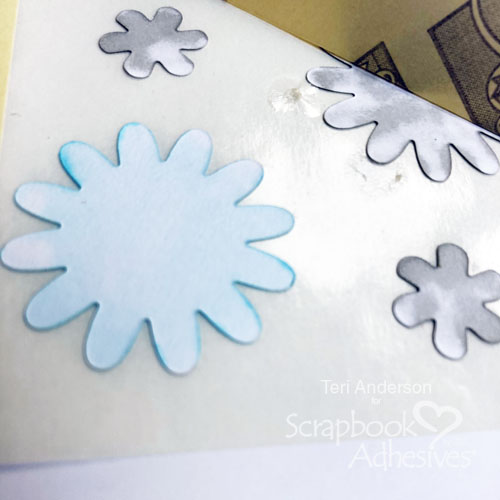
Remove the flowers from the Adhesive Sheet and dip them into glitter. Make sure to use a clear glitter and not a solid colored glitter as the glitter will take on the colors of the flowers. Shake or tap off the excess glitter.
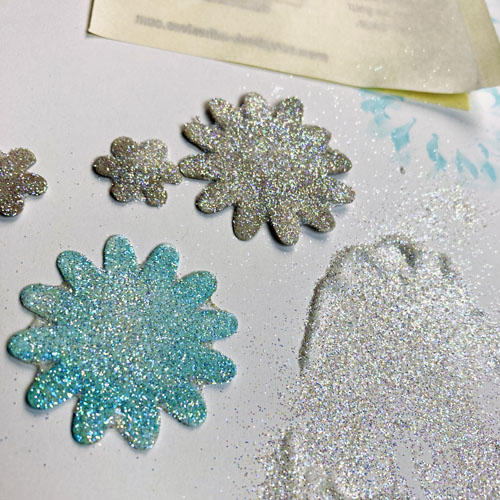
Designer Tip #2: if you have any stray adhesive or glitter sticking out of the edges, use a straight pin to go around the flower petals to remove them.
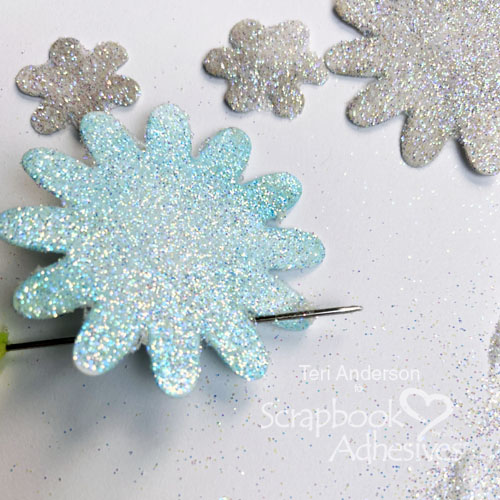
Embellish Your Card with Glittered Flowers
Once you’ve created your glittered flowers, you can use them on a card. For added pop, try sequins or gems to the middle of them with Adhesive Dots Micro.
Secure the flower pieces with the E-Z Dots® Permanent Refillable Dispenser. Don’t forget about stamping a sentiment!
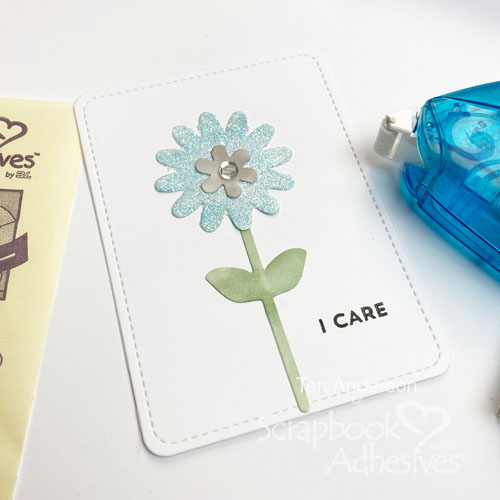
On this card base, I added my glittered flower panel and placed a couple of 3D Foam Butterflies that I applied glitter to.
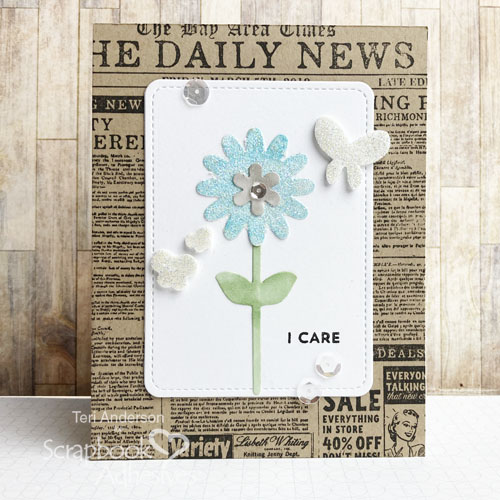
Then added a few sequins on the flower panel with Adhesive Dots Micro. The end result is a simple, but pretty, card.
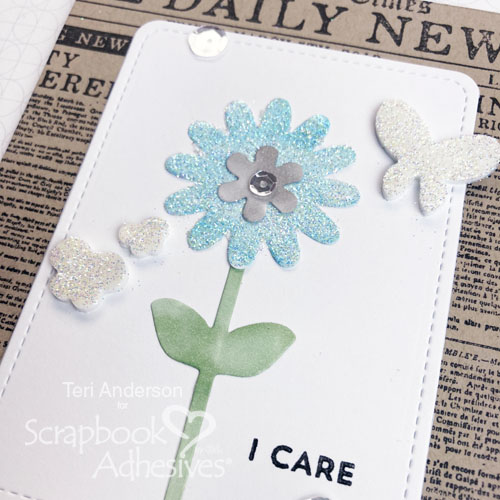
Add More Flowers
Not a fan of sequins? Here’s a variation from the last card.
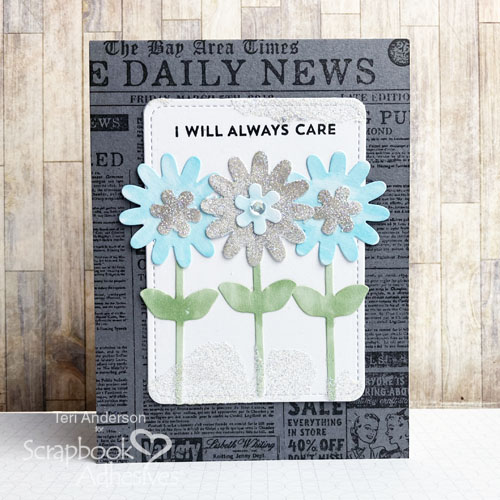
Adding three glittered flowers and notice I added glitter to some of the small flowers and one of the large ones.
The card needed a little more glitz so I applied adhesive with an Adhesive Sheet along the top and bottom of the flower panel. Just simply add glitter over the exposed adhesive, press to secure and tap off the excess.
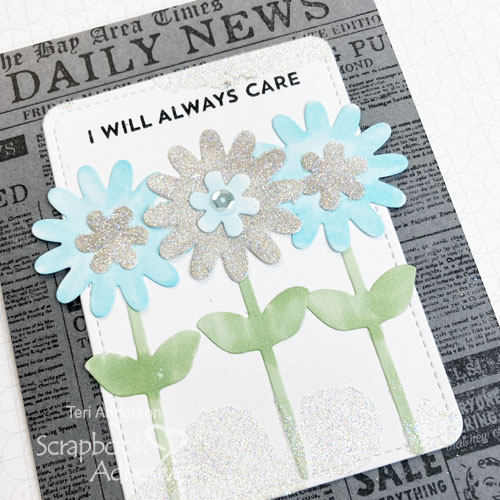
I hope you are inspired by today’s tutorial! I’d love to see some flowers of your own! Remember, no need to use the same exact supplies I had. Change things up by using different flower dies and a different color scheme!
Happy crafting!
Teri Anderson
Creative Time: 45 Minutes
Skill Level: Beginner
Materials Needed
Scrapbook Adhesives by 3L®
- Adhesive Dots Micro
- E-Z Runner® Permanent Strips Refillable Dispenser
- E-Z Dots® Permanent Refillable Dispenser
- 3D Foam Butterflies
- Adhesive Sheets 4×6 inch
Other
White Cardstock: Neenah Paper; Kraft and Gray Cardstock: My Favorite Things; Stamps: My Favorite Things (From the Heart); Hero Arts (Newspaper); Dies: Lawn Fawn (Stitched Journaling Card), Simon Says Stamp! (Flower Friend); Black Ink Pad: Ranger Ink; Glitter: A Muse Studio; Markers: Copic; Sequins: Pretty Pink Posh
Save to Pinterest!
Visit our Website and Blog!
Sign up for our Newsletter so you never miss a contest or giveaway!


