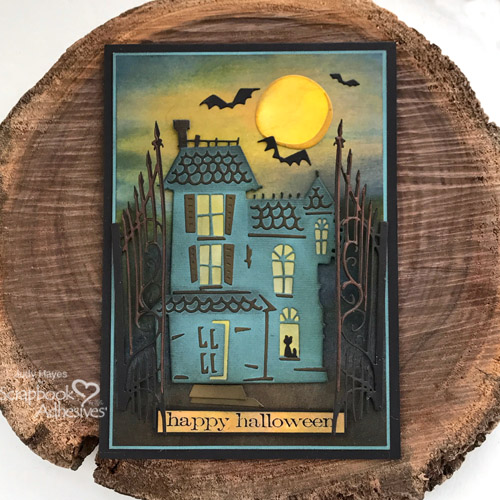
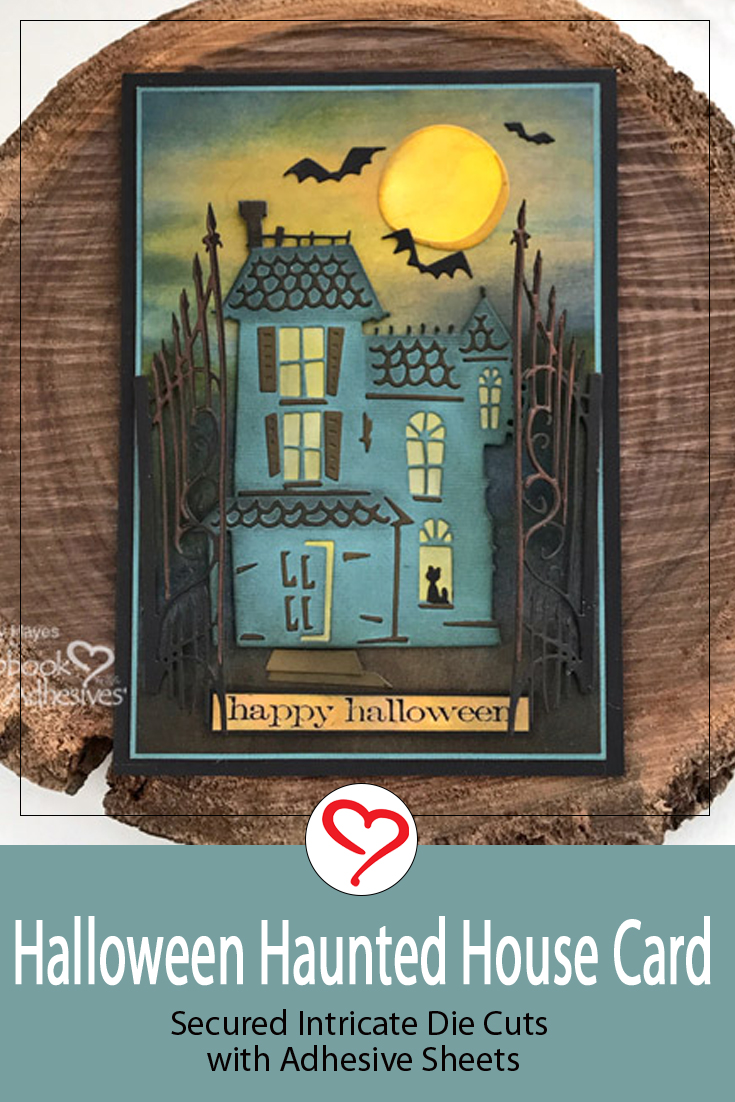
Hello friends! Judy here today to share a Haunted House Halloween Card. Once I got rolling on this card, it was fun to put together. Look at all those little pieces though – gasp! BUT with Adhesive Sheets, it was easy to put them all in place.
Halloween Haunted House Steps
I made this card by die cutting and assembling individual parts, the haunted house, gates, moon, bats and greeting. Once I had parts ready, I assembled the card.
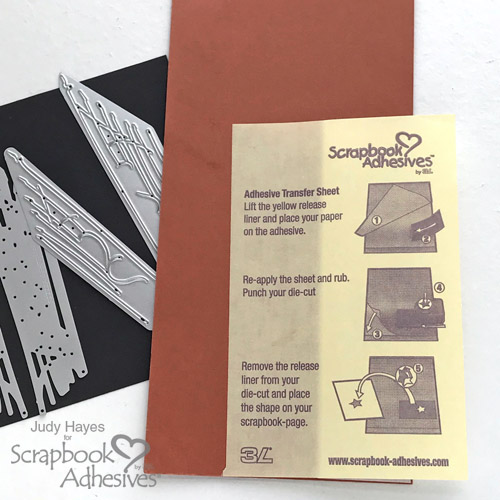
Apply Adhesive Sheets 4×6 inch to back of rust color card stock. Die cut gate details from it.
Inking the Scene Ideas
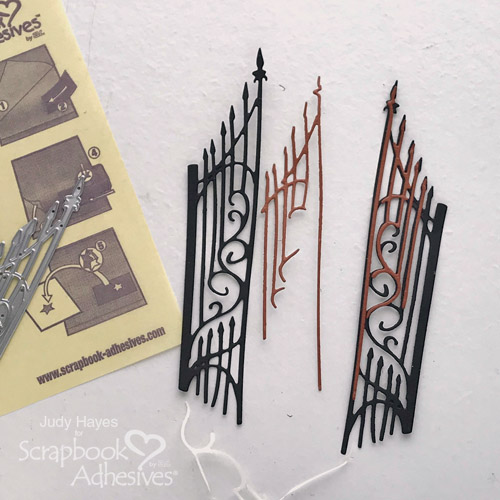
Use a die-cutting machine and die to cut gate from black card stock. Peel off adhesive backing from detail pieces and fasten to the gate. Apply the foam applicator tool with Distress Black Soot ink and darken the rust pieces.
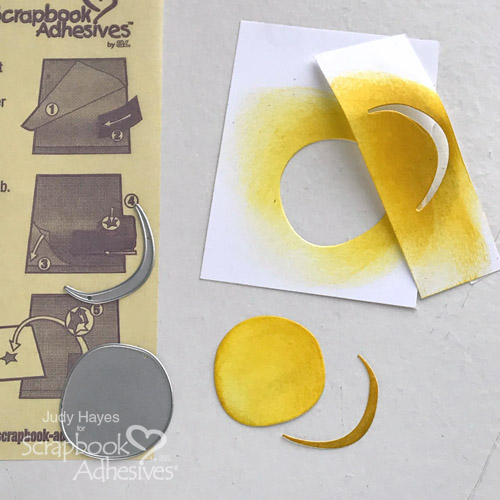
With the foam applicator to apply Distress Squeezed Lemonade and Mustard Seed inks to piece of white card stock. Die-cut the moon shape from it.
Apply Adhesive Sheets 4×6 inch to white card stock scrap. Use foam applicator to rub with Distress Mustard Seed ink and light touch of Hickory Smoke. Use die cutting machine and die to cut shadow sliver for moon. Peel adhesive backing and fasten to moon.
Use die cutting machine and die to cut bats from black card stock.
Cut haunted house from dusty blue card stock using die cutting machine and die.
Die-Cutting Details
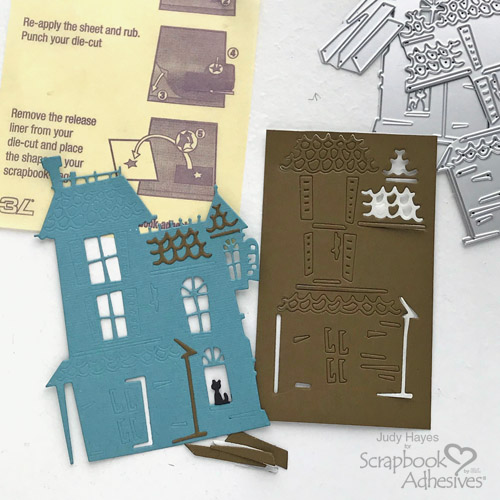
Apply Adhesive Sheets 4×6 inch to back of small scrap of black card stock. Position scrap under cat on house die. Use die cutting machine to cut out. Cut cat from piece. Remove adhesive backing and fasten cat over blue cat on house.
Apply Adhesive Sheets 4×6 inch to back of olive card stock. Use die cutting machine and die to cut detail pieces and steps for haunted house. Peel adhesive backing from pieces and fasten in place on house.
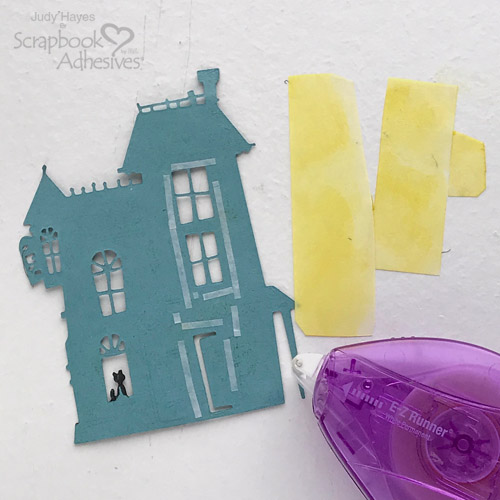
Cut pieces of vellum to fit behind windows and door. Rub Mustard Seed ink over each piece. Use E-Z Runner® Micro Refillable Dispenser to put adhesive around windows and door on back of house. Fasten vellum with inked side towards front of house. (Cat looks black because I first tried to color it with marker)
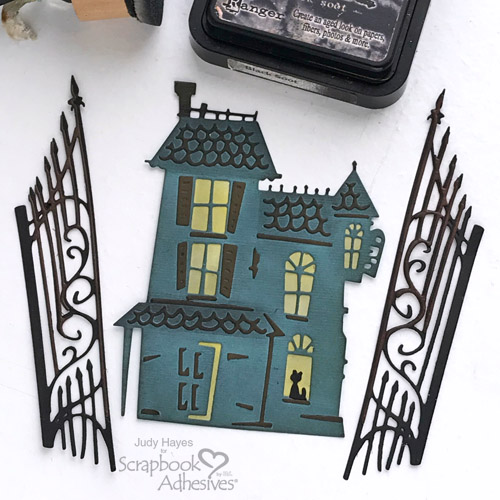
Use foam applicator tool to rub Distress Black Soot ink over house adding darker shading to edges. Rub more ink on roof areas to shade them a bit darker than house. Use black marker to color chimney, rail at top of house, and pointed pieces on roof.
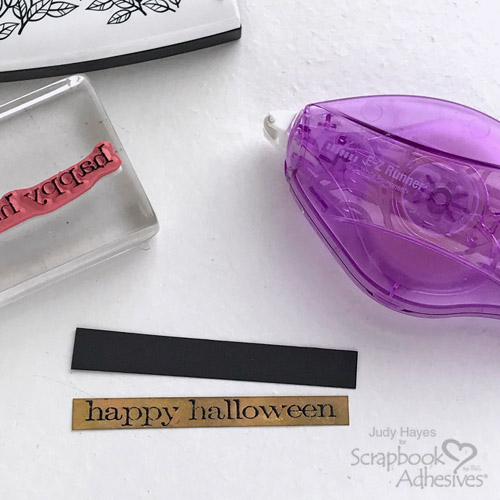
Stamp greeting with Versafine Black Onyx ink on white card stock. Heat emboss with clear embossing powder using heat tool. Trim to size. Use foam applicator tool to apply Distress inks Squeezed Lemonade, Mustard Seed, and light touch of Hickory Smoke over greeting. Cut mat of black card stock. Fasten greeting to mat using E-Z Runner® Micro Refillable Dispenser.
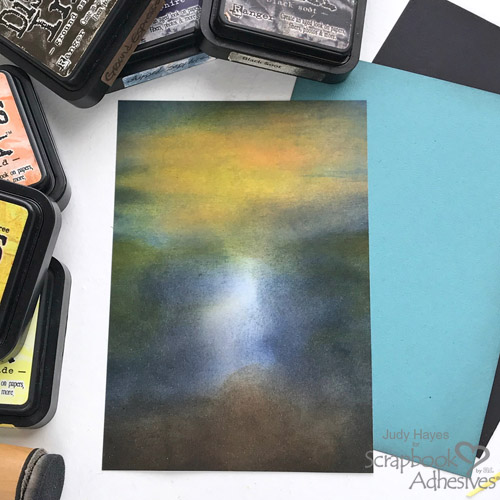
Inking the Background
Cut 4.5 x 6.5 inch piece of white card stock. Use foam applicator tool with Distress inks to create sky background. Use Mustard Seed and Dried Marigold in moon area. Add Weathered Wood around edges of sky and work down about half way. As needed, place house against sky to determine areas to color. Next use Chipped Sapphire to add areas of dark in sky and continue down towards bottom of piece. At bottom apply Ground Espresso and Black Soot. Area that will be under house does not need to be colored. Continue until desired results are achieved.
Cut blue card stock 4.625 x 6.625 inches for mat. Lightly rub edges with Black Soot ink using foam applicator.
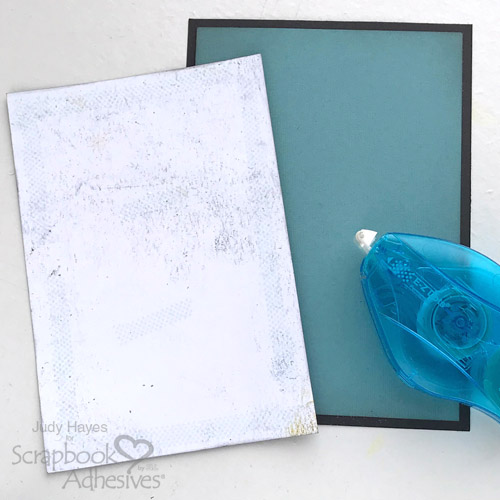
Assembling the Card
Fasten blue mat to 5 x 7 inch black card using E-Z Dots® Permanent Refillable Dispenser. Fasten inked background on blue mat using E-Z Dots® Permanent Refillable Dispenser
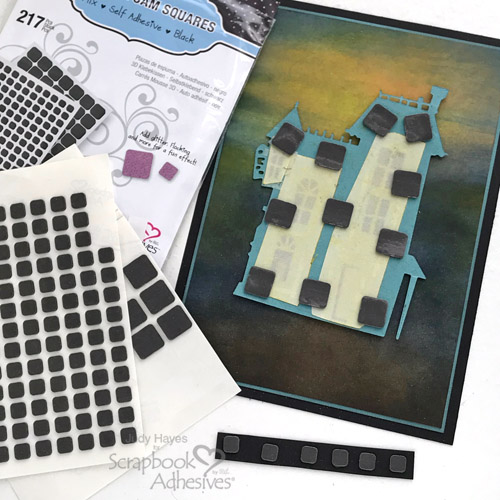
Place Thin 3D Foam Squares Black Mix on back of haunted house. Place small squares on back of greeting.
Peel liners from foam squares and fasten haunted house on card. Peel adhesive liner from steps pieces and fasten below door. Rub Black Soot ink over them.
Remove liners from foam squares on greeting piece. Center and fasten below haunted house.
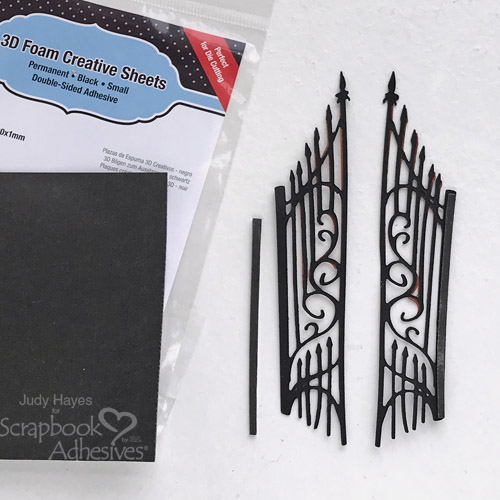
Cut narrow strips from 3D Foam Creative Sheets Small, Black to fit sides of gate. Peel liner and fasten foam on back of outer post of each gate. Peel liner and fasten gates on each side of haunted house on card.
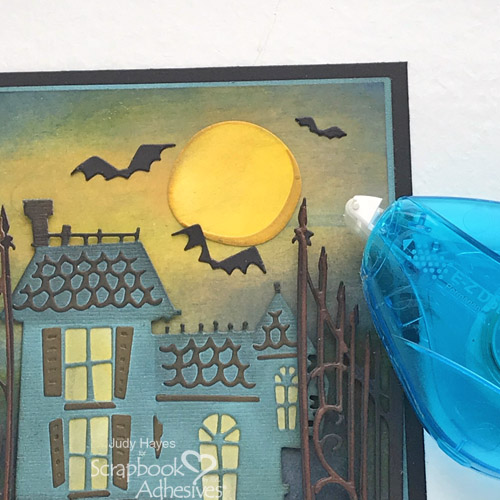
Use E-Z Dots® Permanent Refillable Dispenser to apply adhesive to the back of the moon and secure it to the card. Then adhere the bat around the moon.
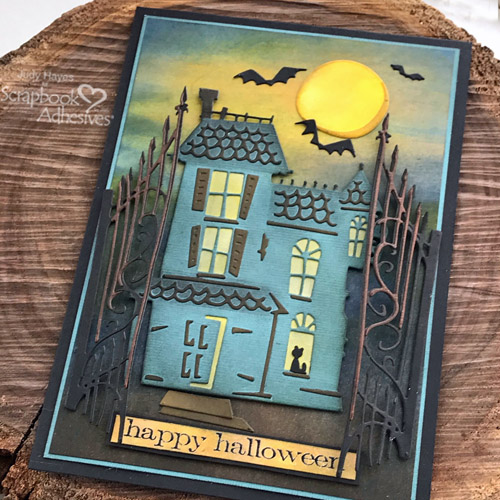
I hope you enjoyed this card! I really like how it turned out. My favorite part is that tiny kitty in the window!
Thanks for Visiting!
Judy Hayes
Creative Time: 45 Minutes
Skill Level: Intermediate
Materials Needed
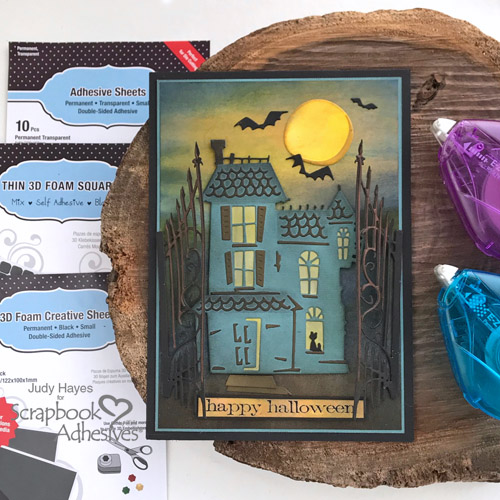
Scrapbook Adhesives by 3L®
- Adhesive Sheets 4×6 inch
- Thin 3D Foam Squares Black Mix
- 3D Foam Creative Sheets Small, Black
- E-Z Dots® Permanent Refillable Dispenser
- E-Z Runner® Micro Refillable Dispenser
Other:
Imagine Crafts/Tsukineko Versafine Onyx Black Ink; Ranger Ink Clear Embossing Powder; Ranger Ink Distress Inks: Squeezed Lemonade, Mustard Seed, Dried Marigold, Hickory Smoke, Weathered Wood, Chipped Sapphire, Ground Expresso, Black Soot; Sizzix Tim Holtz – Haunted, Gate Keeper; Stampers Anonymous Simple Sayings; Card Stock – Rust, White, Black, Blue, Olive; Cream Vellum
Save to Pinterest!
Visit our Website and Blog!
Sign up for our Newsletter so you never miss a contest or giveaway!


