
Hello everyone!
It’s Kelly here to share a Back To School layout I designed using the wonderful new 3D Designer Shapes.
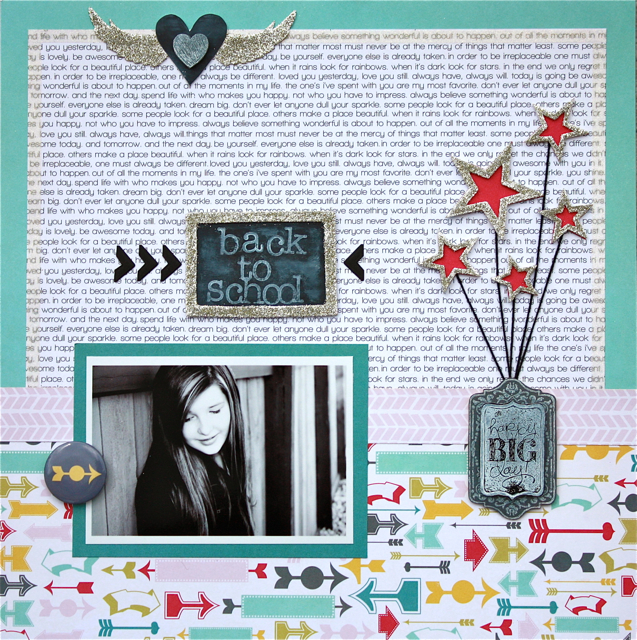 I used 4 different Designer Shapes on this layout, and they are all covered with silver glitter.
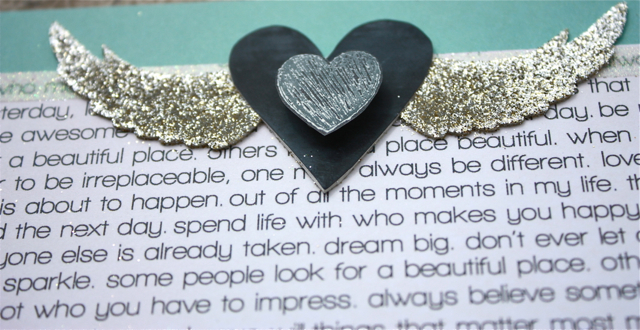
The 3D Foam Wings and 3D Foam Hearts:
 The 3D Foam Frames :
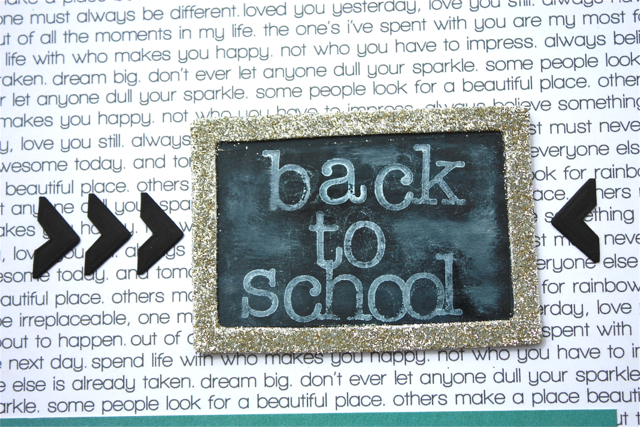 And those black chevrons or arrows? They are Black Photo Corners, snipped a little bit!
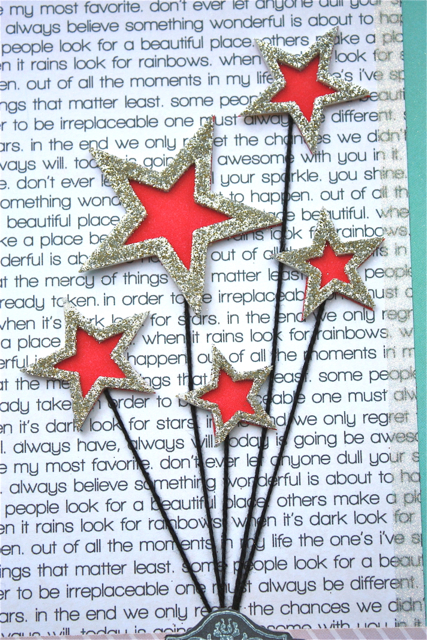
I just love the 3D Foam Stars, which are packaged nesting inside one another so you have all sizes and solids and outlines too!
If you look closely, you can see a glittery border all along the edge of the white text paper layer. I created that subtle shimmery border with Crafty Power Tape and clear iridescent glitter.
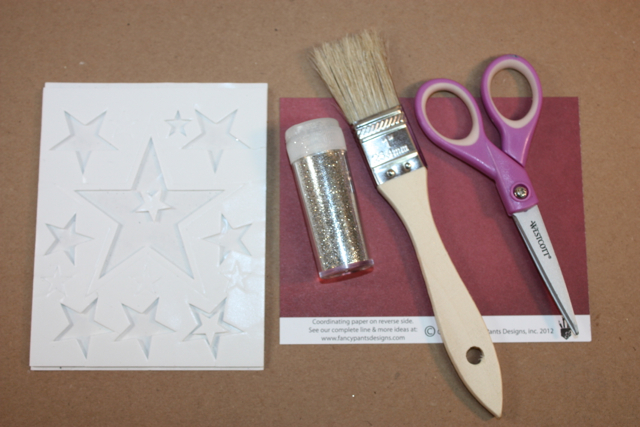
Here’s a step by step of photos where I will now show you how to create these stars. There are only a few supplies you need:
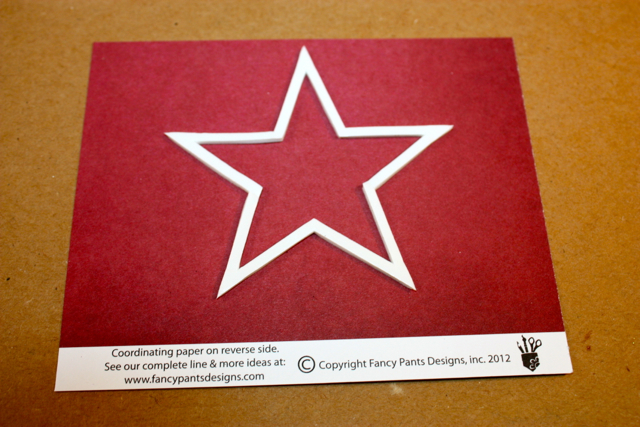
 1. Place one of the star ‘outlines’ onto some paper or card stock:
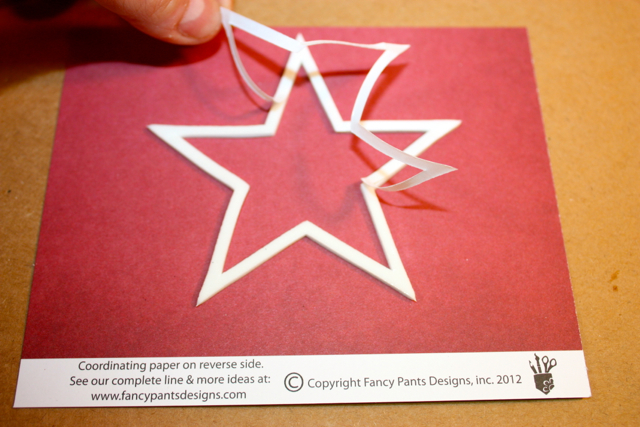
 2. Lift off the backing:
 3. Add glitter
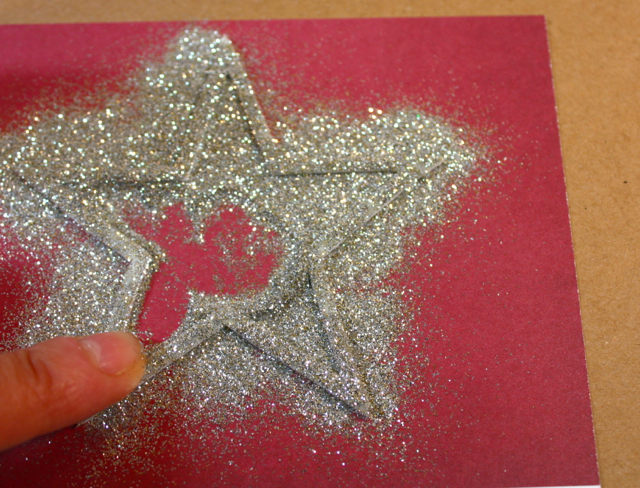
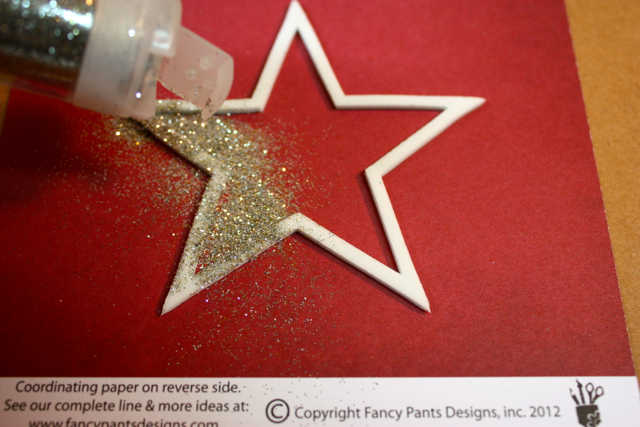 4. Rub or ‘burnish’ the glitter onto the sticky foam with your finger.
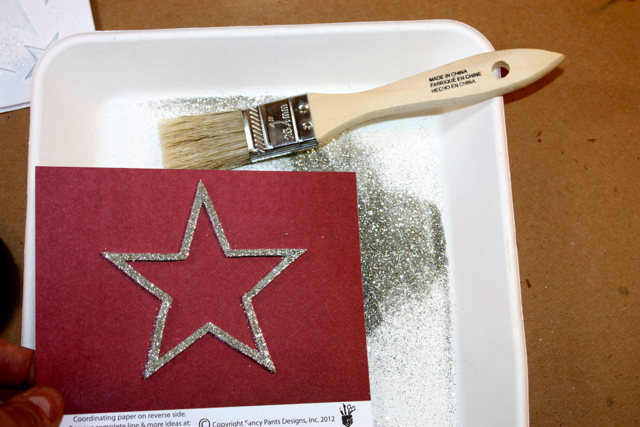
 5. Brush off excess glitter.
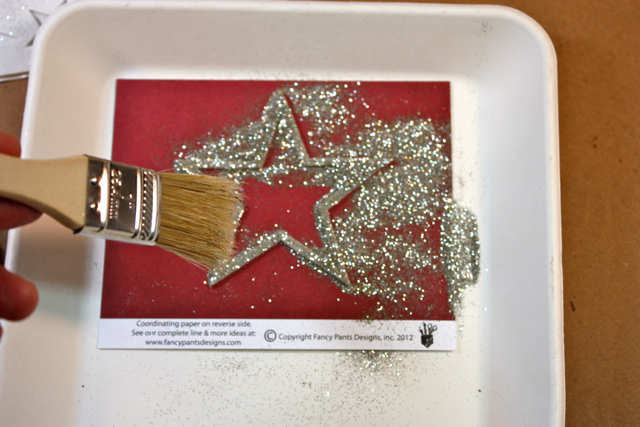 (I used a glitter tray to catch the mess!)
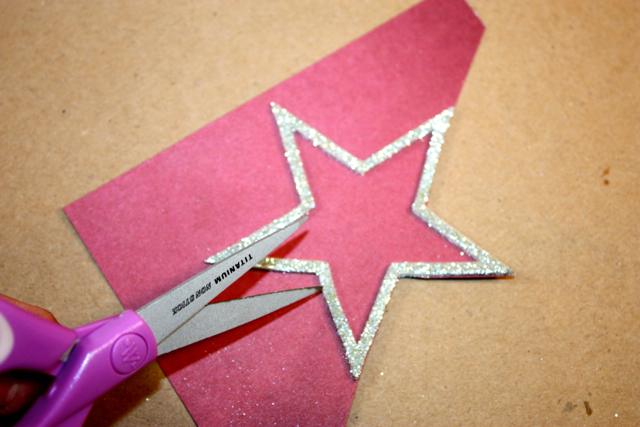
 6. Cut out star, closely to the edges.
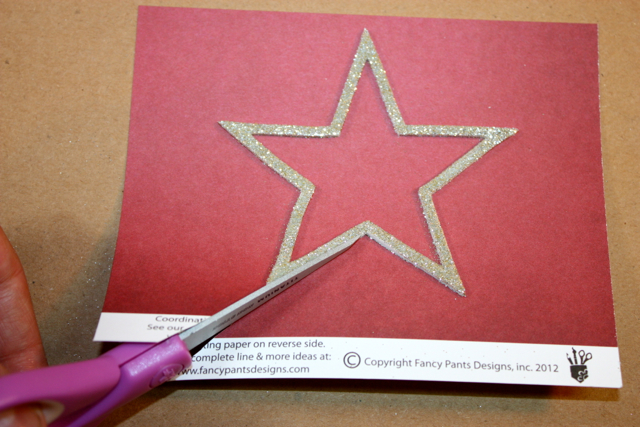
 And that’s it! You now have a custom made star embellishment for your project!
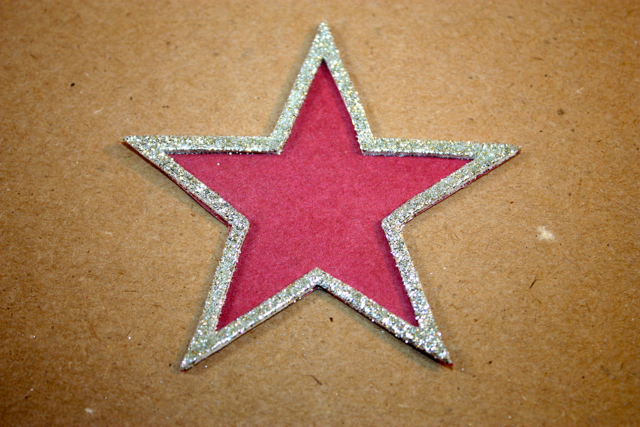 The beauty is that you can use any color of paper and glitter! So “reach for the STARS”….and have some fun with these new Designer Shapes!
Happy Crafting!
Kelly Klapstein (aka Kelly Creates)
SUPPLIES:
Fancy Pants Designs papers and button
Stampin’ Up! ink and stamps
Graphic 45 Alphabet stamp set
EK Success Glitter/tray/brush
Westcott scissors
By AJ Otto September 14, 2013 - 1:35 pm
Love this Kelly!
By Michelle Marks September 26, 2013 - 1:18 pm
Gorgeous layout Kelly! !! Love those star embellies!