It’s Labor Day weekend in the US, and many of us have the day off. I hope you are enjoying the long weekend!
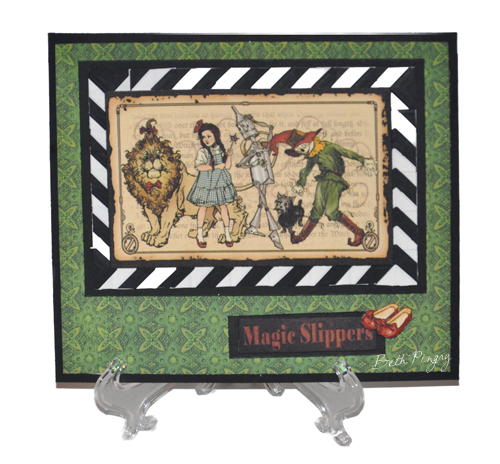 Today’s project features the three of the products in the Adhesive Value Pack.
Making the Chevron Frame
I started with the Photo corners in both black and white. I layered them around the outside of a piece of cardstock, which was cut the size of the Graphic 45 image, plus the width of one photo corner, on both sides. (When the image is added, only half of the photo corners are visible.)
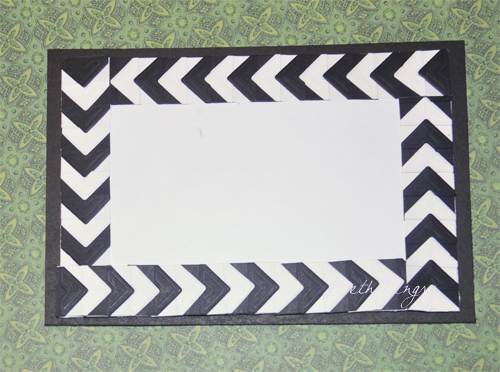
Next, I started in one corner and layered the photo corners, alternating colors, placing the point of one into the V of the other. I tucked the ‘end’ under the previous line and trimmed the excess.
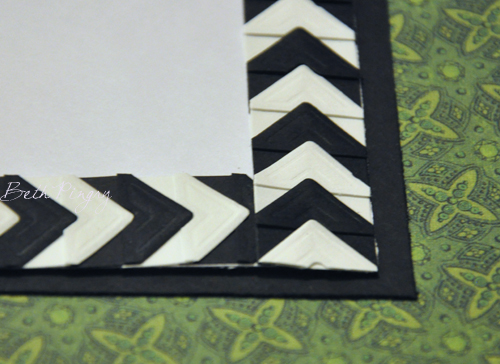
The texture and alternating colors of the photo corners create a unique design.
Once I had the frame made, I adhered the Graphic 45 “The Magic of Oz” image with 3D Foam Squares, and then used Mounting Squares to attach the frame to a black cardstock mat.
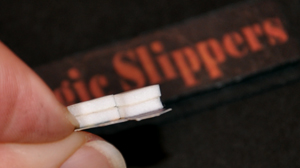
‘Magic Slippers’ comes from a sheet of paper in the same pack, I matted it to black cardstock with 3D Foam Squares
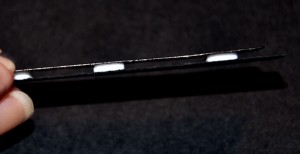 Then I added a pair of ruby slippers, colored with a Copic atyou Spica Pen in Lipstick Red. To give the slippers more lift, I stacked 3D Foam Squares so the slippers sit higher than the words.
Assemble the images to a card base with Mounting Squares. It’s that easy!
The Adhesive Value Pack includes a variety of adhesives at a great price!
These are the supplies I used to create this card:
- SCRAPBOOK ADHESIVES BY 3L™: Adhesive Value Pack
- Graphic 45: The Magic of Oz (Emerald City, Journey to Oz, Munchkins, There’s No Place Like Home)
- Copic Marker: atyou Spica Glitter Pen, Lipstick Red
- Black cardstock
Enjoy the holiday, and thanks for stopping by!

By Holly September 5, 2011 - 9:17 am
love the black and white photo corner effect! fabulous idea!
By MargieH September 5, 2011 - 9:41 pm
I LOVE your photo corner technique, Beth! The black and white combination stands out so well – a cool effect! TFS 🙂