
Hello, Latisha here, and I have a quick and fun tutorial on how to dress up a photo envelope. Either to keep for yourself or giveaway, it is a great way to store seasonal photos, just waiting to be put into a frame or scrapbooked. I am using a die cut that was cut from a Silhouette Cameo using pattern paper. However, this would work by just using a photo envelope purchased from the store. What I used was, pattern paper, stickers, twine & adhesive. Really easy project to complete.
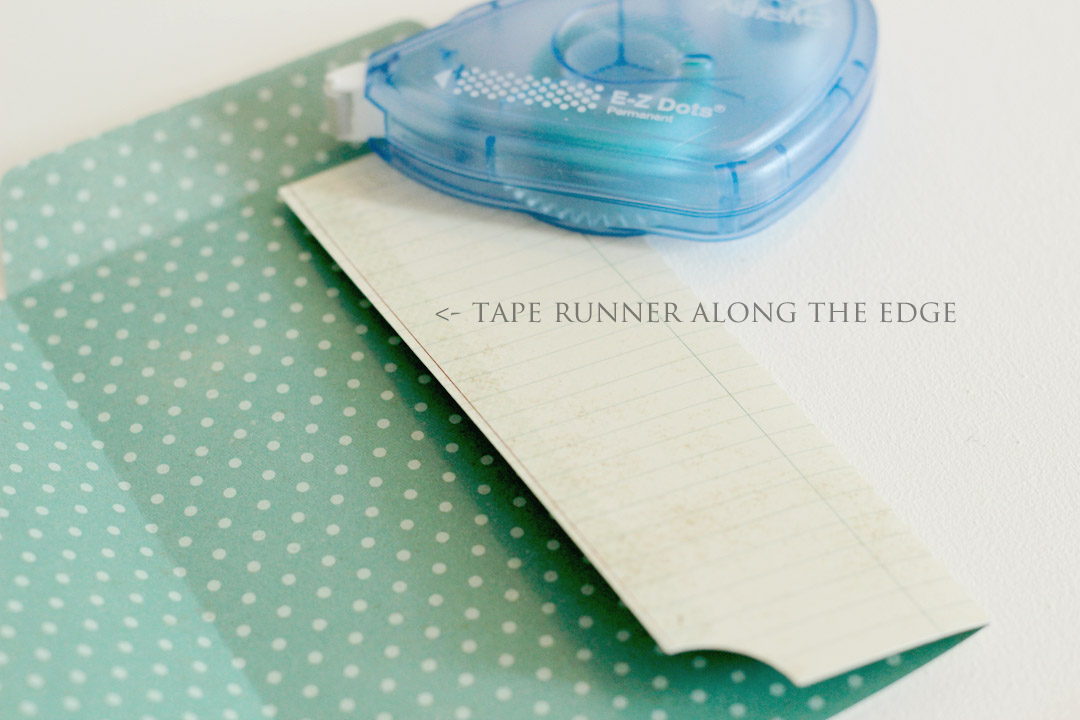
 Start by adhering the the envelope shut, I used the Scrapbook Adhesives by 3L E-Z Dots Permanent to adhere all of the sides down.
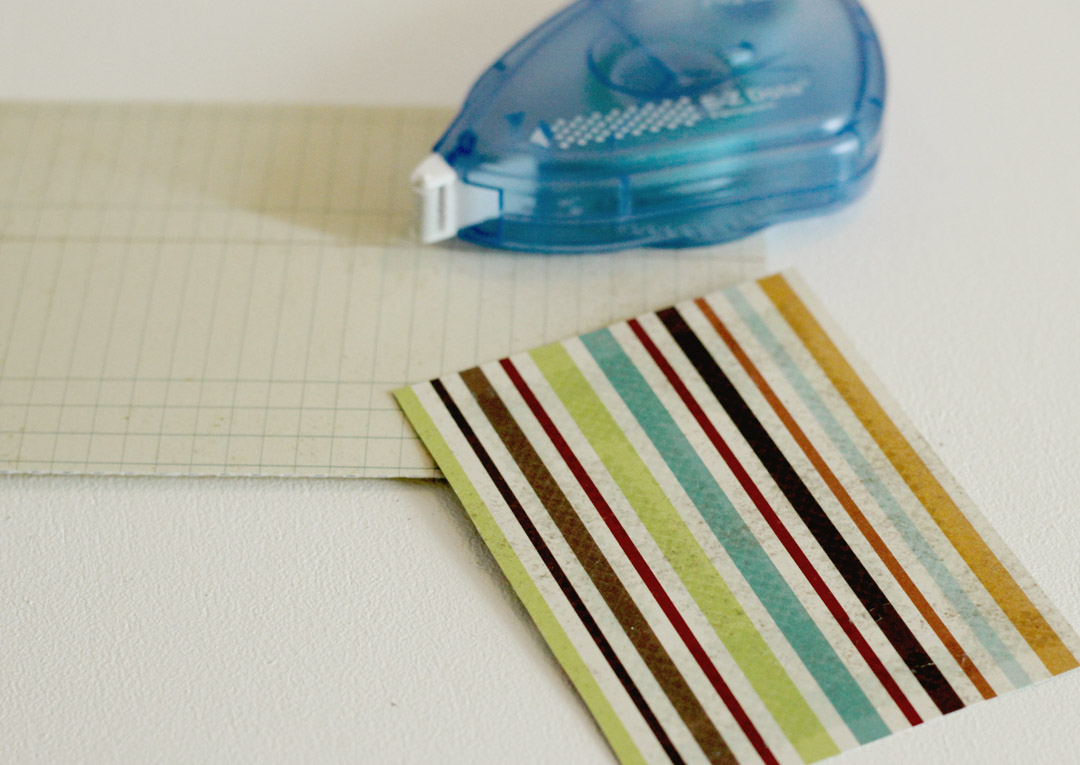
 I cut one of the die cuts out from the Simple Stories pattern paper sheet, and then adhered it down to the front of the envelope.
 Using the Scrapbook Adhesives 3D Foam Squares (regular), I adhered the stickers to the front to give the project a little dimension.
 I continued to decorate the envelope with more stickers and twine.
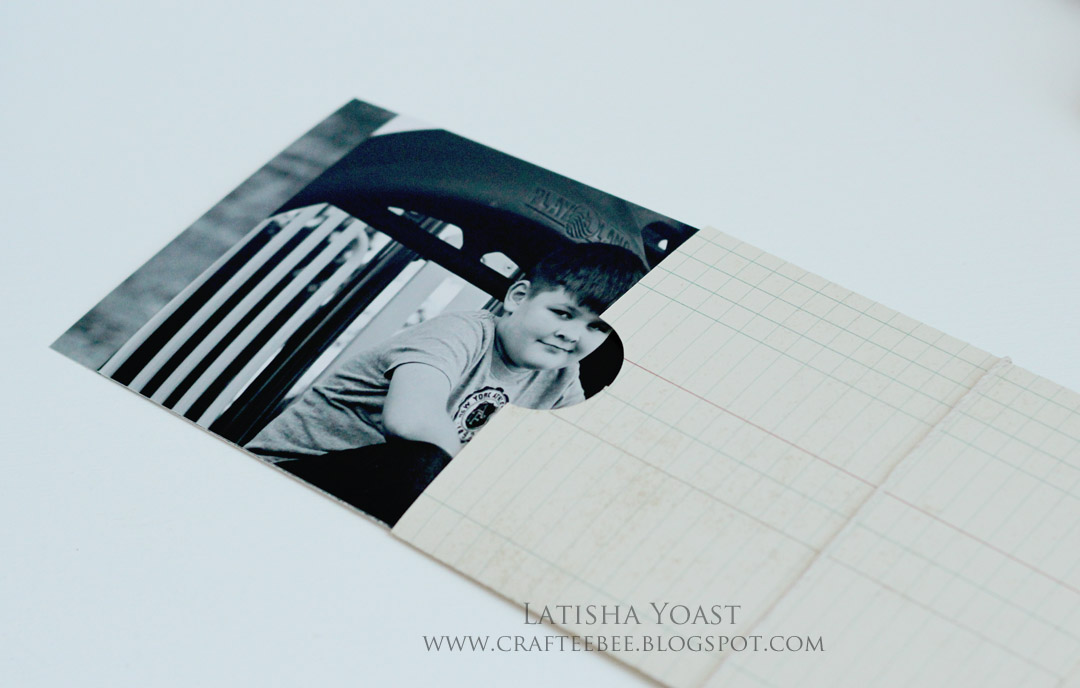
 Place pictures into the envelope.
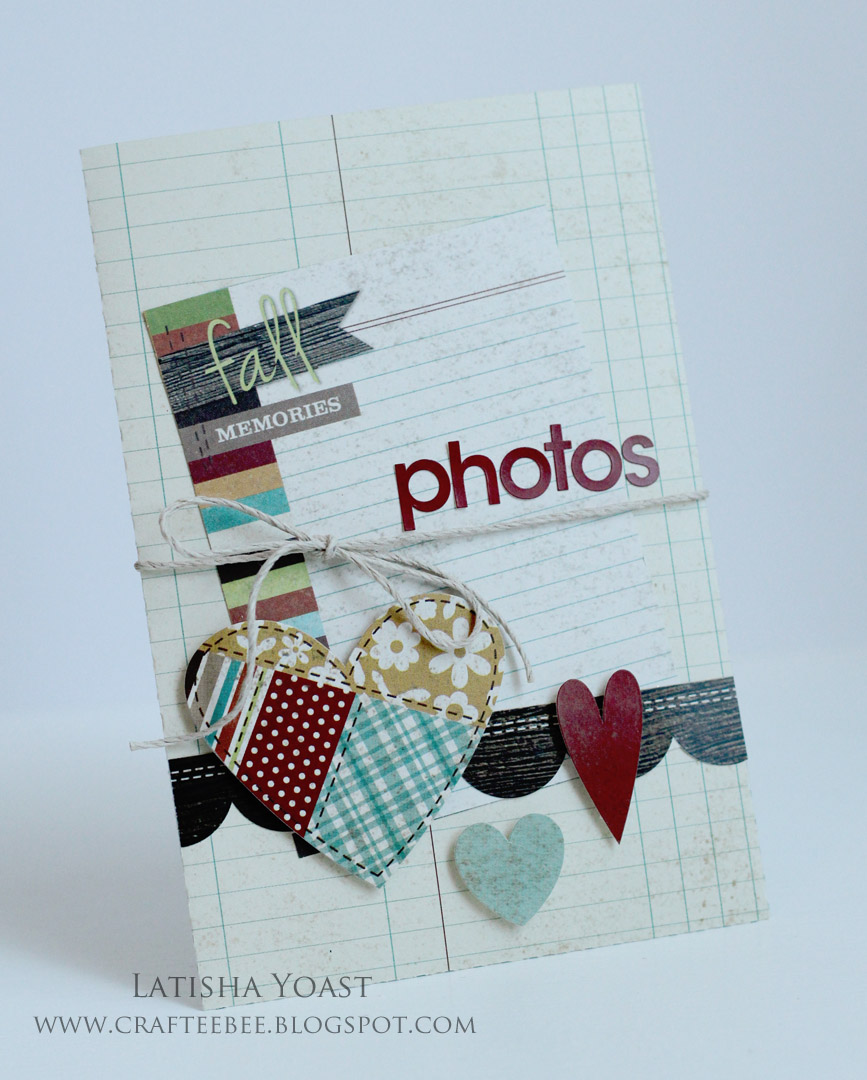
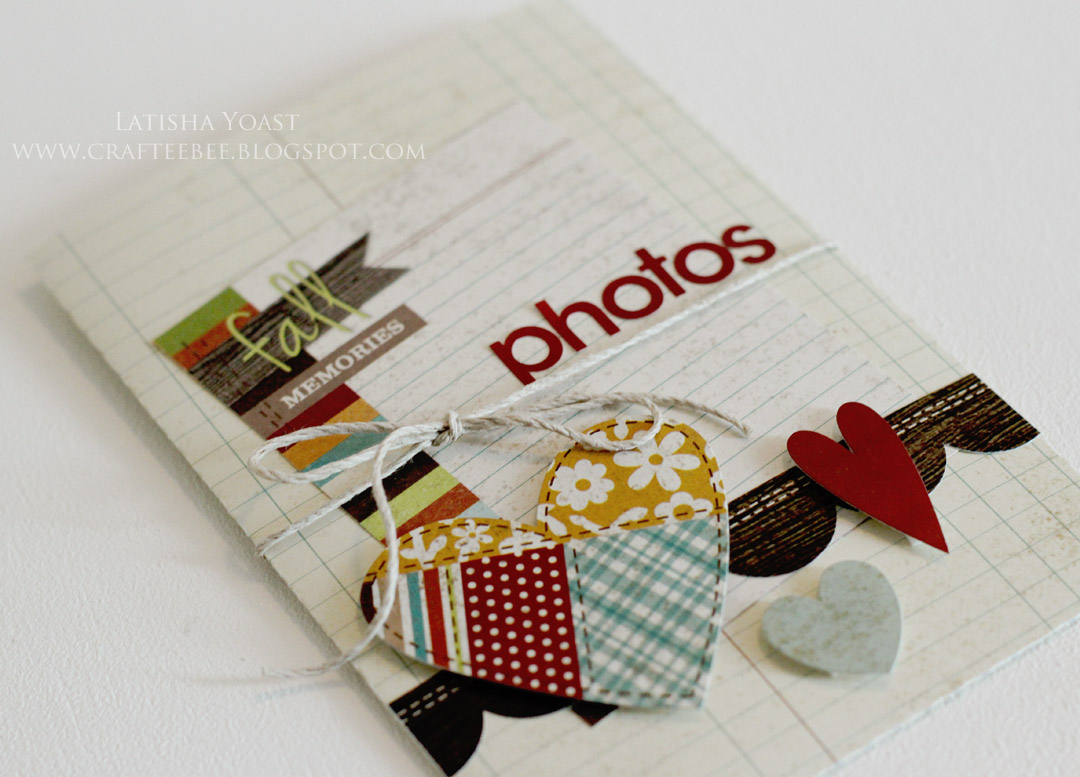
 Completed project. Quick, fun and easy!
Materials Used: Simple Stories pattern paper and stickers, Scrapbook Adhesives by 3L 3D Foam Squares Regular, EZ Dots Permanent, Lawn Fawn hemp cord, Silhouette Cameo
By Brenda B September 12, 2012 - 7:13 am
Fabulous project and such a super fun idea!