
Hello! Kimberly here today to show you how easy it is to create your own custom glitter paper with Adhesive Sheets from Scrapbook Adhesives by 3L®.
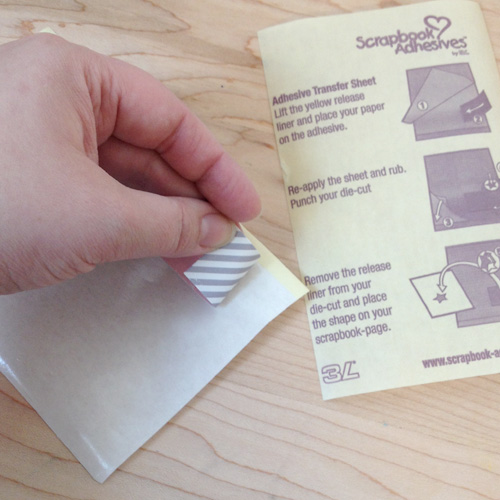
Start by cutting a piece of paper to the size you desire. For my project, I used patterned paper, but you could use cardstock as well. Peel the yellow backing from the 4×6 Adhesive Sheet and apply your paper, face down, onto the adhesive.
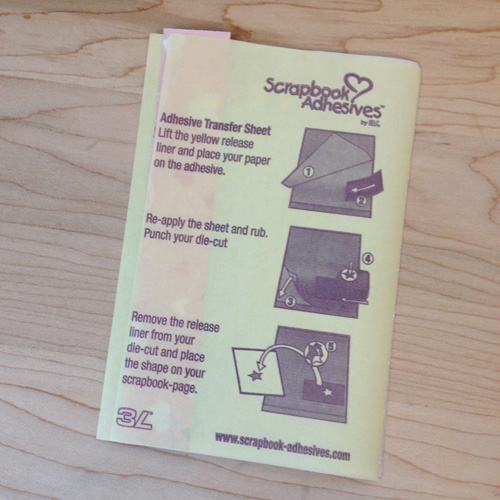
Once the paper is completely adhered, cover it with the yellow backing sheet and gently rub make the adhesive coverage even.
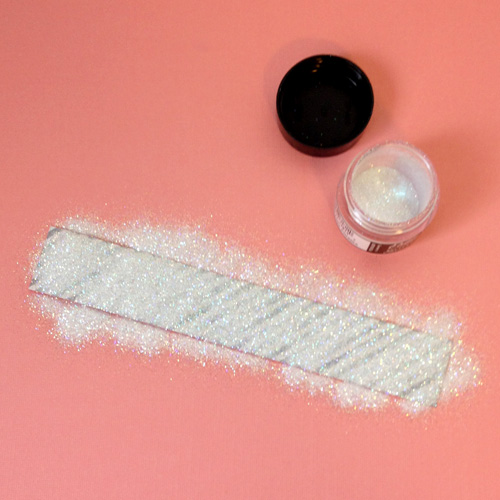
On a scrap piece of paper, generously pour glitter over your now adhesive-covered paper. Iridescent glitter was used here to allow the pattern on the paper to show through. All glitters will work, depending on the look you are wanting to achieve. Burnish the glitter by pushing it into the adhesive, making it adhere securely. Tap off the excess and save for another project.
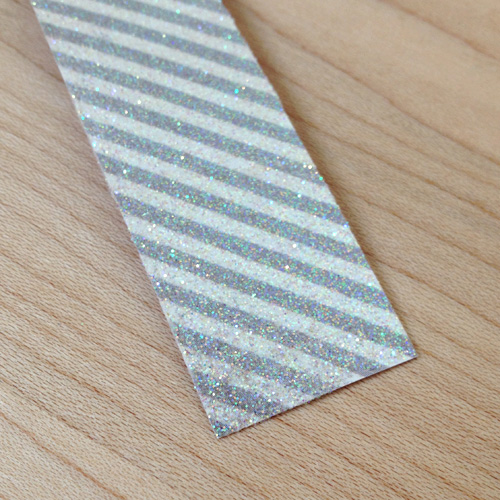
Here is the paper after is has been glitterized. (not a word, but kind of fun)
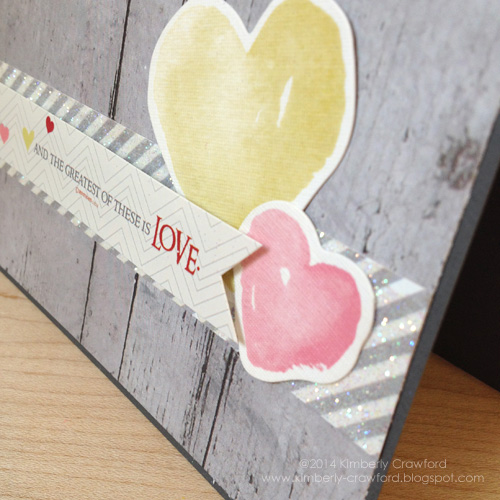
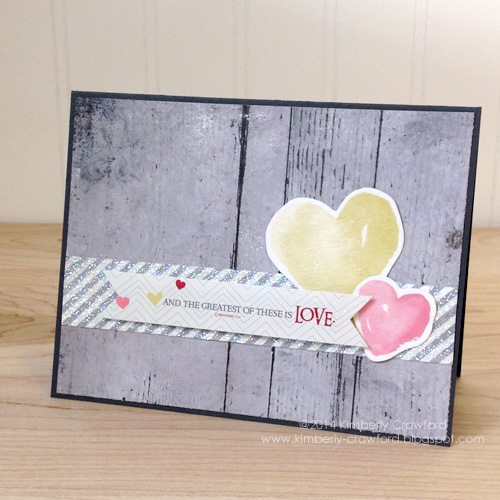
To finish off the card, I added two pre-made hearts and a sticker sentiment. To give the sticker some extra pop and to add dimension, I applied Crafty Foam Tape to the back.
thanks for stopping by!
Supplies: Scrapbook Adhesives by 3L (4×6 Adhesive Sheets, Crafty Foam Tape, E-Z Runner® Permanent Strips Refillable), Patterned paper, die cuts, sticker-Fancy Pants (Be Loved), Cardstock-MFT (Steel Blue)
By Julie A. Shearer January 9, 2014 - 9:53 am
Your card is adorable ! TFS , great tip . : )
By Amante del Papel January 9, 2014 - 4:43 pm
love how it looks like!
By Johanne Lacombe January 10, 2014 - 9:43 am
Your card is beautiful. It’s great, that way we can have glitter paper that fits our project.
By Deborah S January 12, 2014 - 6:23 am
This is so sweet and I love the touch of sparkle very nice