
Hello Latisha here with you today. I have two teenagers, and it seems like they are always invited to a birthday. My go-to gift these days for kids/teenagers are gift cards. I am always trying to come up with new and easy way to package a gift card. So today, I am using a glassine bag.
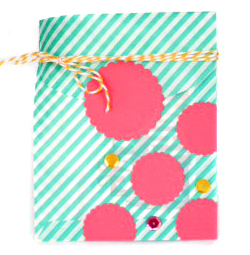
Here are step by step instructions, as well as photos to walk you through this easy way to decorate a glassine bag. I used this for a gift card holder, but you could easily put money in the bag or even some kind of treat.
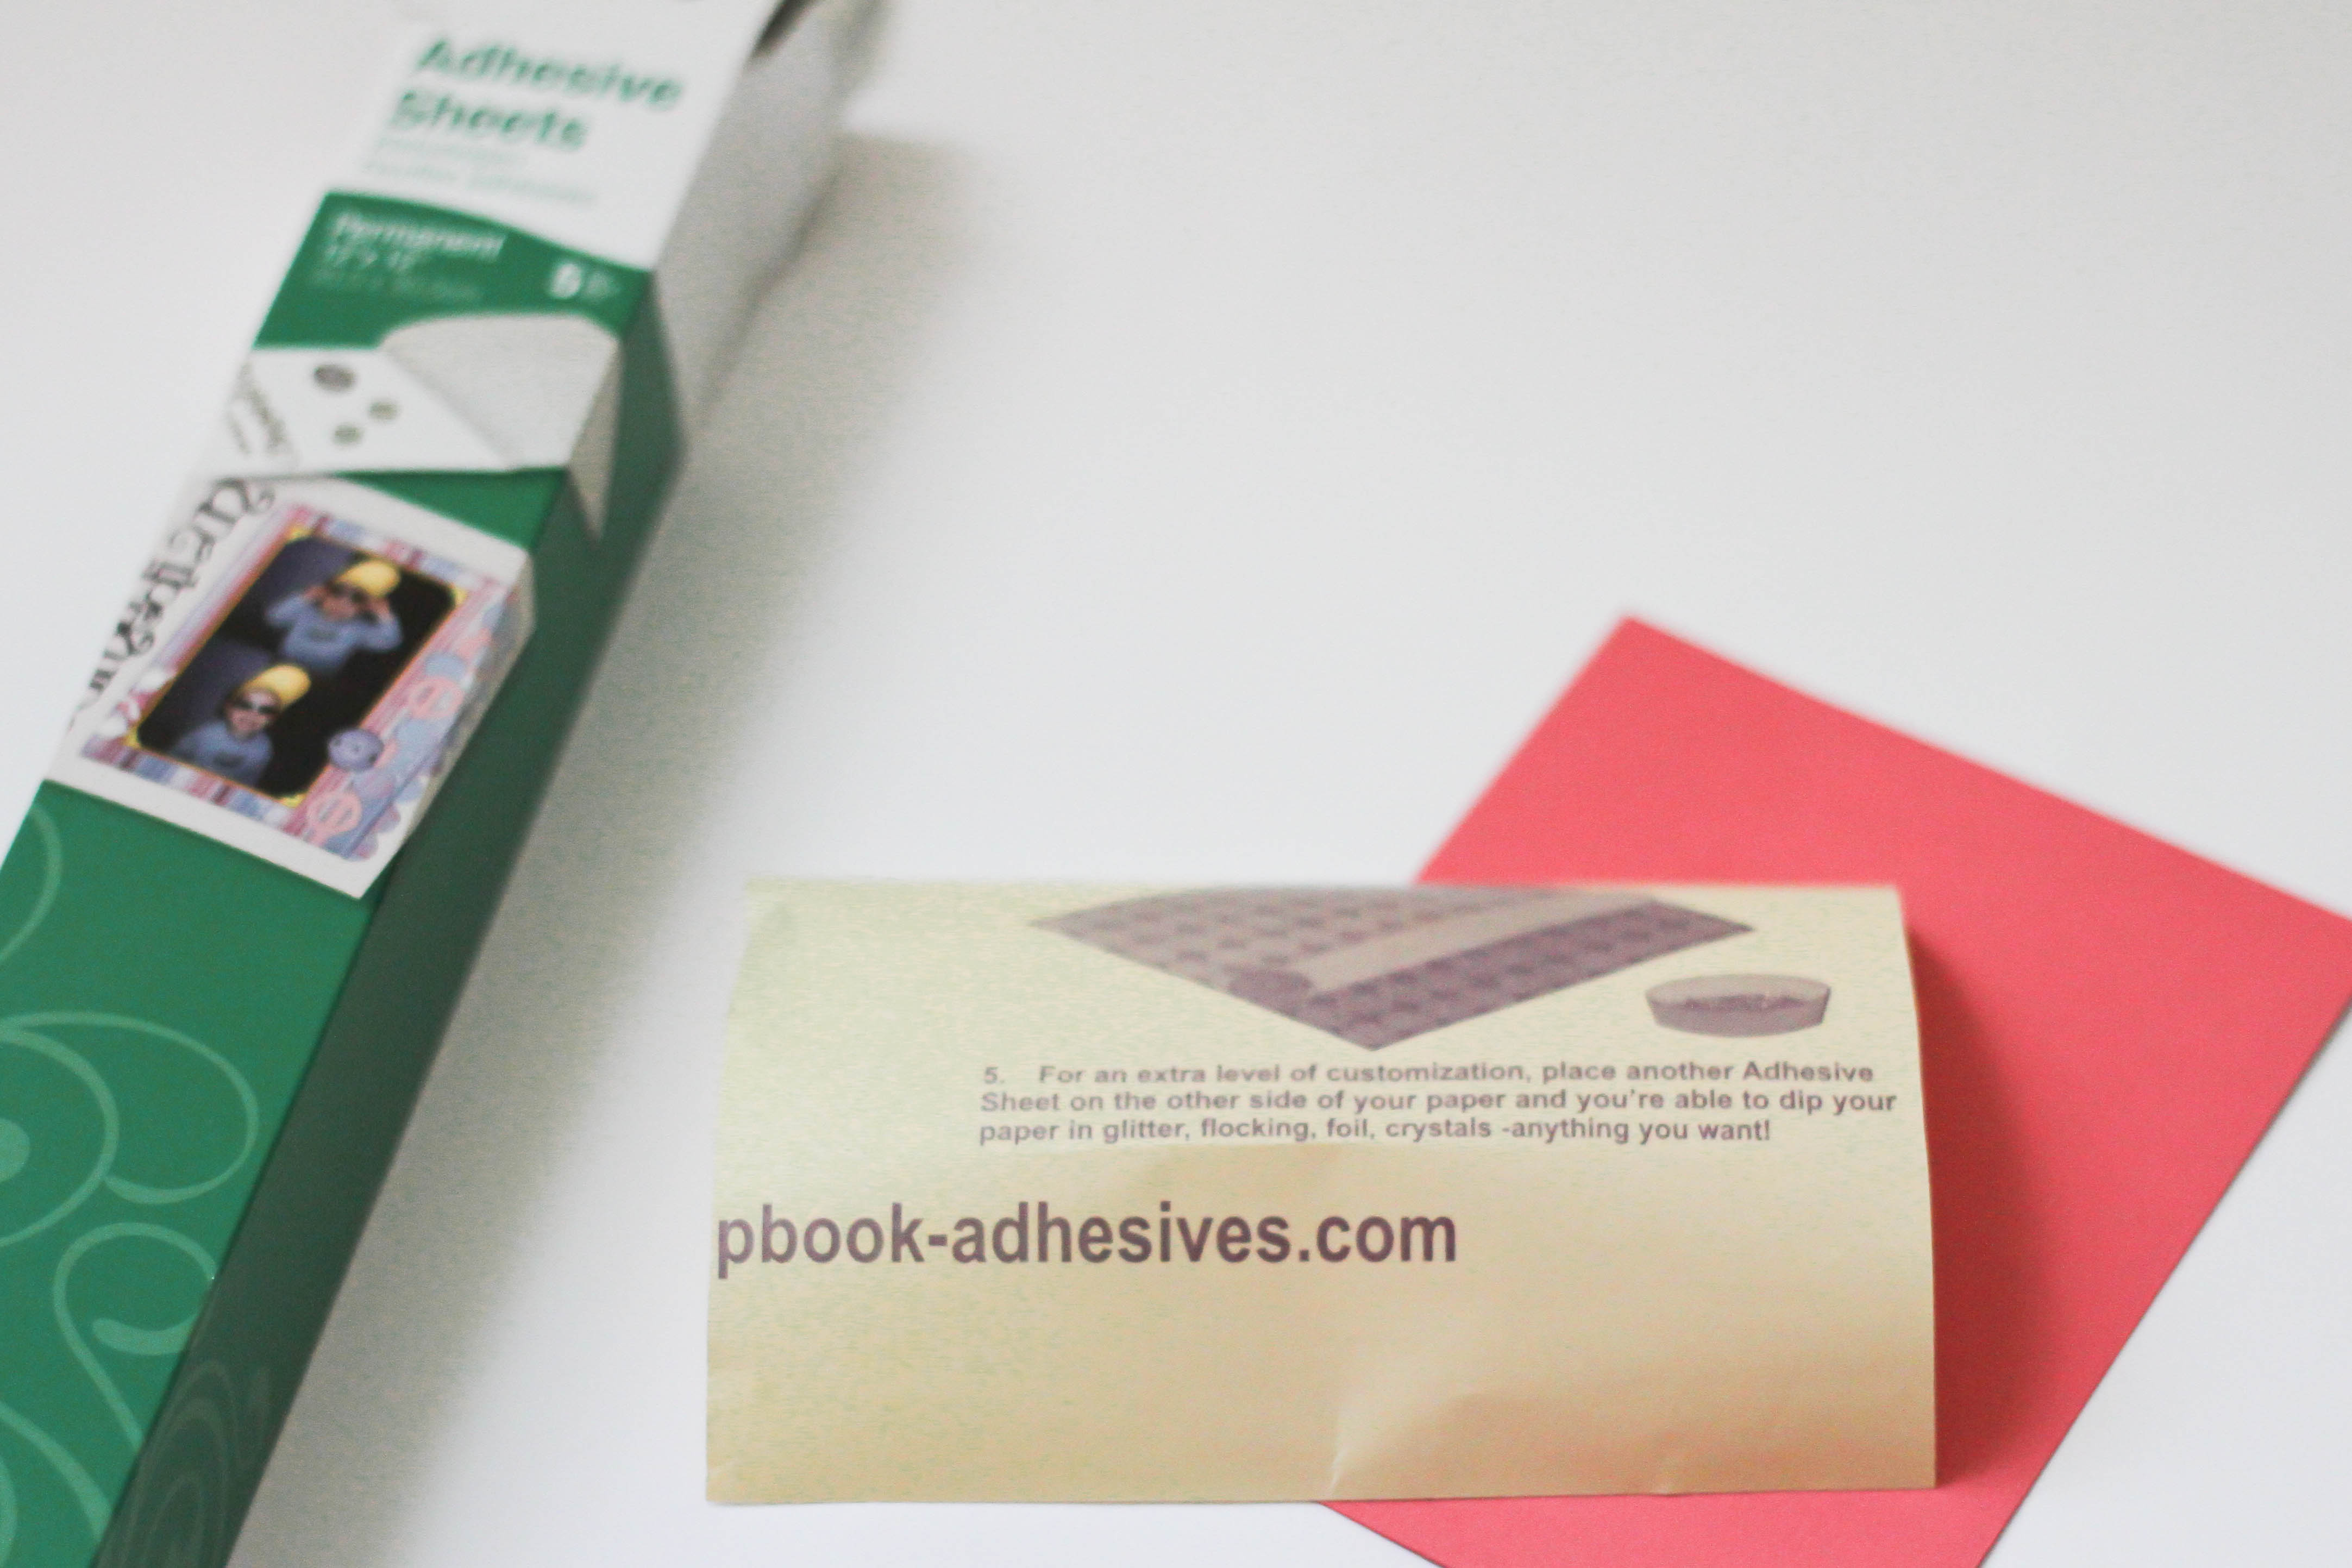 1. Using the Scrapbook Adhesive by 3L Adhesive Sheets. Trim down card stock, and also part of the adhesive sheet to perfectly adhere over the cardstock. I trim down the sheet so I don’t waste any product.
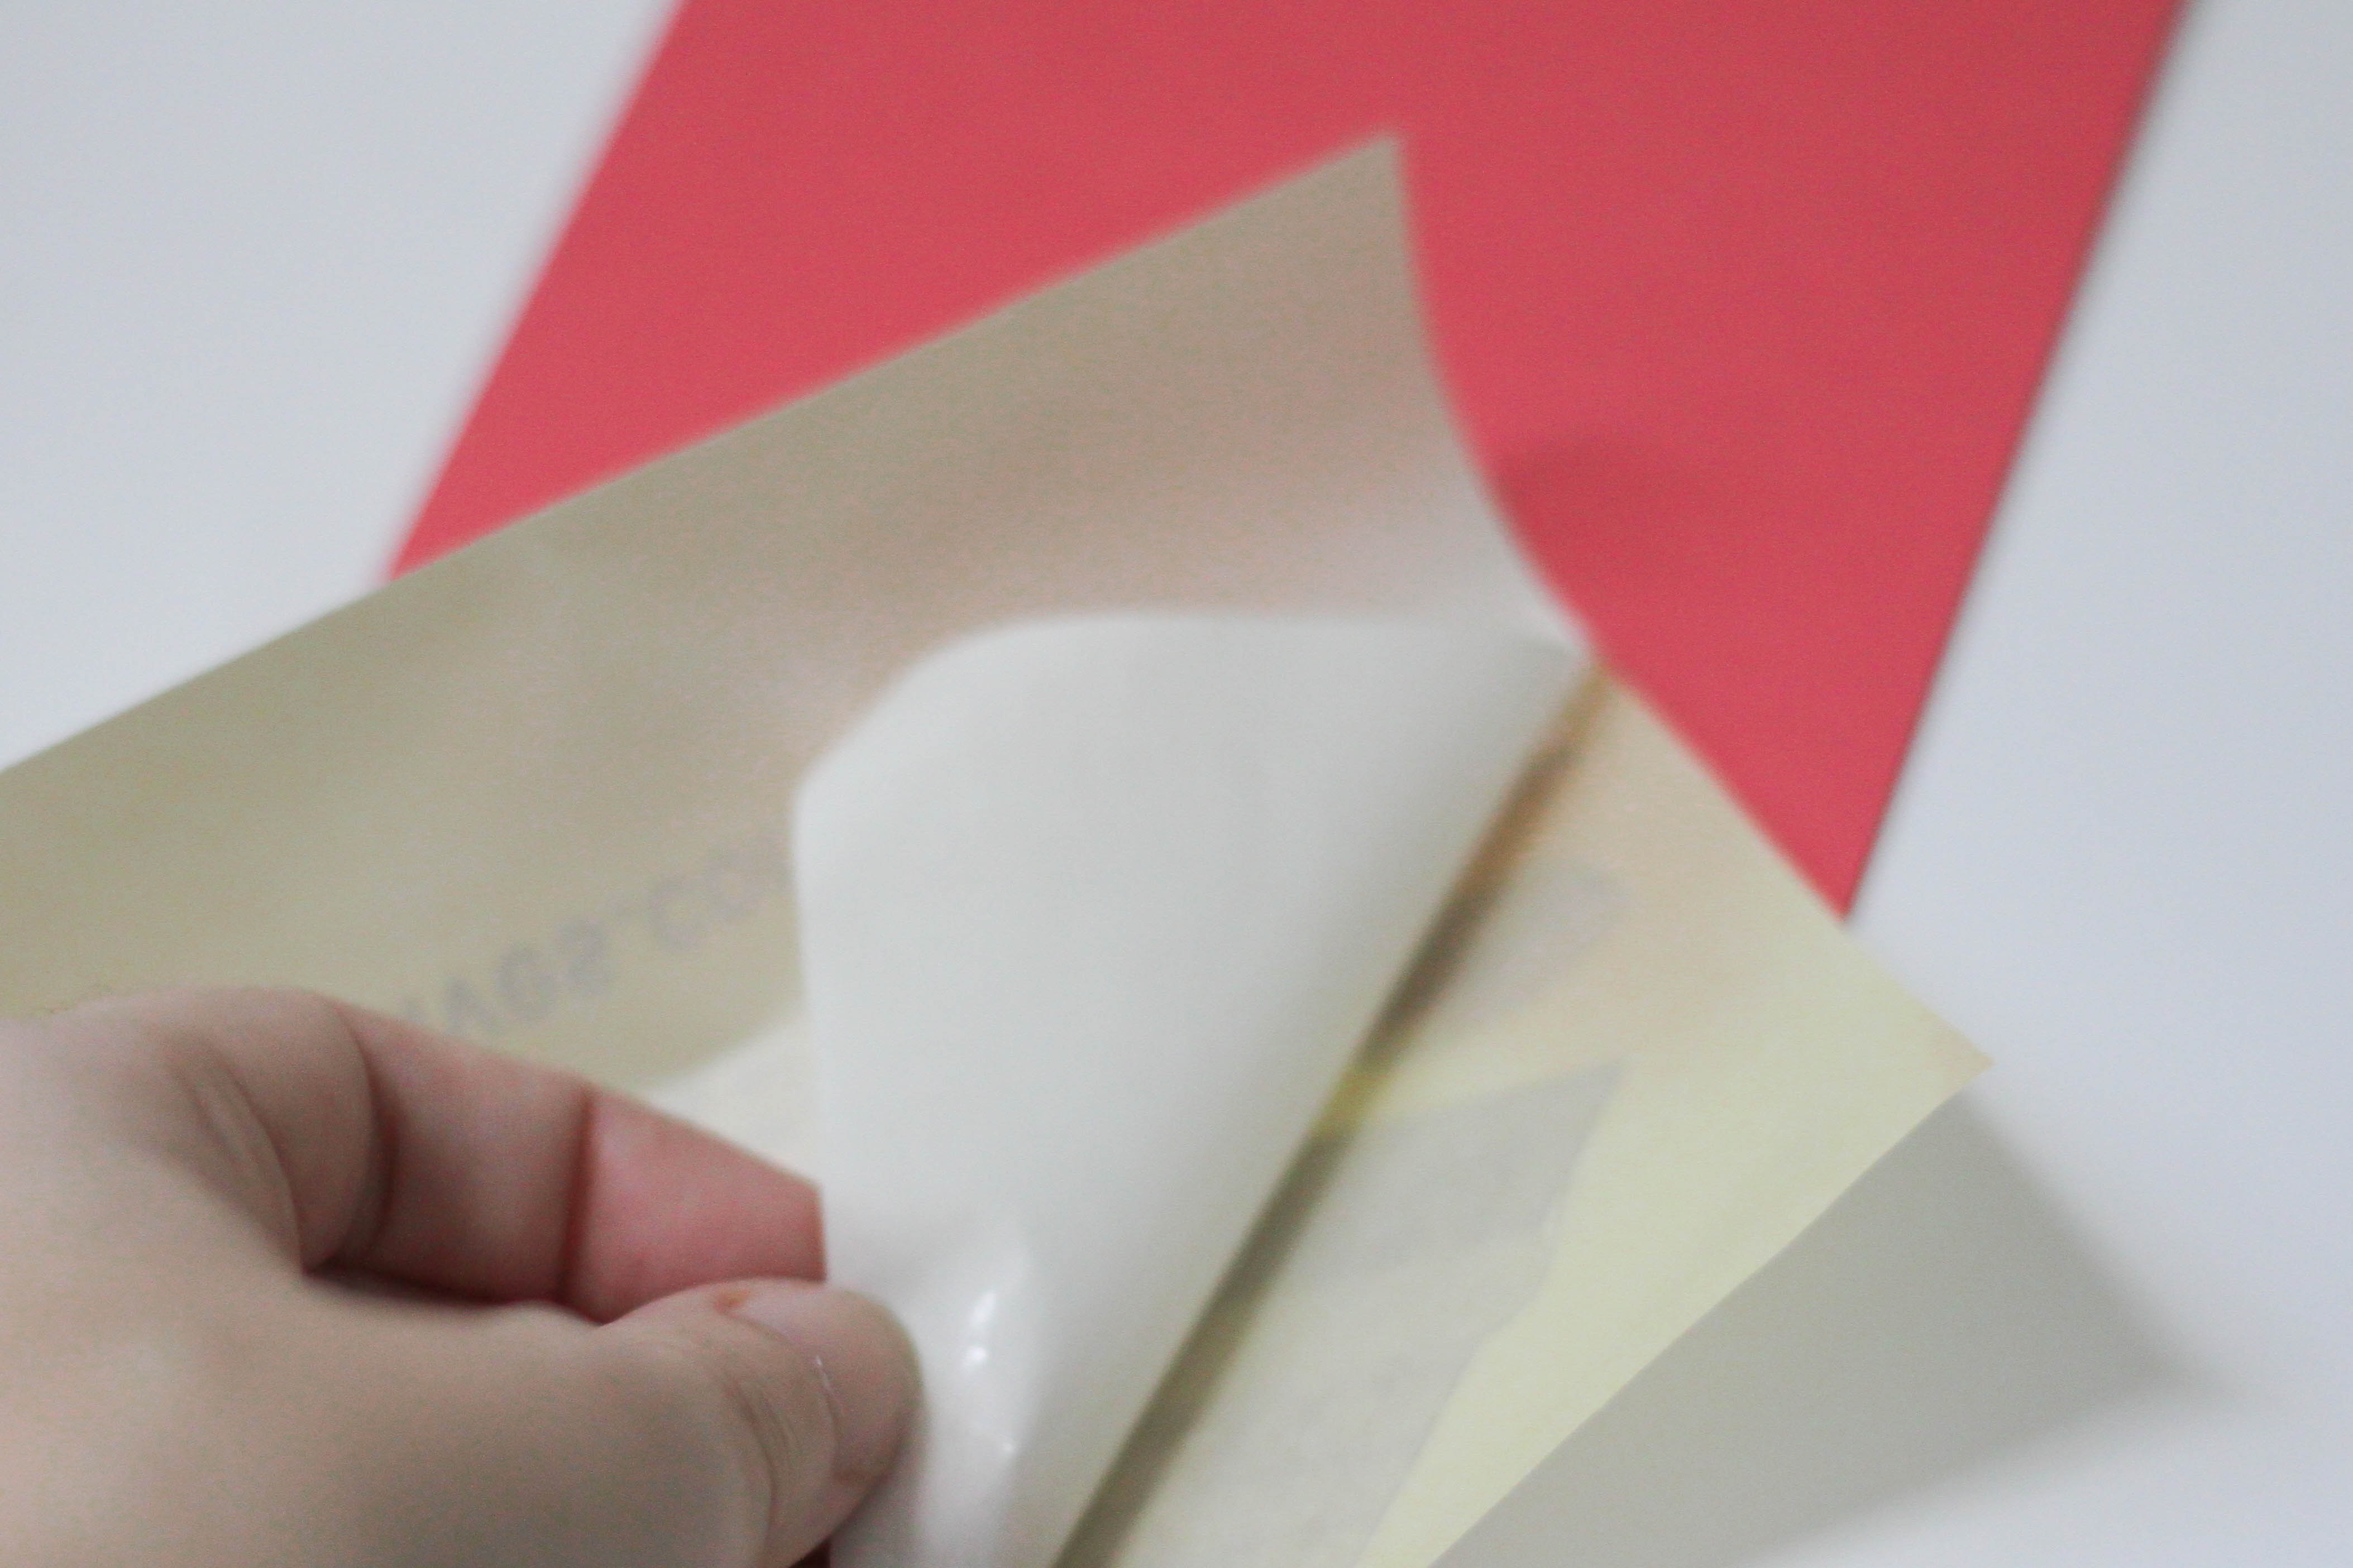 2. Peel off the backing to the adhesive sheet, and adhere it to the cardstock.
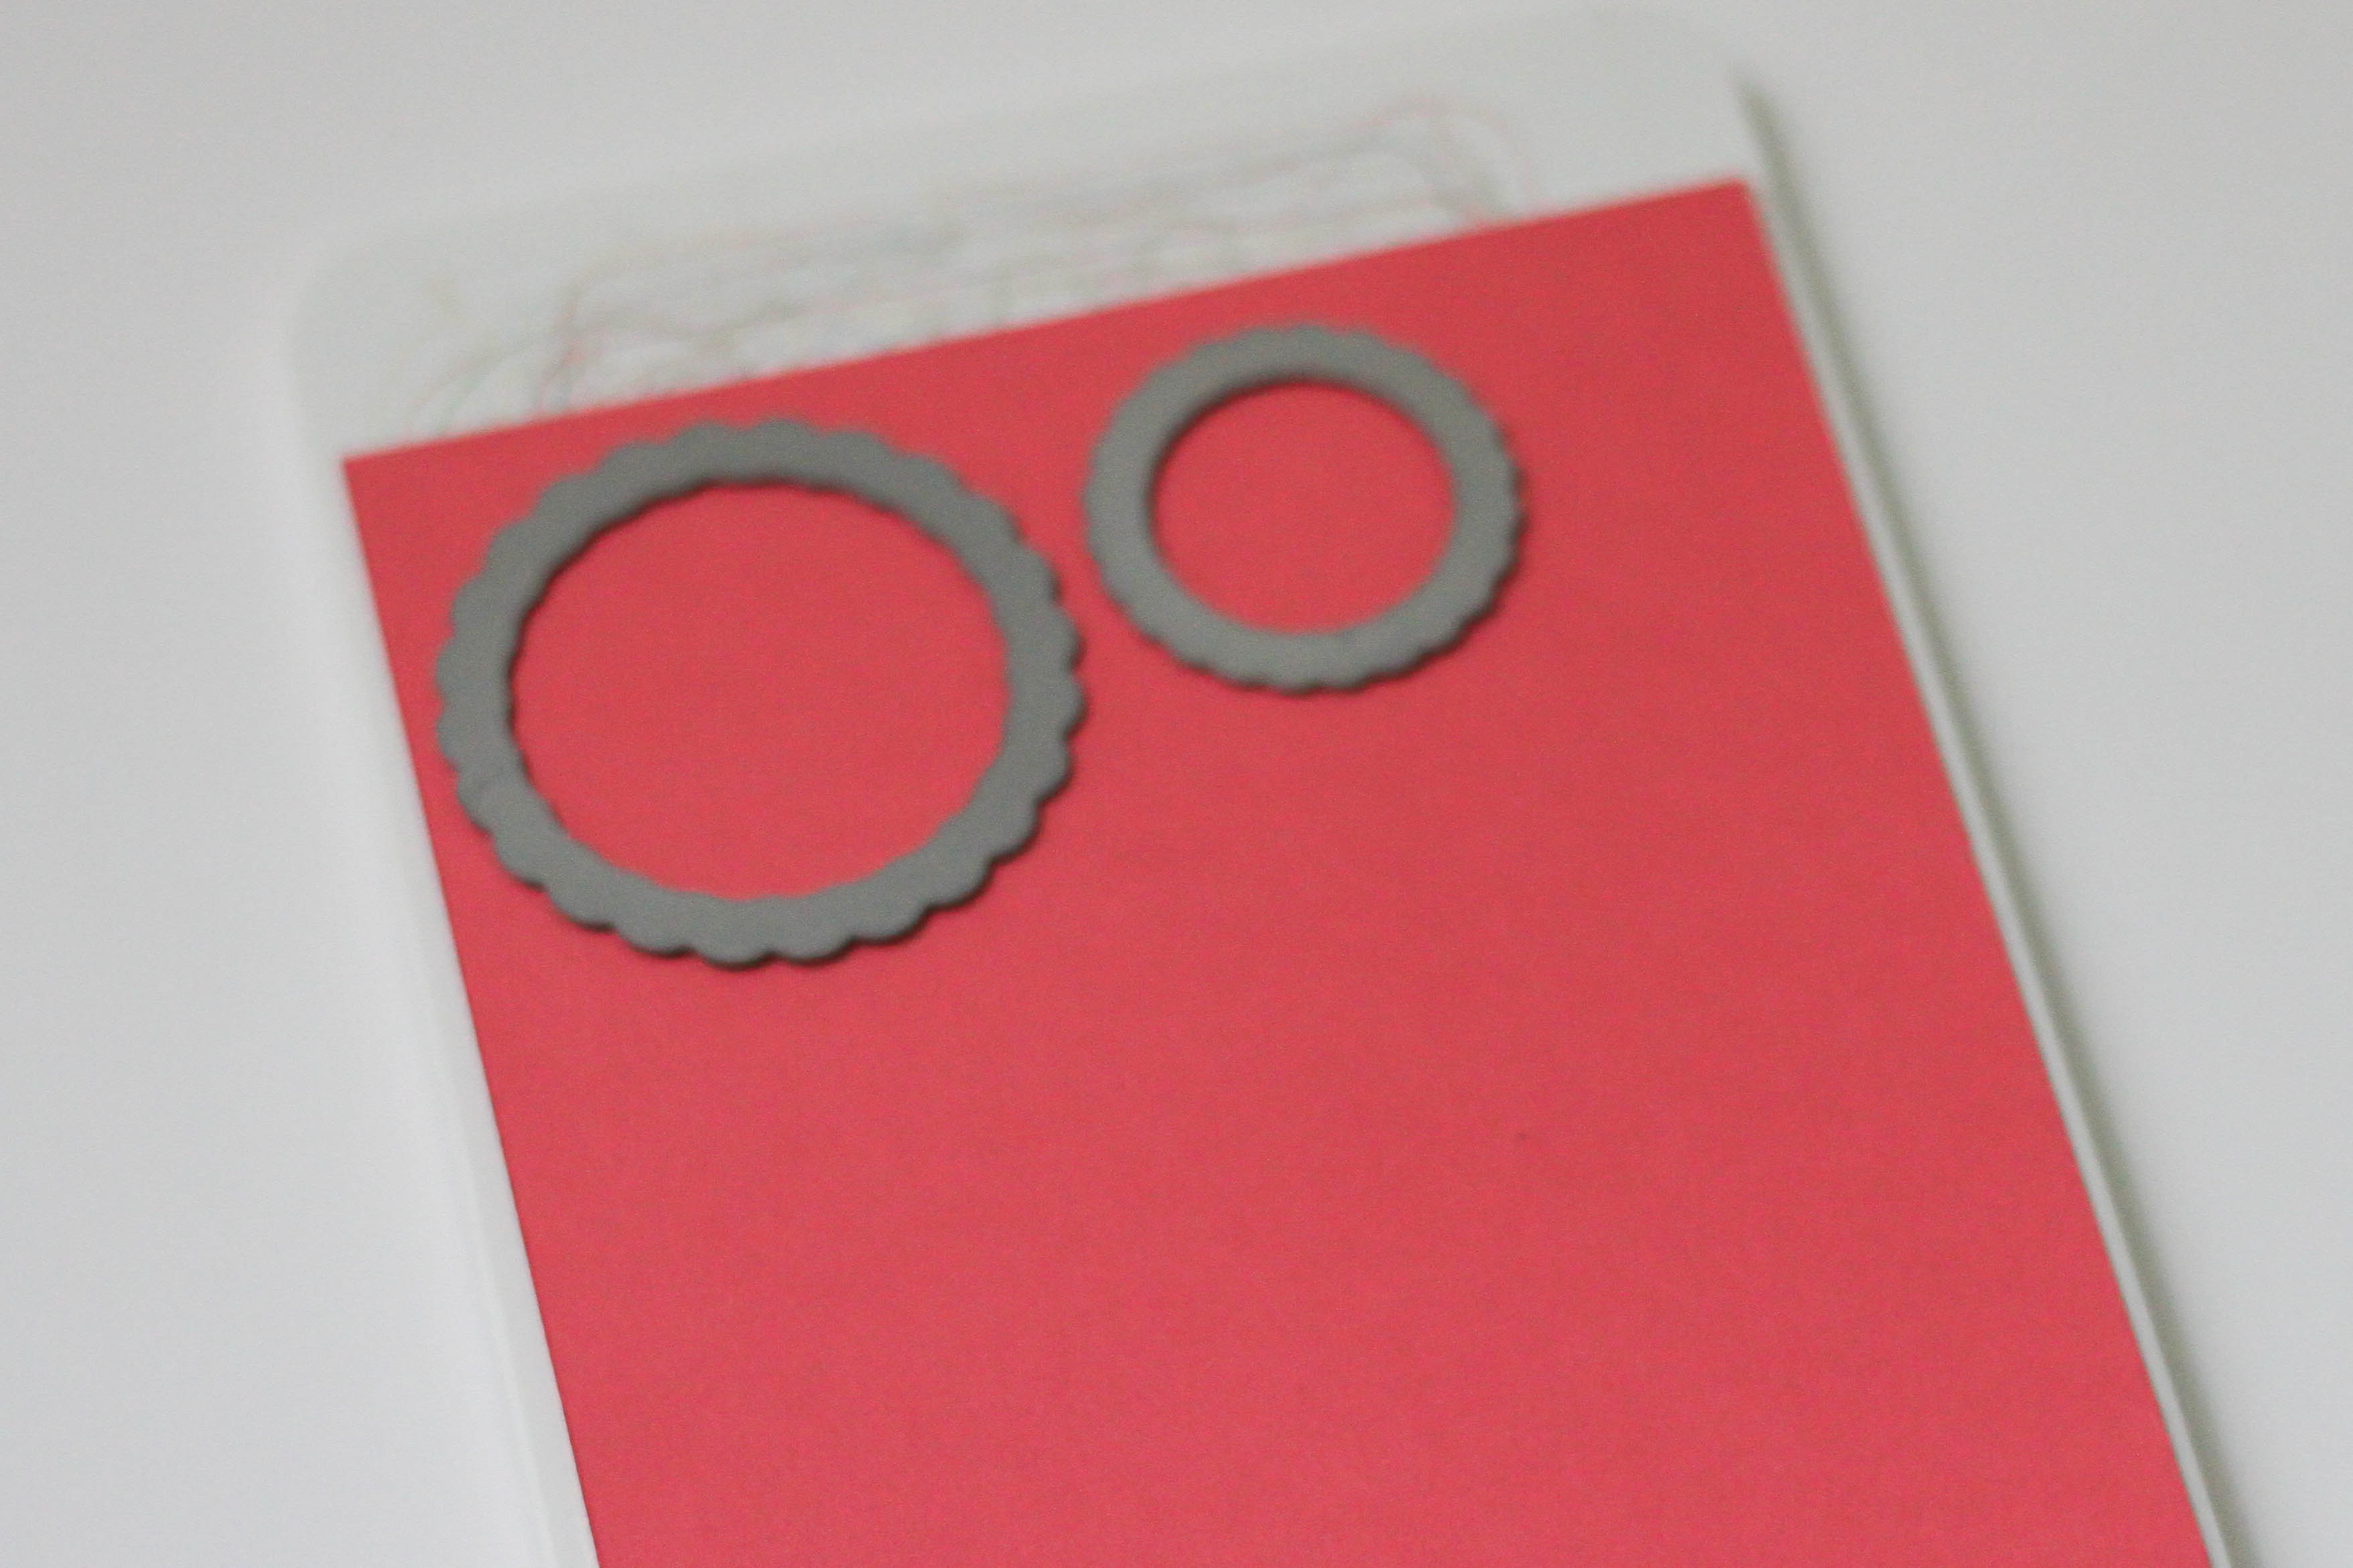
3. The cardstock is now a sticker. Place the die cuts over the card stock, to create scallop circle stickers.
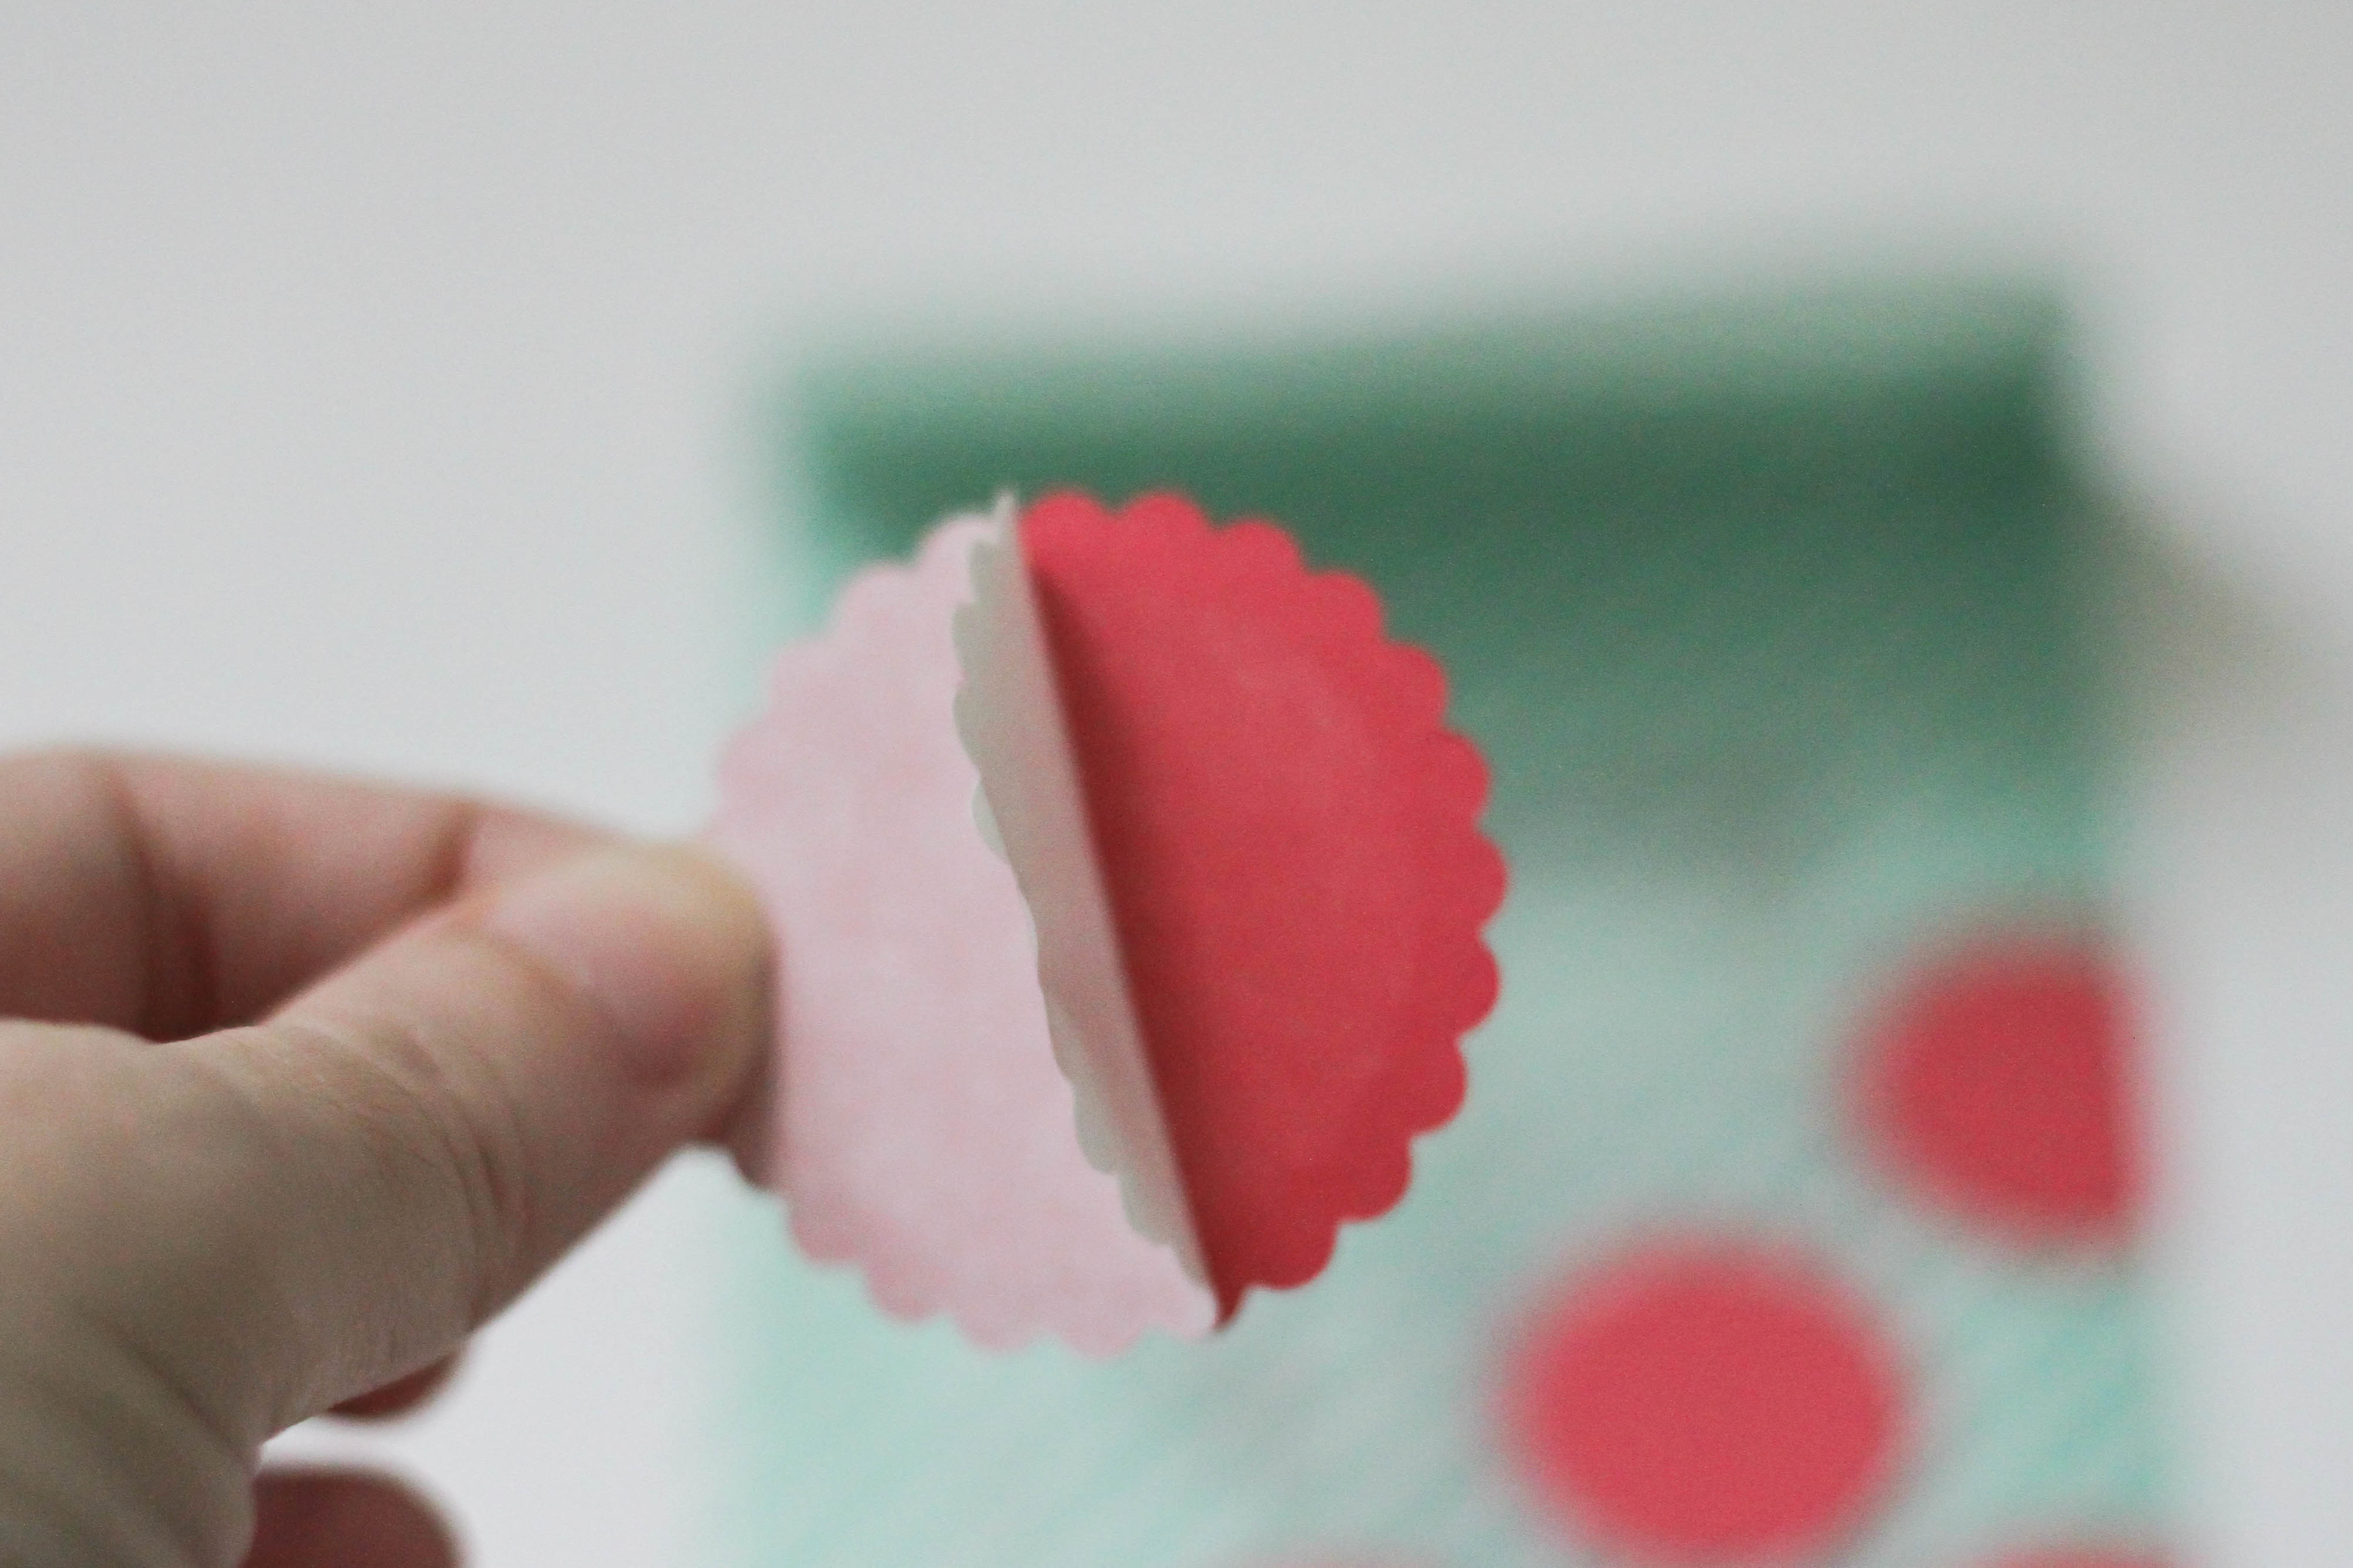
4. Peel off the backing of the die cut, and place it onto the glassine bag.
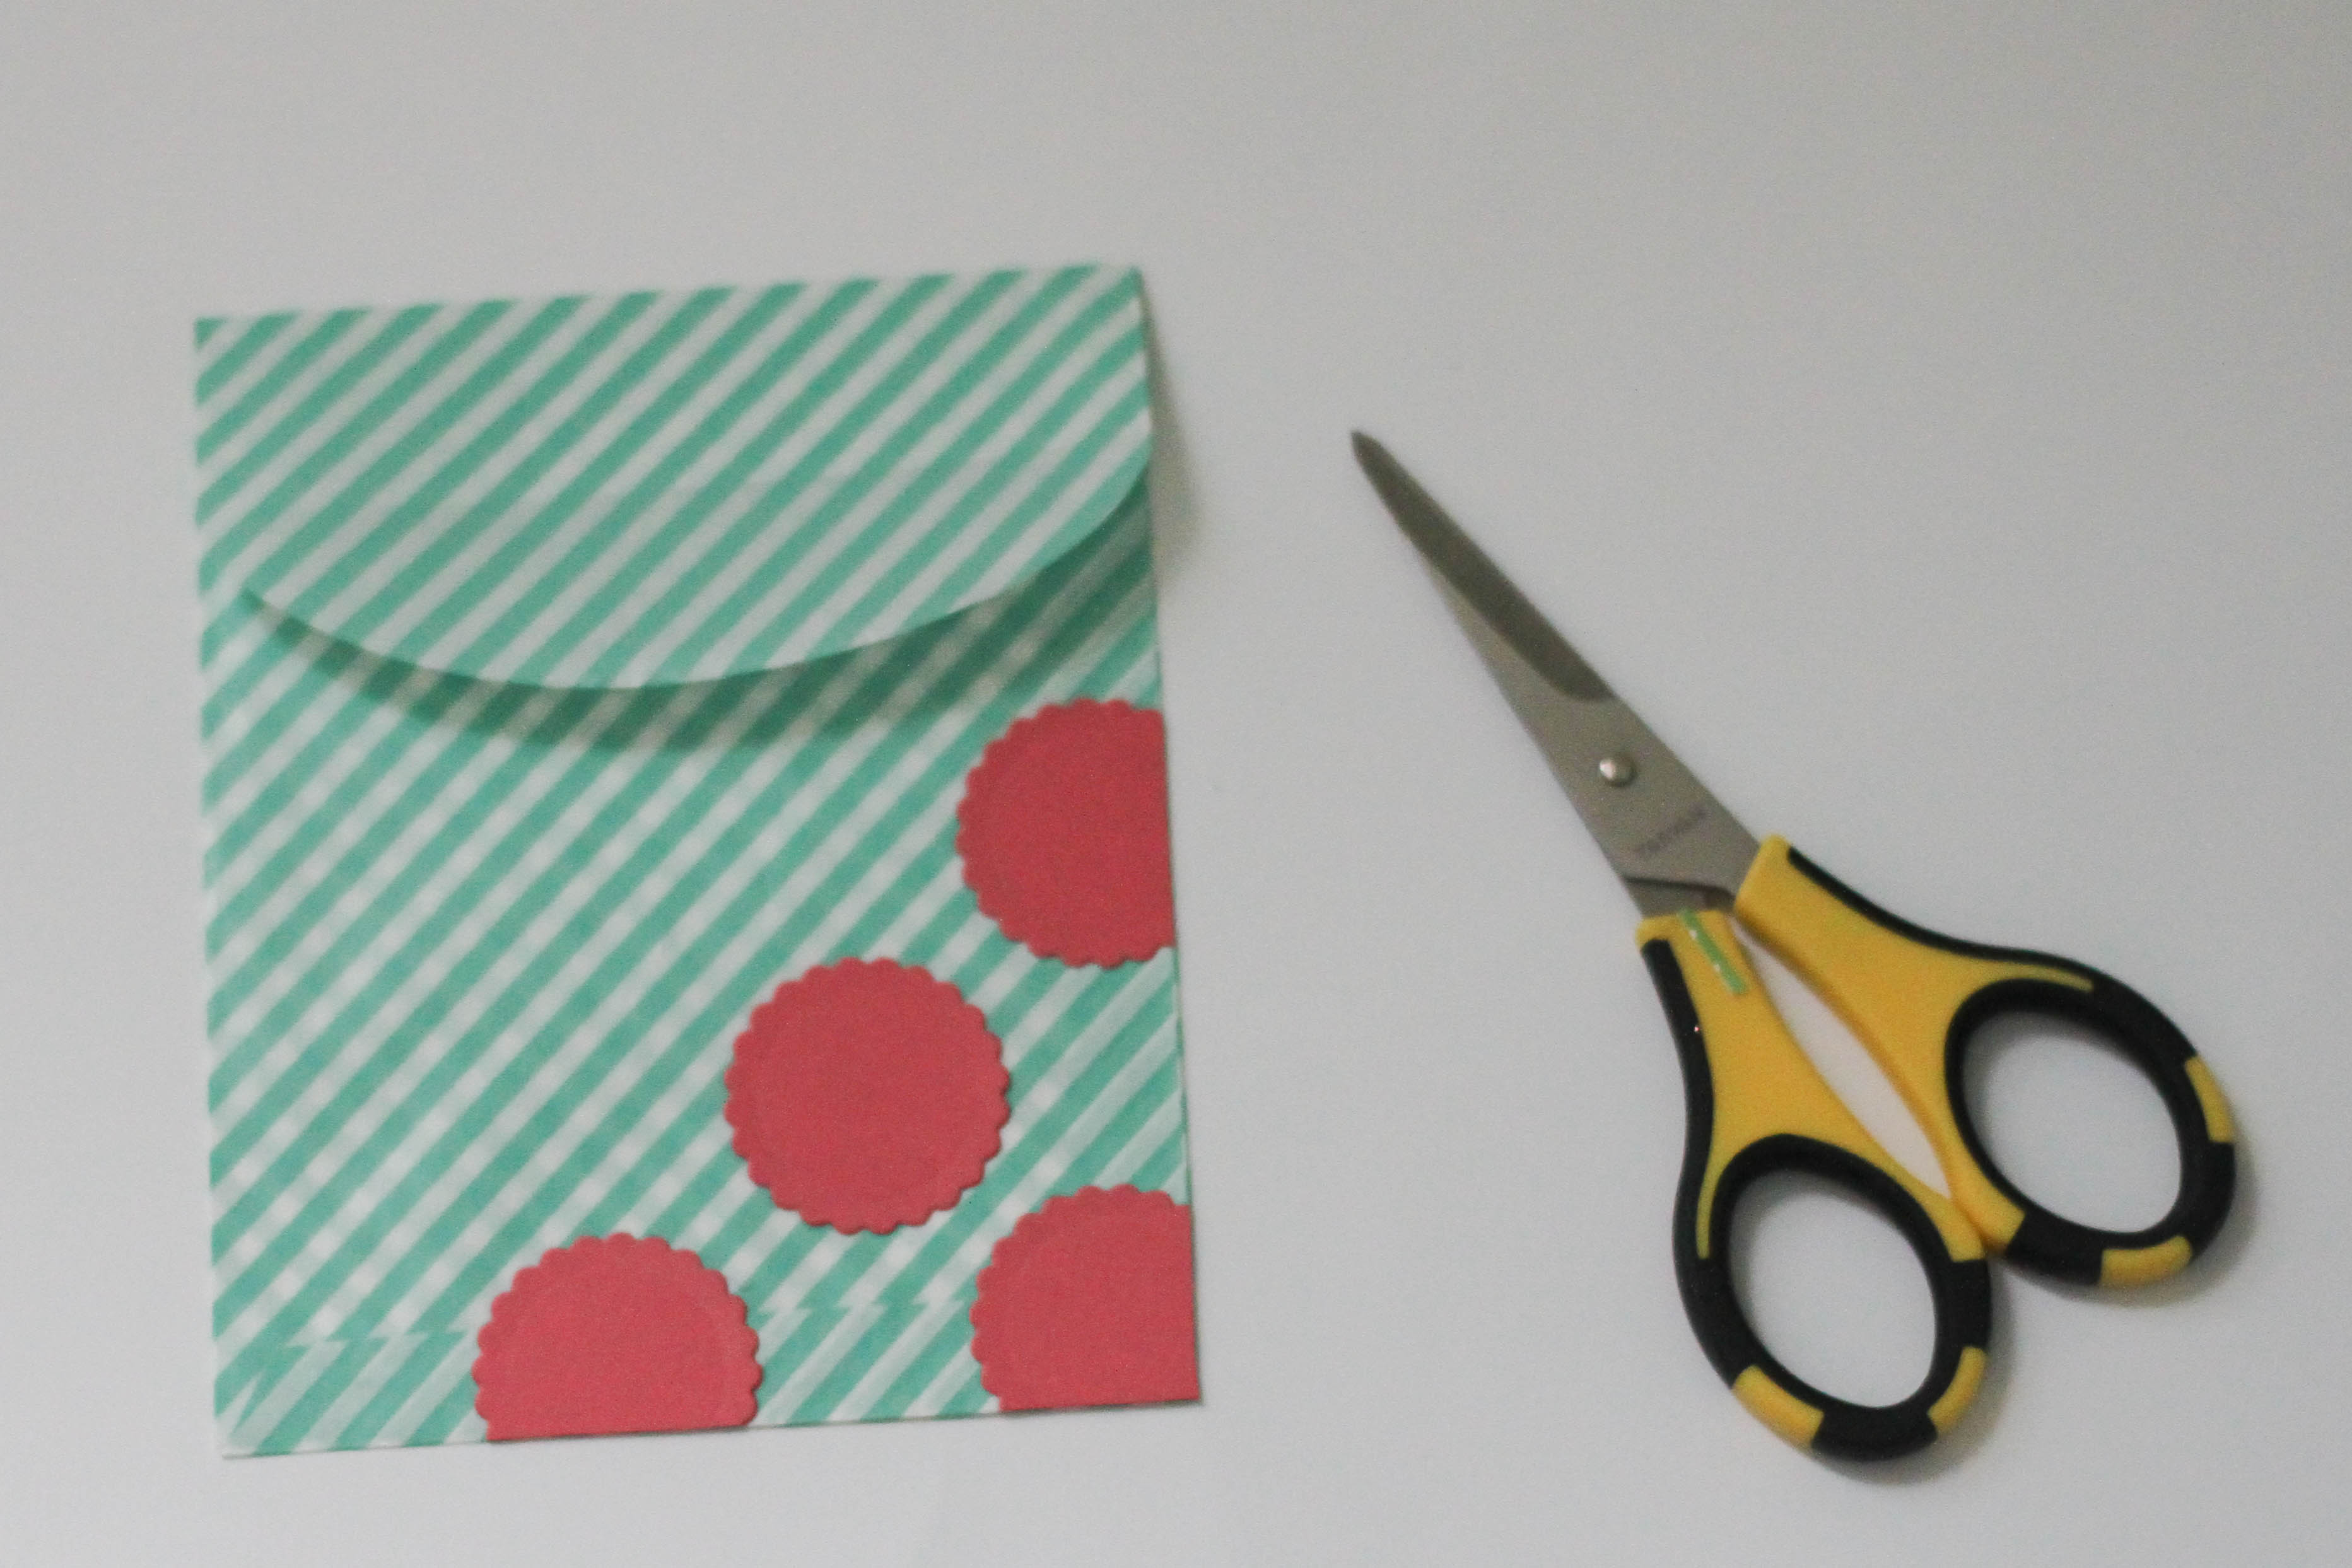
5. Using scissors, trim off the excess card stock hanging off the side of the bag.
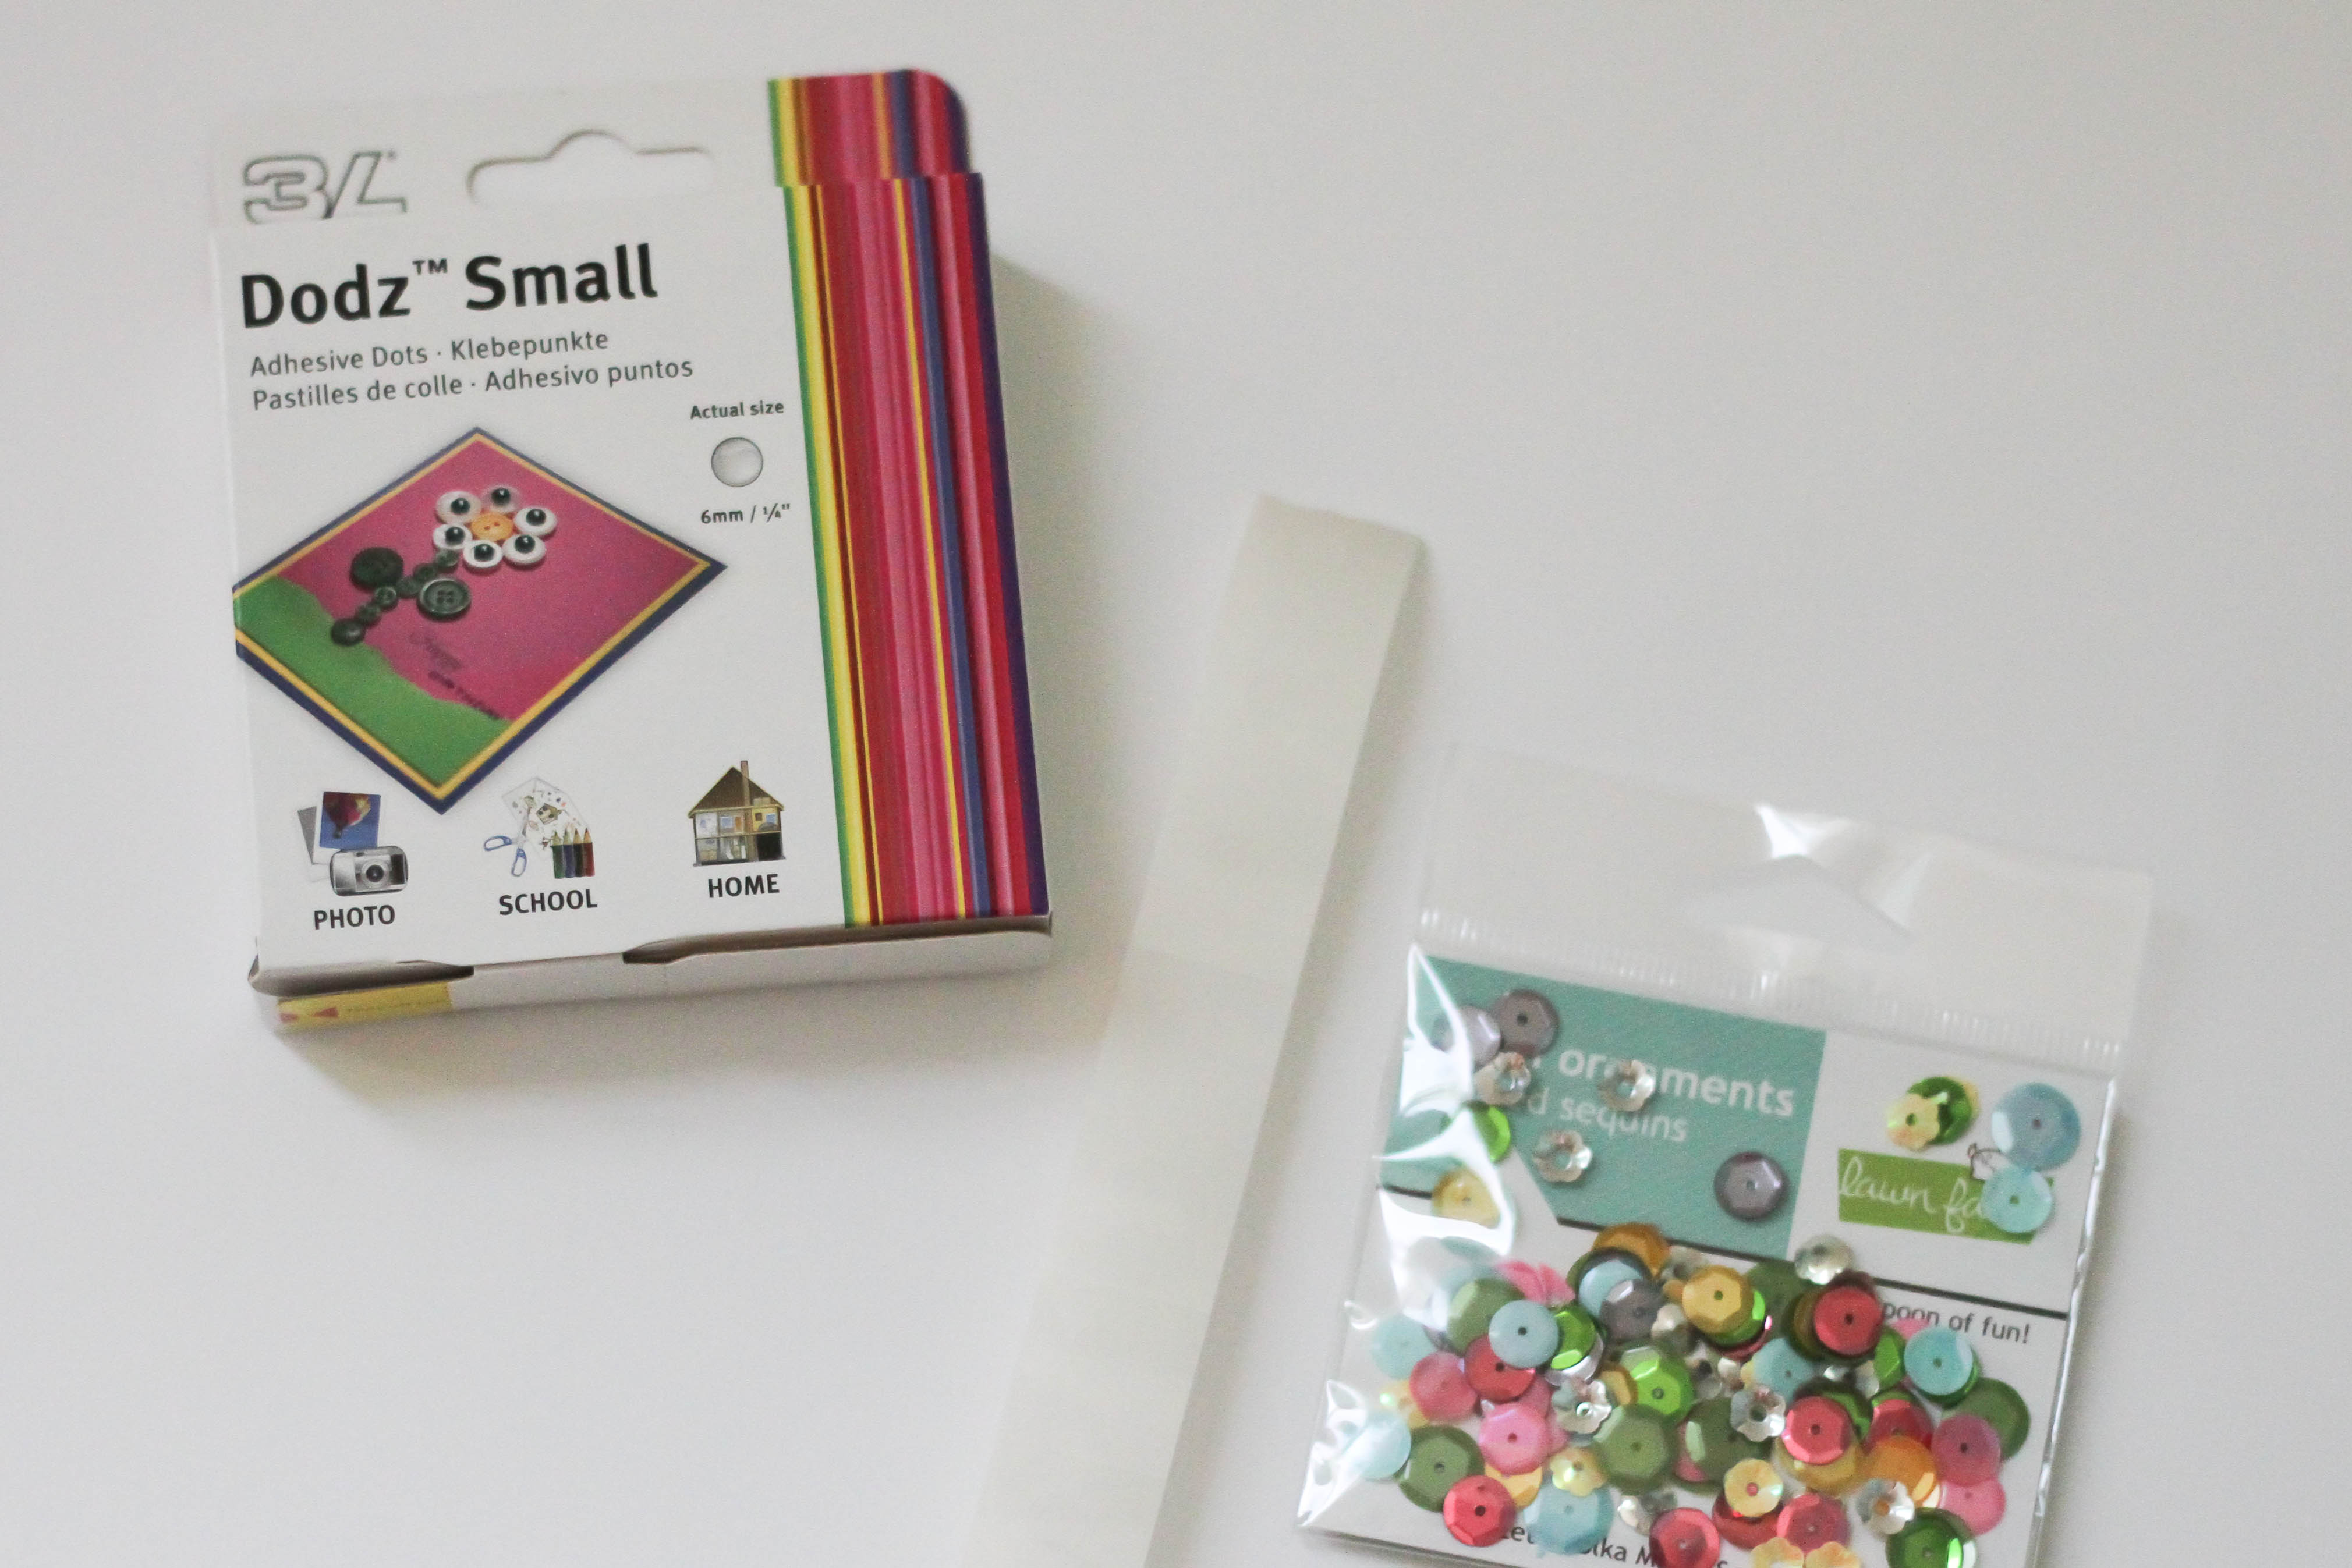
6. Using Scrapbook Adhesive by 3L Dodz Small, adhere sequins to the bag.
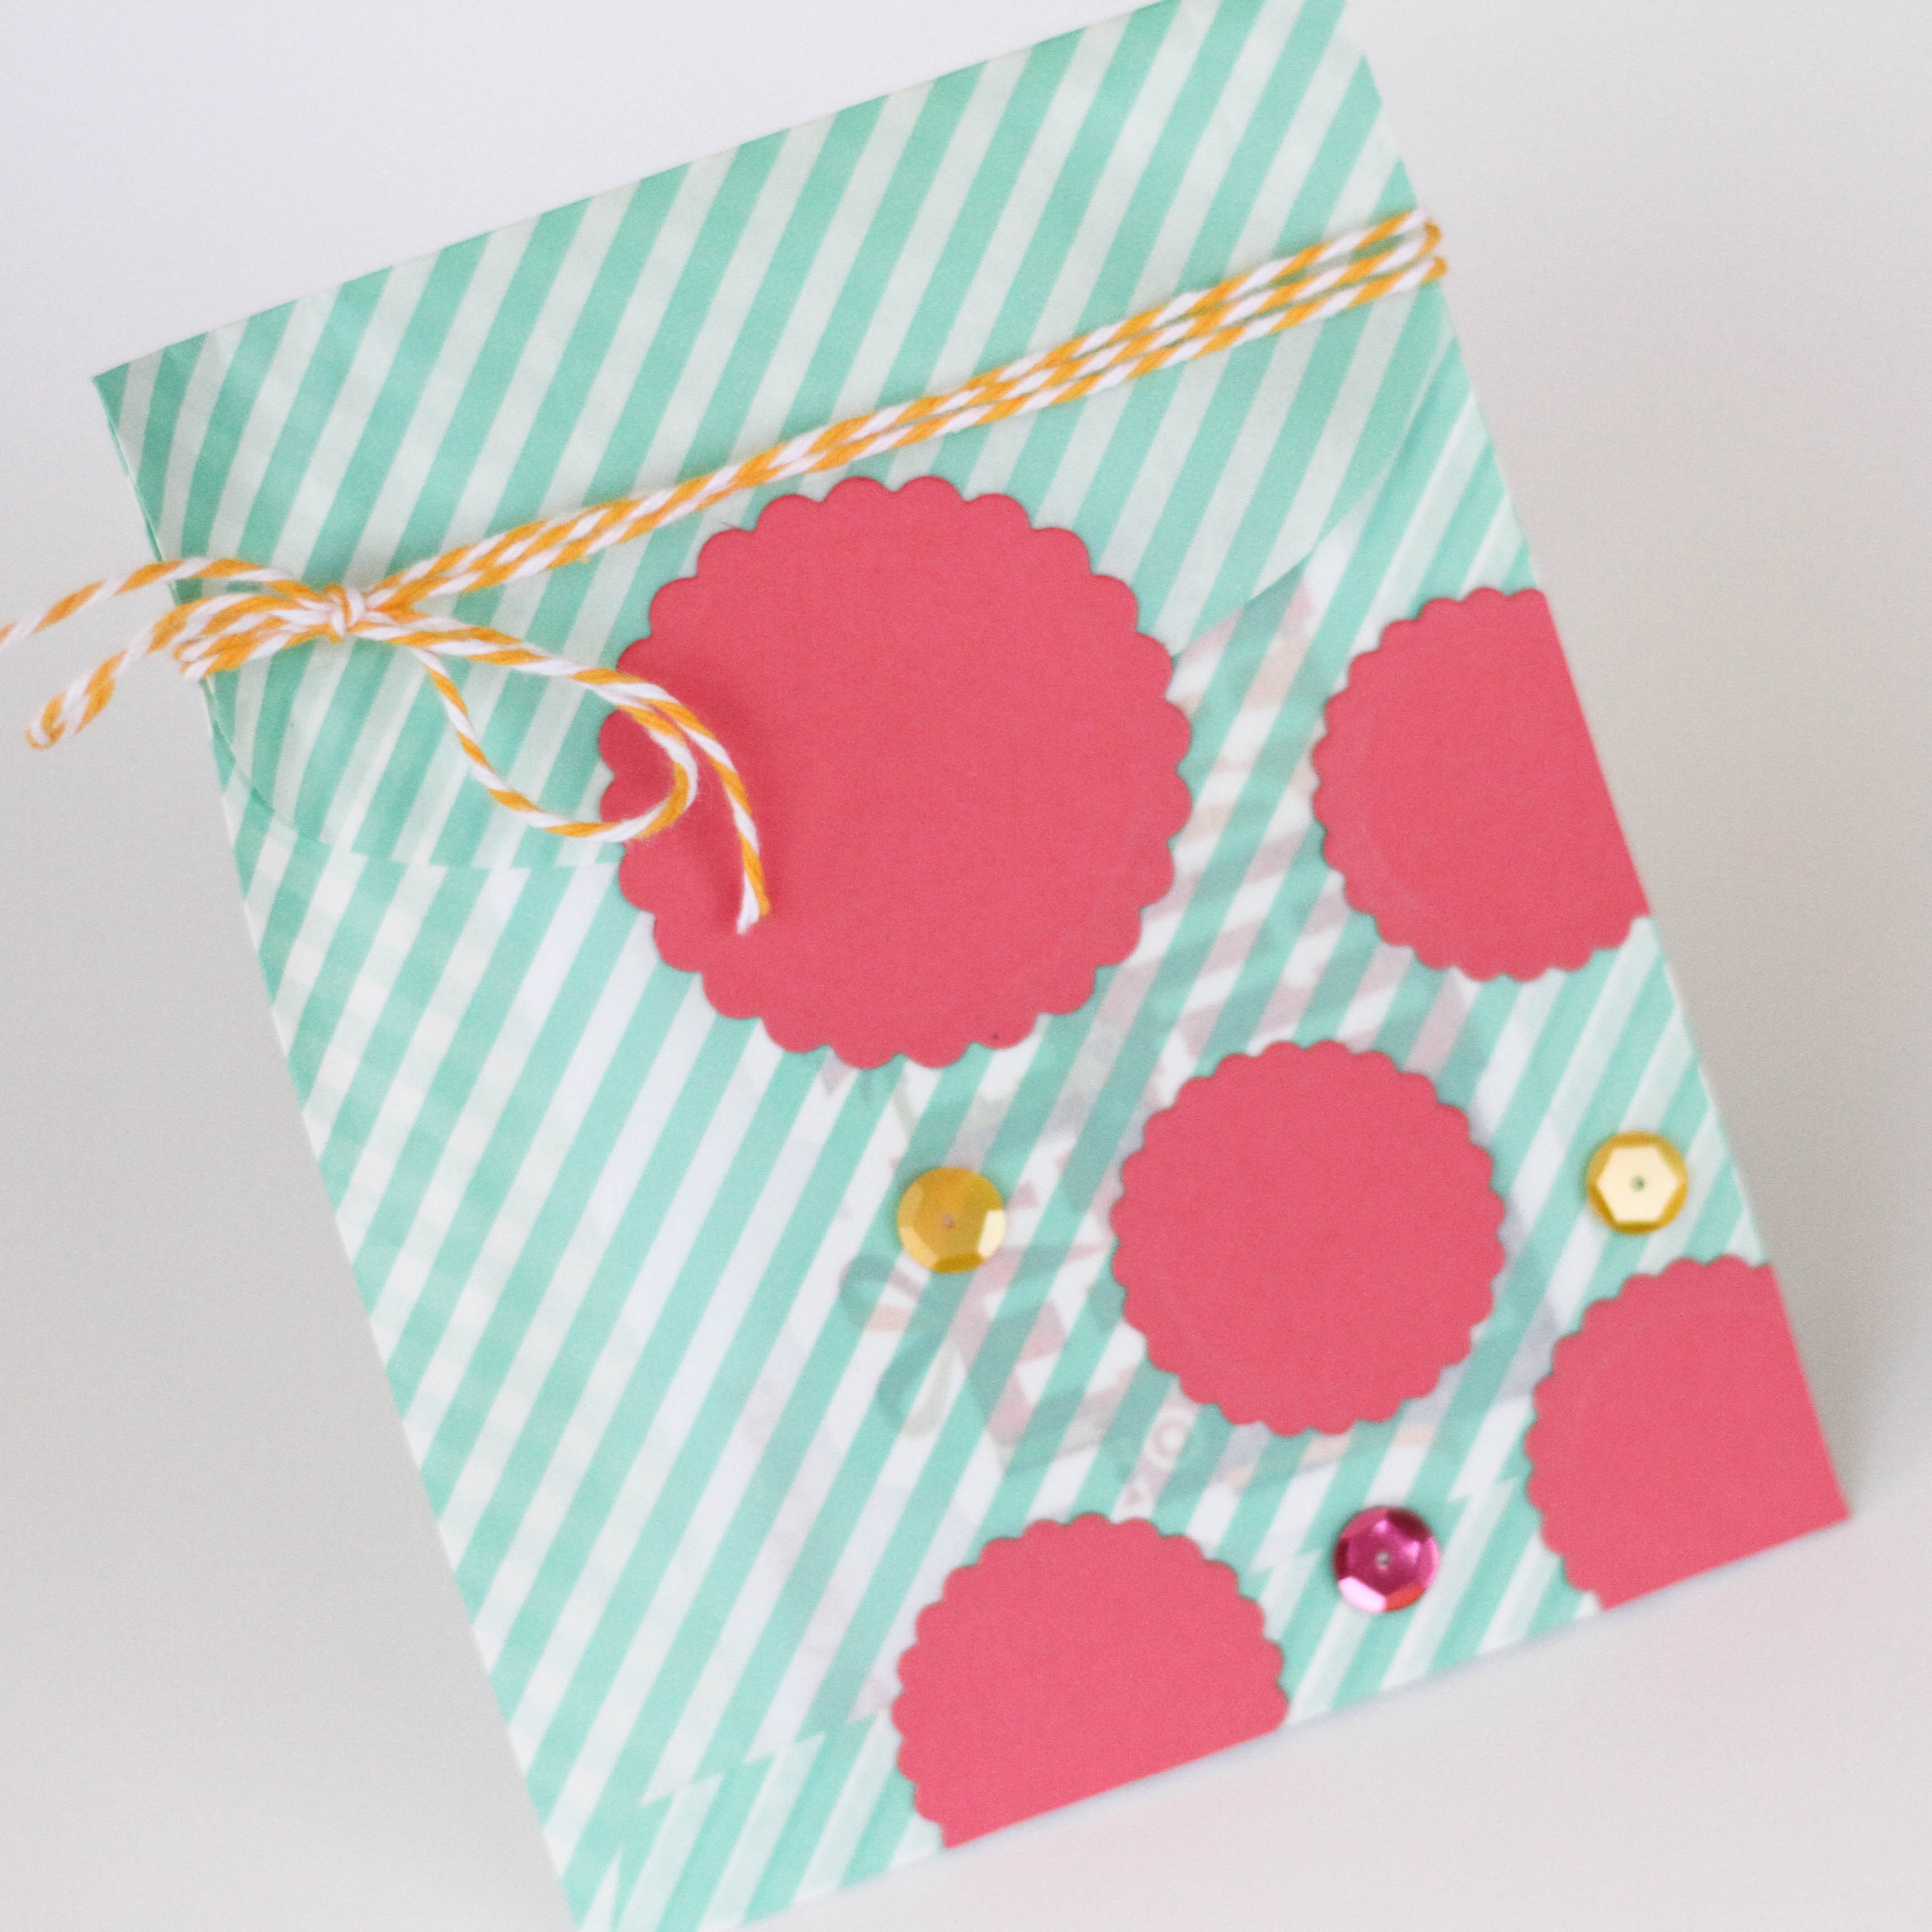
7. Add a larger scallop sticker to close the bag shut, tie twine around the bag to embellish.
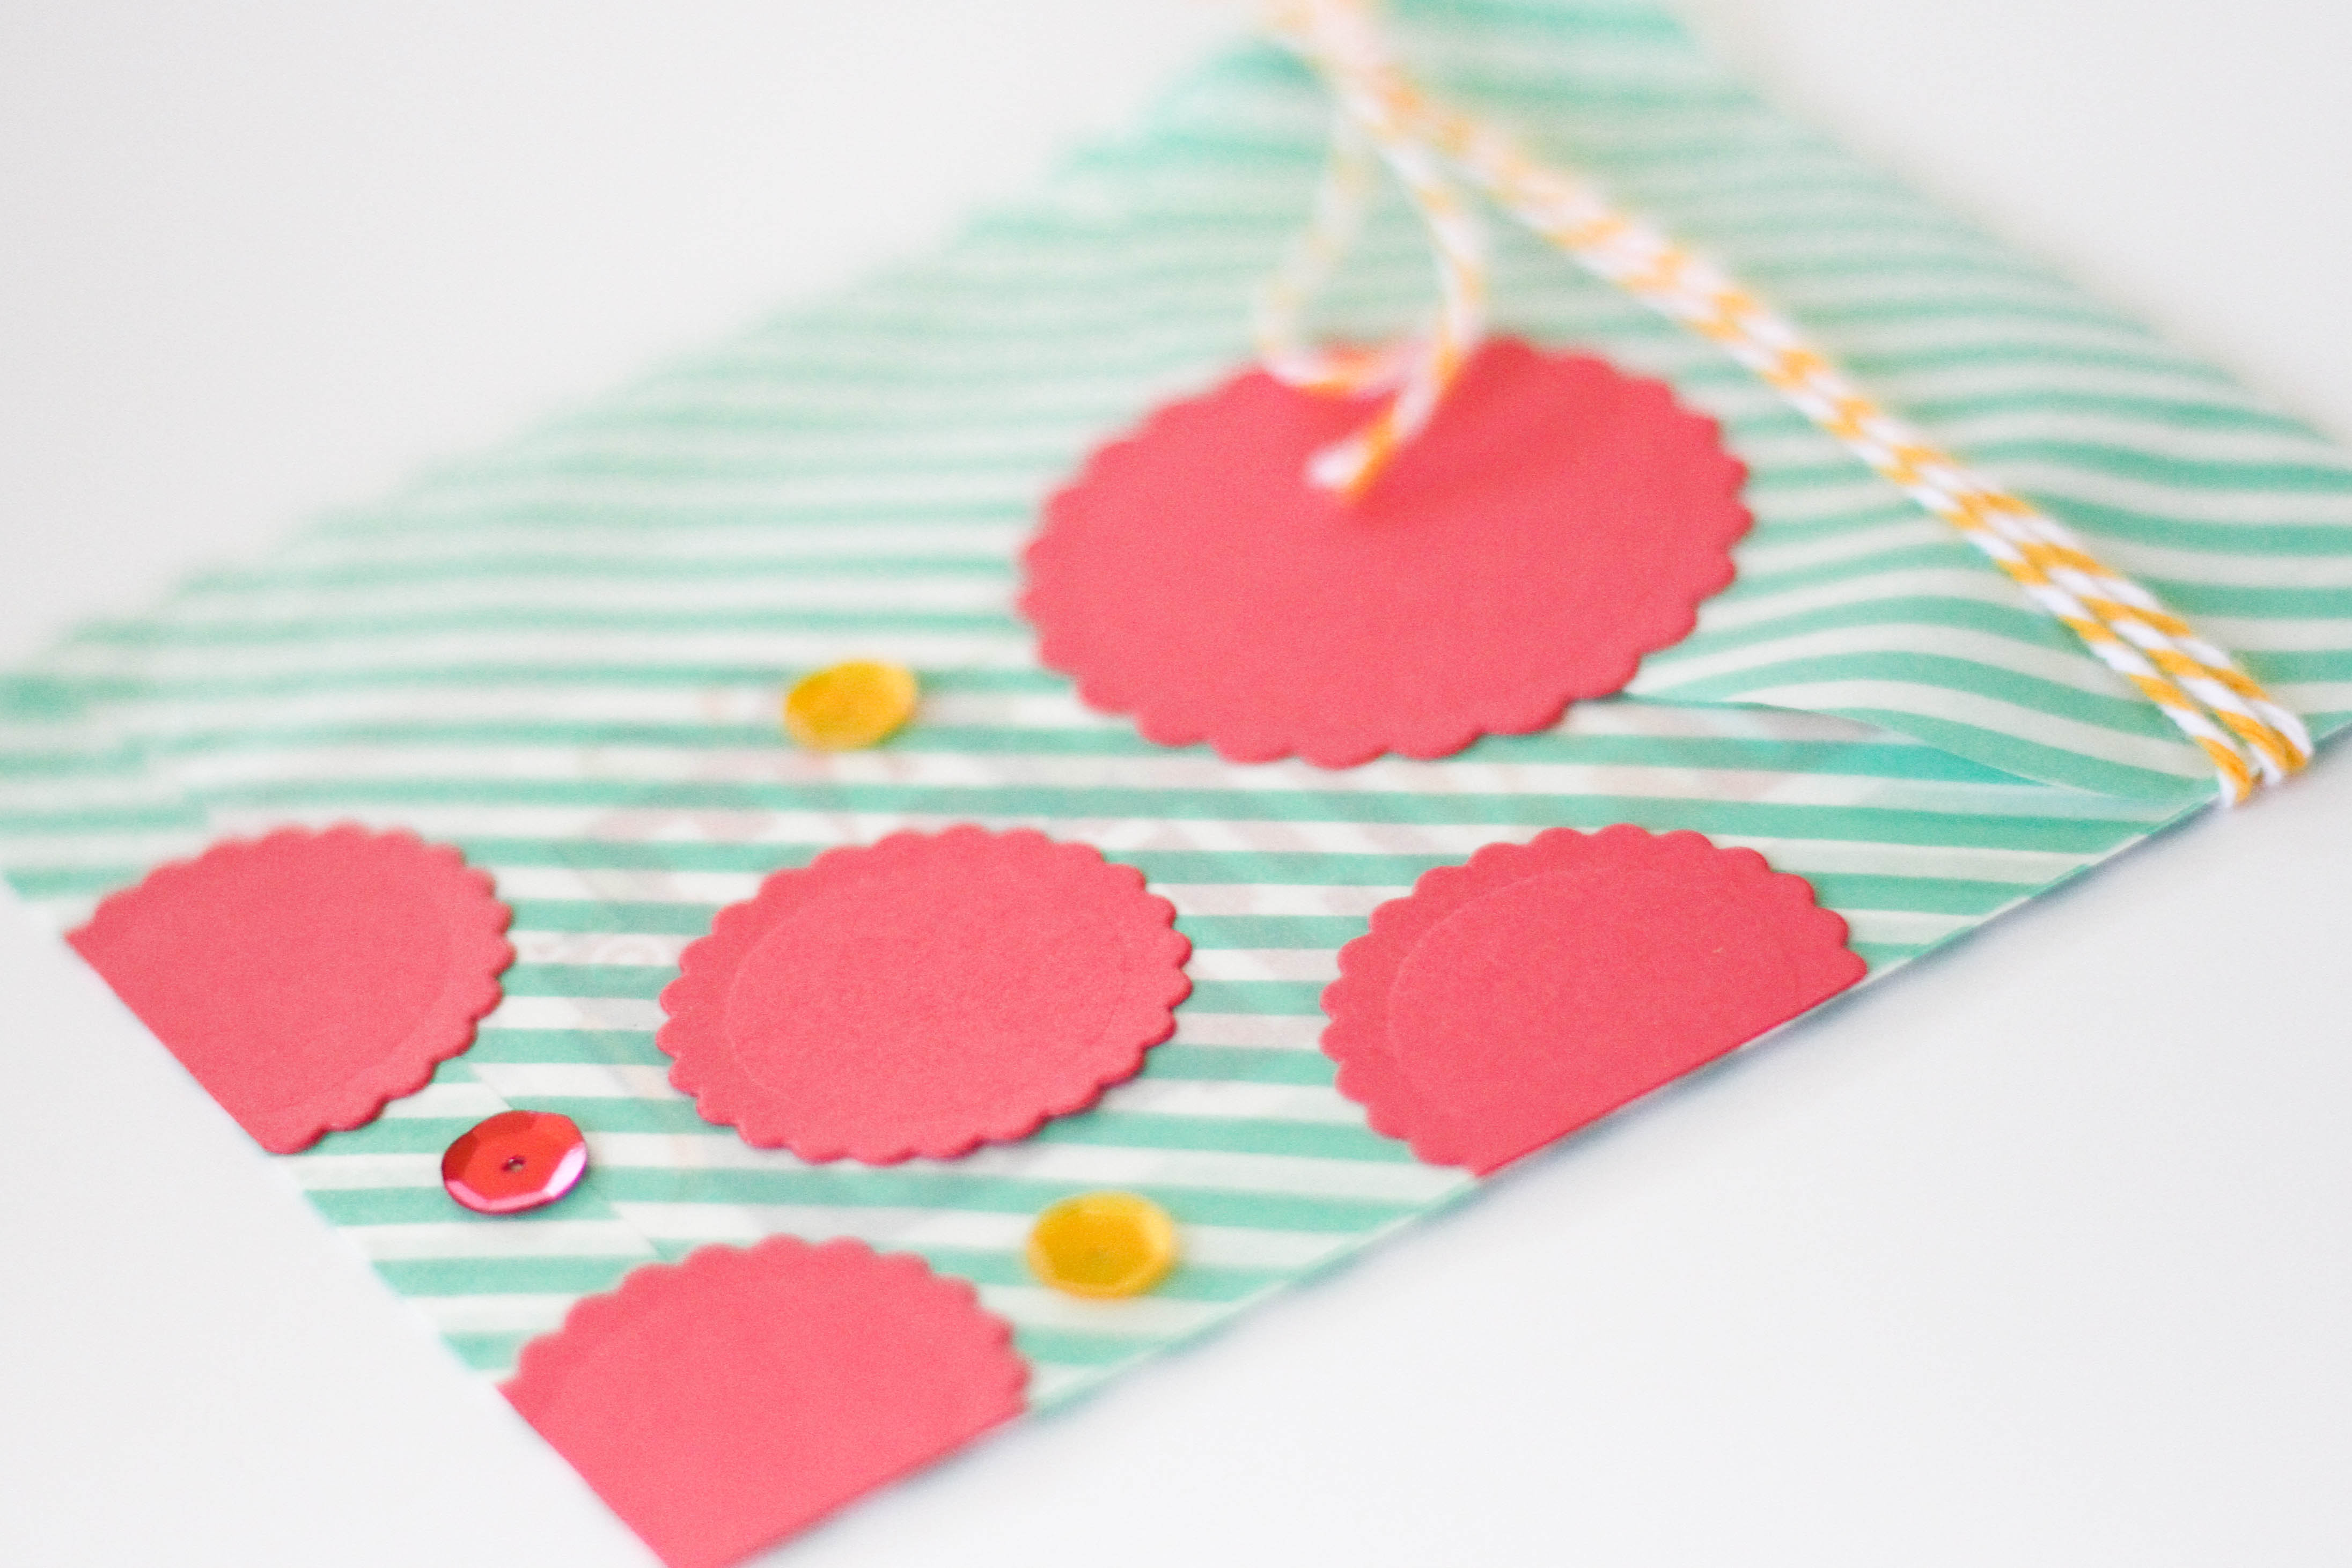 Quick and easy gift card holder.
Materials Used: Scrapbook Adhesives by 3L Adhesive Sheets, Scrapbook Adhesives by 3L Dodz Small, Lawn Fawn scallop lawn cuts, Bazzill card shop pink card stock, Lawn Fawn sequins, yellow twine, glassine bag
By Amante del Papel March 26, 2014 - 11:52 am
beautiful bag!
By Deborah S March 26, 2014 - 2:05 pm
Very clever I’m always looking for new ways to give gift cards this seems to be quick and easy yet has a big impact thanks for listing the steps!