
Please join us in welcoming Lisa Adametz to our Design Team! She’s a talented mixed media artist and we’re so excited to have her with us!!
Hi everyone! It’s Lisa Adametz here with my very first post as part of the Scrapbook Adhesives by 3L® Design Team. I’m super thrilled to be a part of this team, working with this VERY talented group of ladies, and to work with the fabulous products. I still feel like I’m dreaming. 🙂
A little tiny background on me: I live in the Bay Area of California, but hail from the desert of Las Vegas and will always consider myself a desert rat. I can’t start my day without coffee (who’s with me?!) and have been known to drink it at night, too. A wee bit addicted. I’m a very proud veteran of the United States Air Force. And while I didn’t retire I loved every single minute of serving this beautiful country. I don’t have kids…I have cats. Oh! And I looooove to get inky, painty, and artsy!
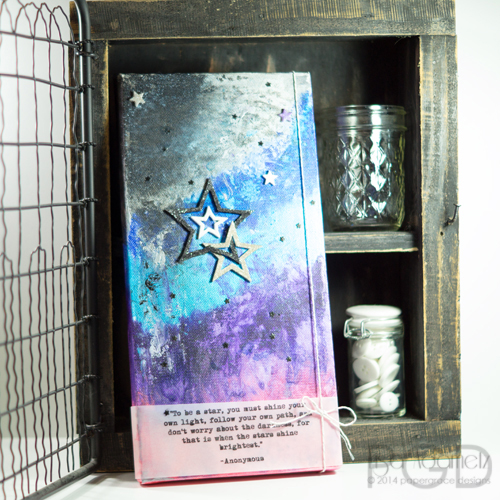
Which brings me to my first project for you. I couldn’t wait to get my hands on the amazing 3D Foam Designer Shapes. There are so many fun things you can do with these. I chose to make a canvas:
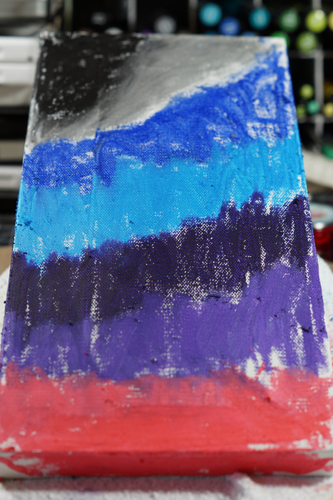
First, I started by covering my canvas in various colors of Gelatos® using a VERY heavy hand.
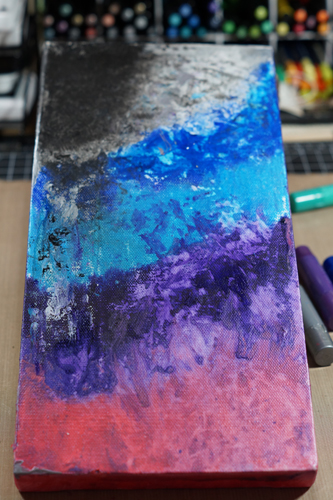
 Next up I sprayed the canvas with water and allowed the Gelatos® to drip, mix and blend. I used a lower heat Heat Tool to assist in the drying process.
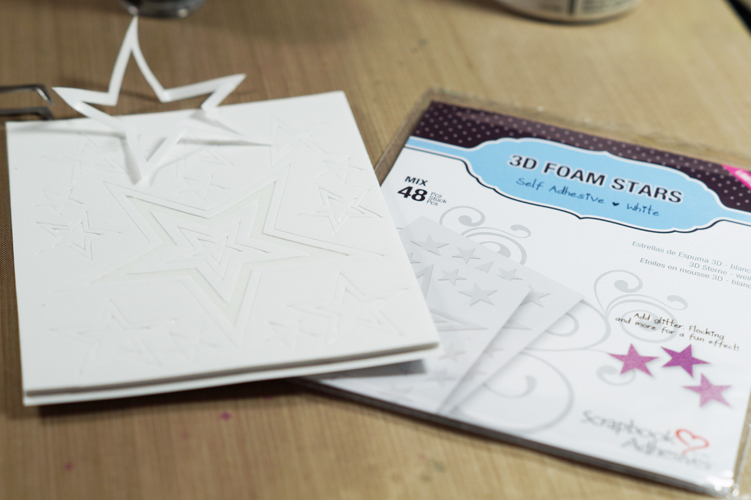
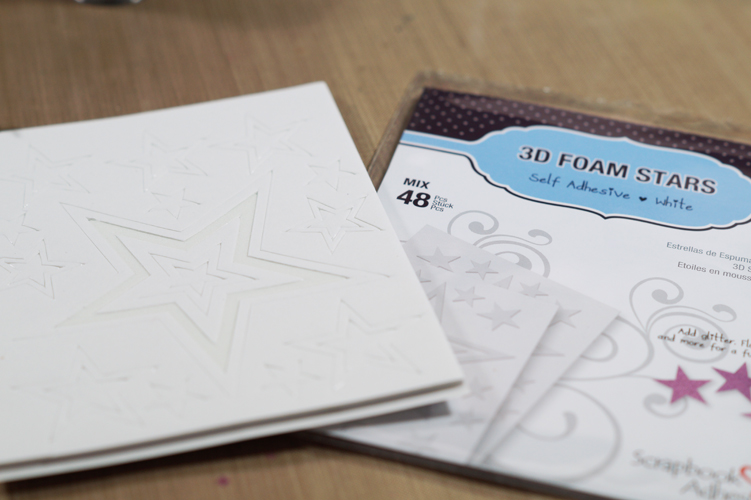
 Once the Gelatos® are all nice and dry (or while waiting!) then it’s time to move on to the “star” of the show, the 3D Foam Stars.
I used tweezers and pulled off the liner of the size of the first star shape I wanted to cover with glitter.
Once the first liner paper is removed I can start getting glittery (and messy!). Since the adhesive is exposed I can shake glitter onto the shape and it will adhere only where I want it. How perfect is that?
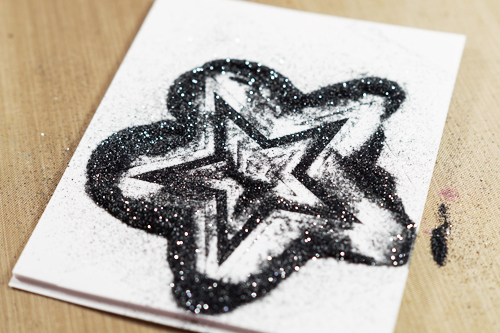
In my opinion it’s super helpful to burnish the glitter into the adhesive. It keeps the glitter from going all astray. And the adhesive really holds it all together! I did this with both of the size stars that I wanted to use.
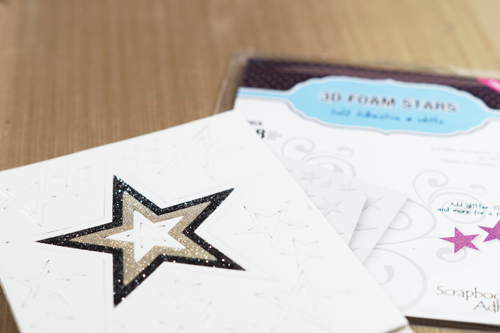
(I repeated this step for the other 3D Foam Stars that I used for the canvas, as well.)
I applied the 3D Foam Stars to the front of the canvas. I made a cut in the smaller star so that could intertwine. Due to the strength of the adhesive this cut isn’t even visible.
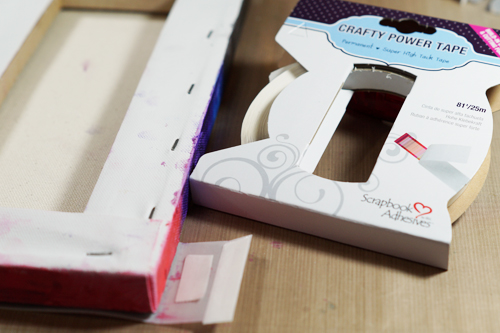
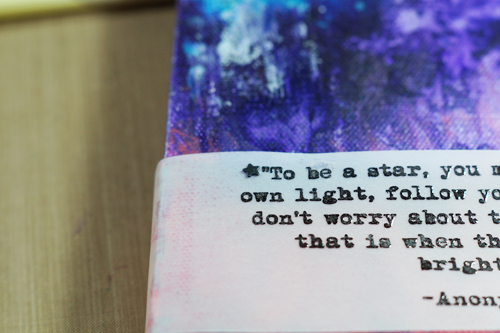
I typed up a sentiment on my computer and heat set it with clear embossing powder. When I wrapped it around the canvas I knew I needed something with extra holding power to keep in place so I used some Crafty Power Tape to hold it down. Forever. 😉
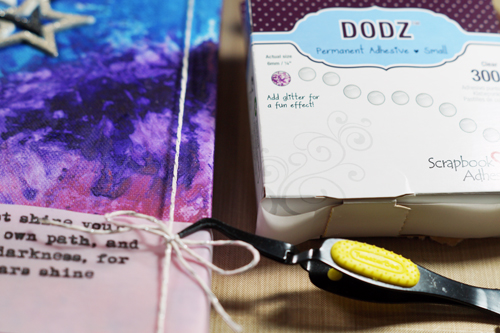
 I added some Lawn Fawn twine on the right side of the canvas and to hold the twine and the bow in place I used my super handy DODZ™ in the small size. I looooove these! Love that they’re on a plastic backing.
Of course, this being a canvas I could have called it done. But, I didn’t. I wanted to add MORE stars. So I die-cut some teeny tiny ones and then cut a square out of a piece out of my Adhesive Sheets (everyone needs this…seriously!), put my teeny stars on the sticky part, burnished the top layer over them, and I have the perfect adhesive on them. Love this!
 Now, if you stuck with me through my VERY long tutorial you deserve a reward, but how about a virtual hug instead? 😉
I hope I’ve inspired you to see your adhesives in a new way!

Supplies:
Other Supplies: Gelatos®, PITT Artist Stamper’s Big Brush Pens, Design Memory Craft Paper Crafter Crayons (melted), Lawn Fawn Trimmings, Die-Namics, Zig/Kuretake Wink of Stella – Clear, Glitter.
Visit our Website and Blog!
Sign up for our Newsletter so you never miss a contest or giveaway!


By MargieH May 11, 2014 - 12:03 pm
Cool project – great tutorial!
So stinkin’ excited that you will be joining Scrapbook Adhesives DT!!!
SO MUCH TALENT – looking forward to more of your amazing projects 🙂
Congrats~!!
By Asia King May 11, 2014 - 4:22 pm
Woo hoo! Welcome to the Team, Lisa! Beautiful start with this fantastic mixed media project!
By Ashley N Newell May 12, 2014 - 12:14 am
This is beautiful! I love Lisa! What a great addition to the team!
By Sheryl Sharp May 12, 2014 - 3:11 pm
Awesome tutorial, beautiful project Lisa!