Hello blog readers! It’s Angela here today, posting a tutorial on how to create your own background stamps and then use them to stamp the design onto a fabric tag!
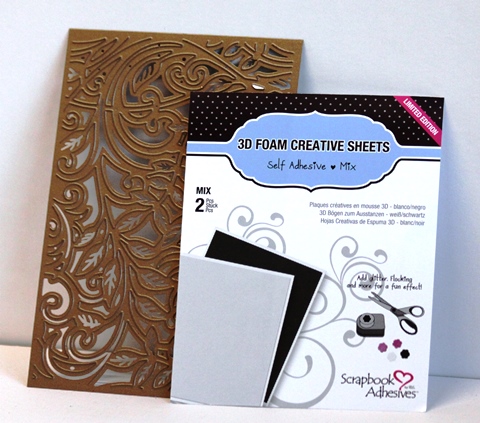
To get started, gather up your favorite patterned die and your Scrapbook Adhesives by 3L® 3D Foam Creative Sheets.
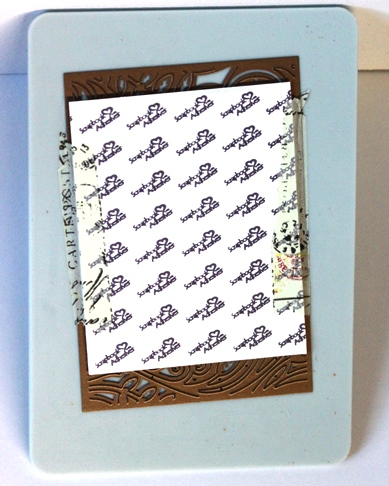
Position the 3D Foam Creative Sheet face down on the cutting surface of the die, using tape to keep in place if necessary.
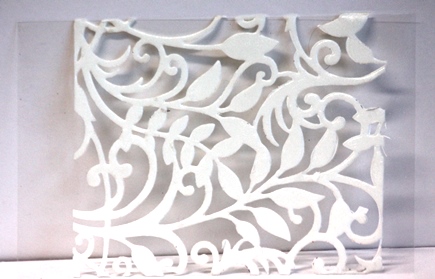
Diecut the image from the 3D Foam Creative Sheet. Remove the unprinted backing from the portion of the image you would like to stamp with. (If you are really feeling creative, you can create 2 stamps from a single sheet-one negative image stamp and one positive image stamp-this tutorial only covers the positive image technique).
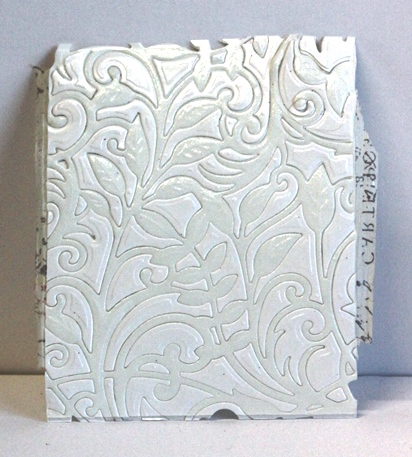
Press the entire 3D Foam Creative Sheet onto a heavy piece of acetate. The uncovered adhesive on the die cut image will stick to the acetate. Remove the negative portion of the die cut image (this part still has the backing and should remove easily).
Using some water soluble ink pads, ink up a craft sheet or a palette board with multiple ink colors. Spritz with some ClearSnap Smooch Spritz to blend the colors. Ink the stamp and place face up on a flat surface.
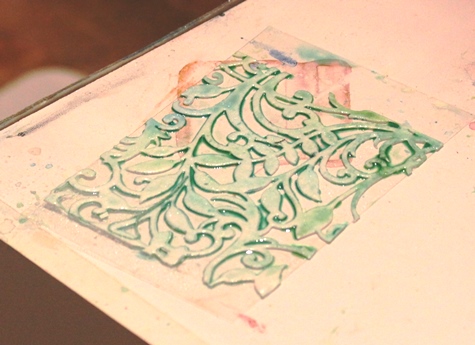
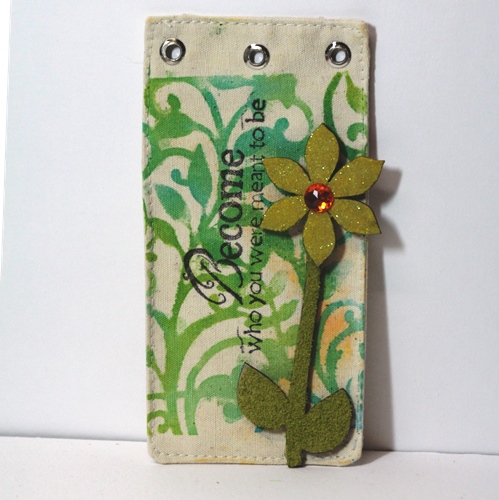
Press the fabric tag onto the surface of the stamp and smooth firmly with your hand to fully transfer the image to the fabric.
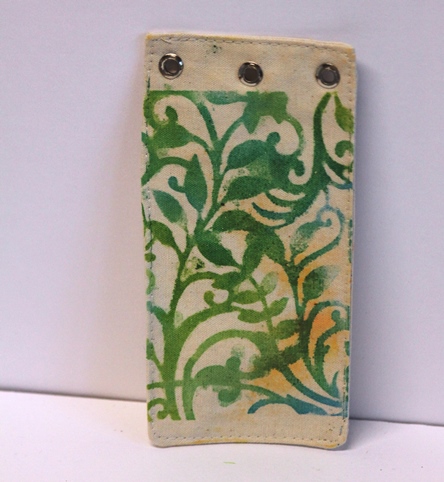
Dry the tag (a heat gun speeds up this process) and stamp your sentiment. Add embellishments of your choice and you are done!

Such a fun and easy technique (and it works equally well on watercolor paper)!
Thanks for stopping by today.
Angela
Scrapbook Adhesives by 3L® supplies used: 3D Foam Creative Sheets, Adhesive Sheets 4×6″, Crafty Power Tape 81′
Other supplies used: Spellbinders Botanical Swirls die, Maya Road fabric tag, Wendy Vecchi Art Parts and sentiment stamp, Ranger Distress Inks, ClearSnap Smooch Spritz, Doodlebug Design Gem, Flower Soft, Memento Ink, misc. glittered flock

By Deborah S August 21, 2014 - 4:32 pm
Great project Angela just another use for our die cuts thanks